Zipper Pouch Tutorial and Free Pattern Part 4

Part 4, the last part in this zipper pouch tutorial and free pattern series covers the final steps in the construction of this zipper pouch! Today’s post has my favorite zipper pouch tip, how to make the lining in a zipper pouch fit nicely and not be baggy. Before you know it, your zipper pouch will be completed and ready to be filled with all your favorite things!
If you want to follow along and sew, make sure to catch up and read the first 3 parts!
The supply list, cutting instructions, and labeling instructions can be found in part 1!
Table of contents for this post!
Marking the Seam Lines
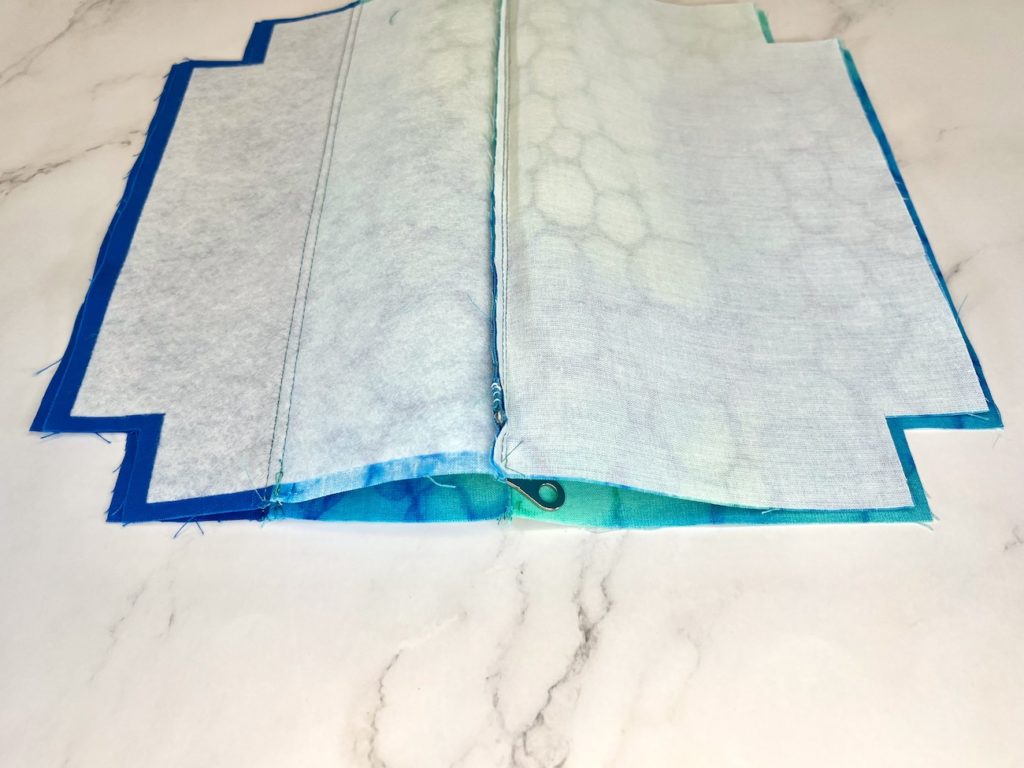
Take both exterior panels and place them right sides together, and take both lining panels and place them right sides together.
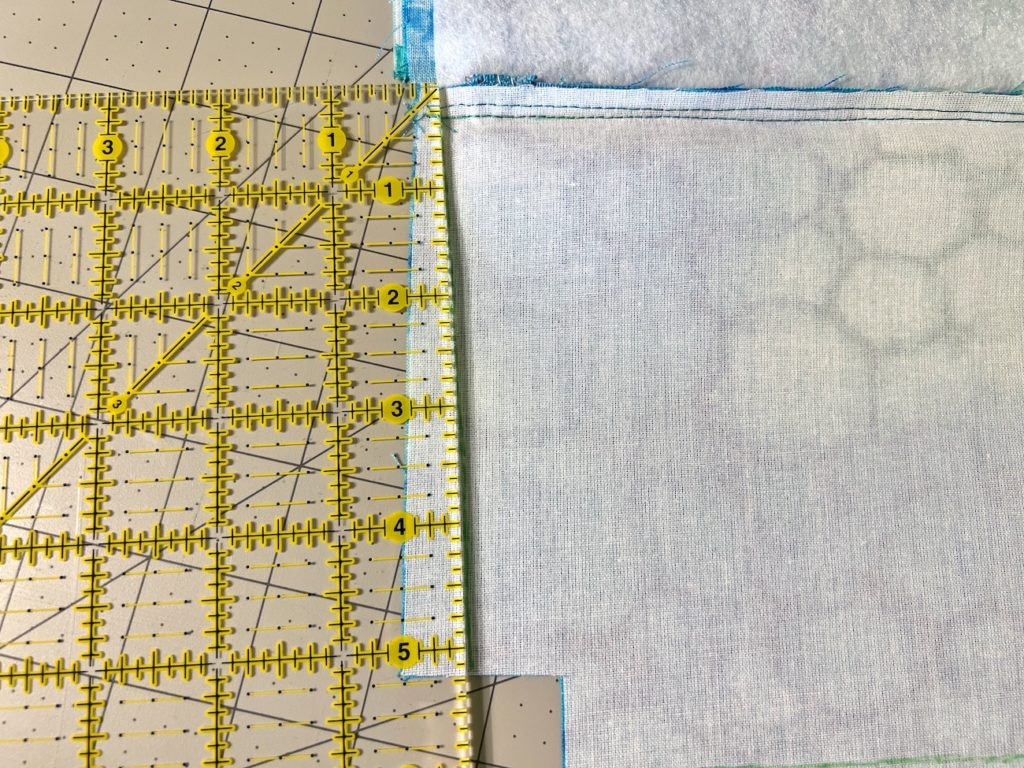
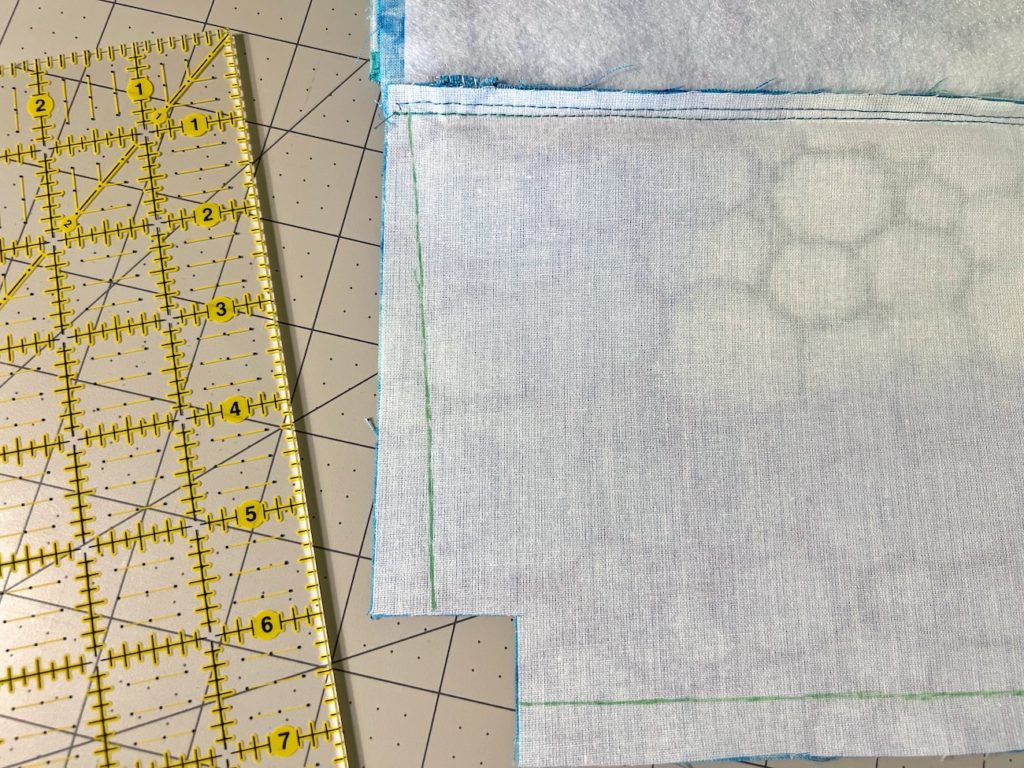
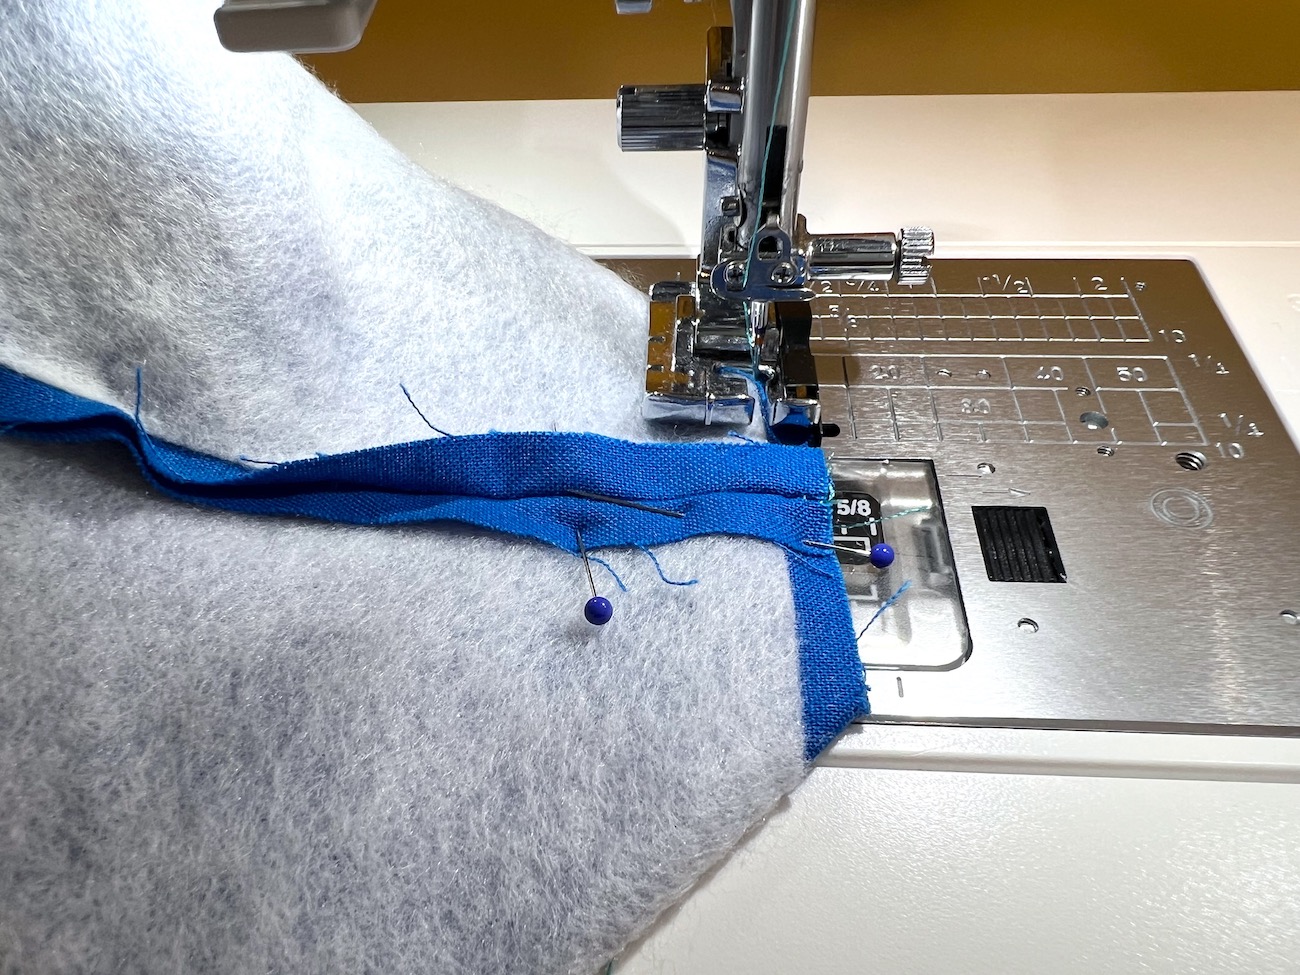
The seam allowance for this zipper pouch is a ¼”. When sewing the sides of the bag together, using a zipper foot is best so the presser foot is not in the way when sewing beside the bulk of the zipper teeth and zipper tab. I find it tricky to maintain an exact seam allowance with a zipper foot, so I like to draw seam allowances with a removable fabric marking pen.
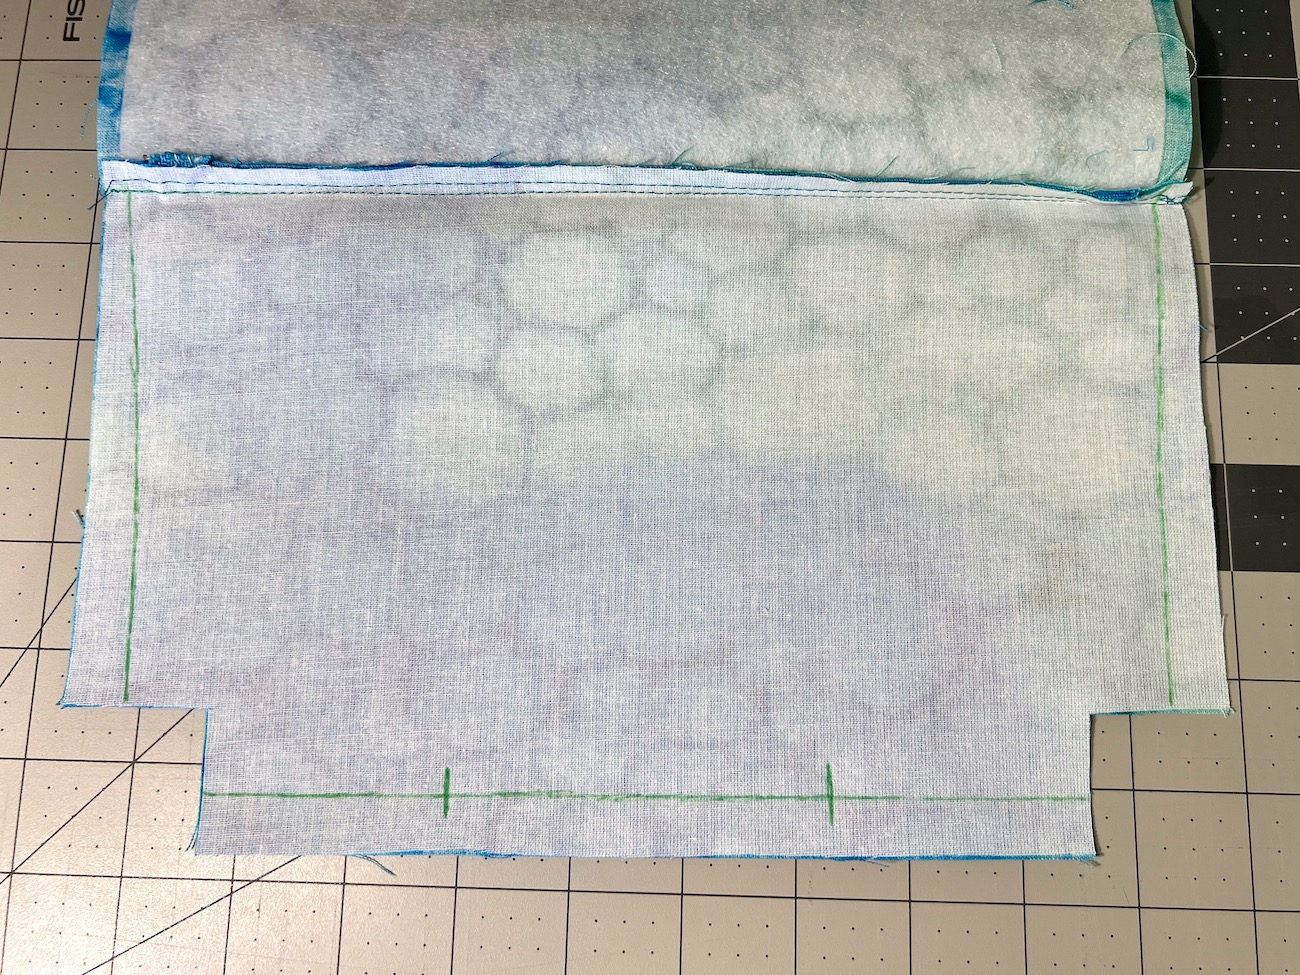
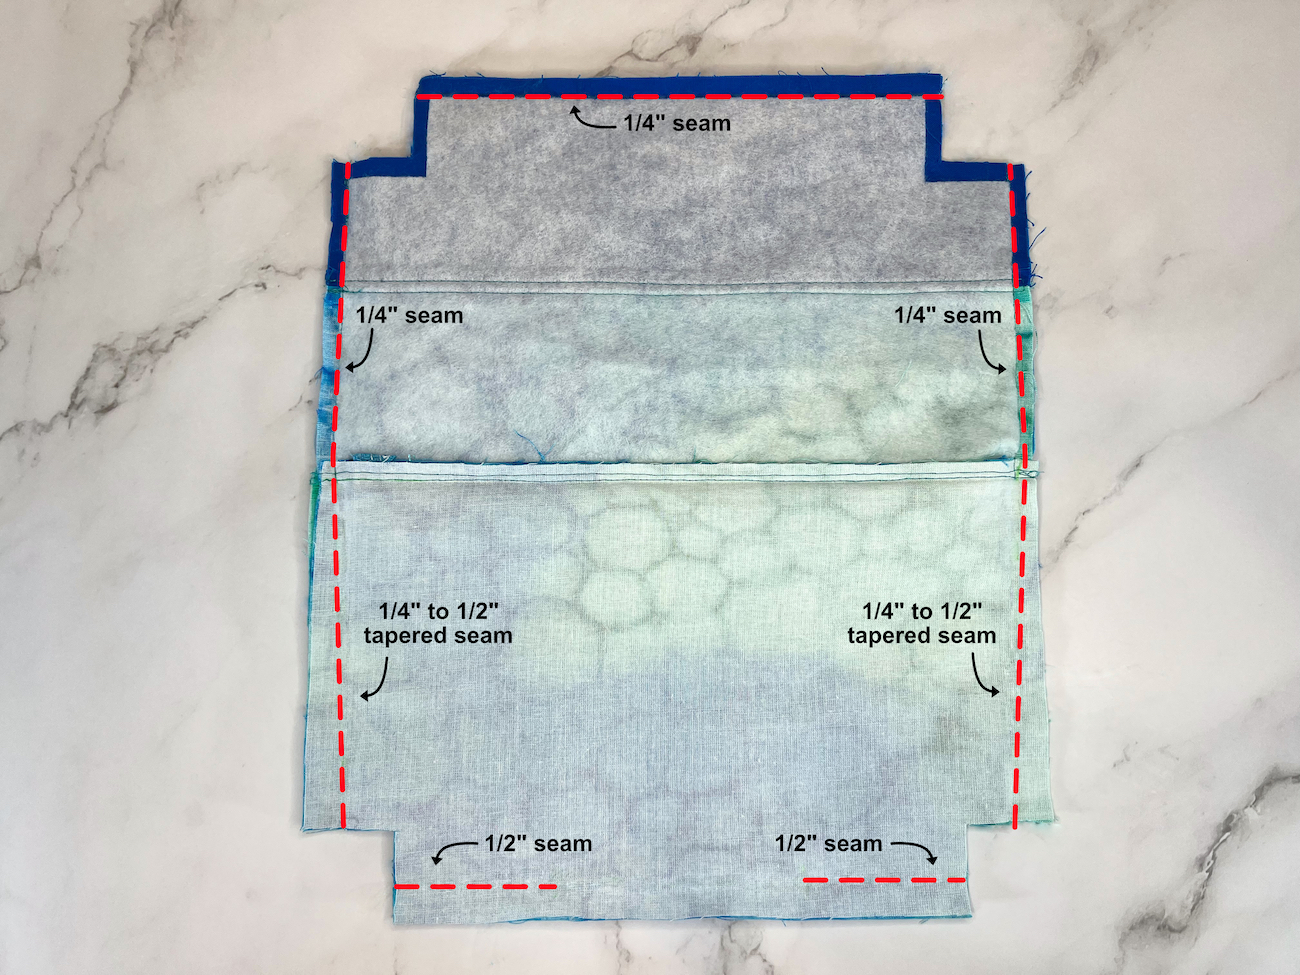
Because of the bulk of the interfacing and the zipper, if the seam allowance for the lining panels is a ¼” (like the seam allowance on the exterior panels), the lining will not fit nicely and be very baggy. To fix this issue, when marking the seam allowance on the lining panels, start marking at a ¼” at the top of the lining panel (where the seam between the lining and the exterior is) and taper that seam line to a ½” at the bottom edge of the lining panel. Mirror and repeat on the other side of the lining panel. Mark a seam line at a ½” along the bottom of the lining panel, also marking a clear stopping and starting point to leave a turning hole that is approximately 3 ½” on the bottom edge of the lining panel. The seams for all three edges of the exterior are ¼”
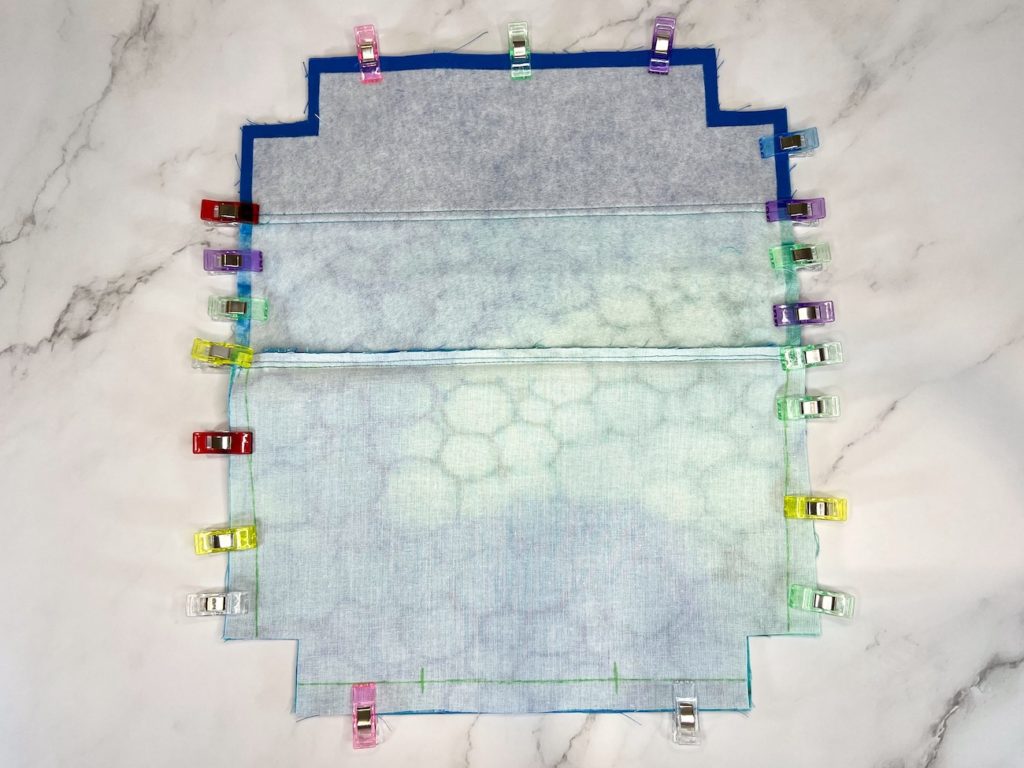
After marking the seam lines, make sure that the exteriors and linings are still right sides together. Take time to line up all the edges and seams, making sure the seams on the exterior panels, and the seams at the edges of the zipper are aligned.
Clip or pin everything in place.
Sewing the Seams
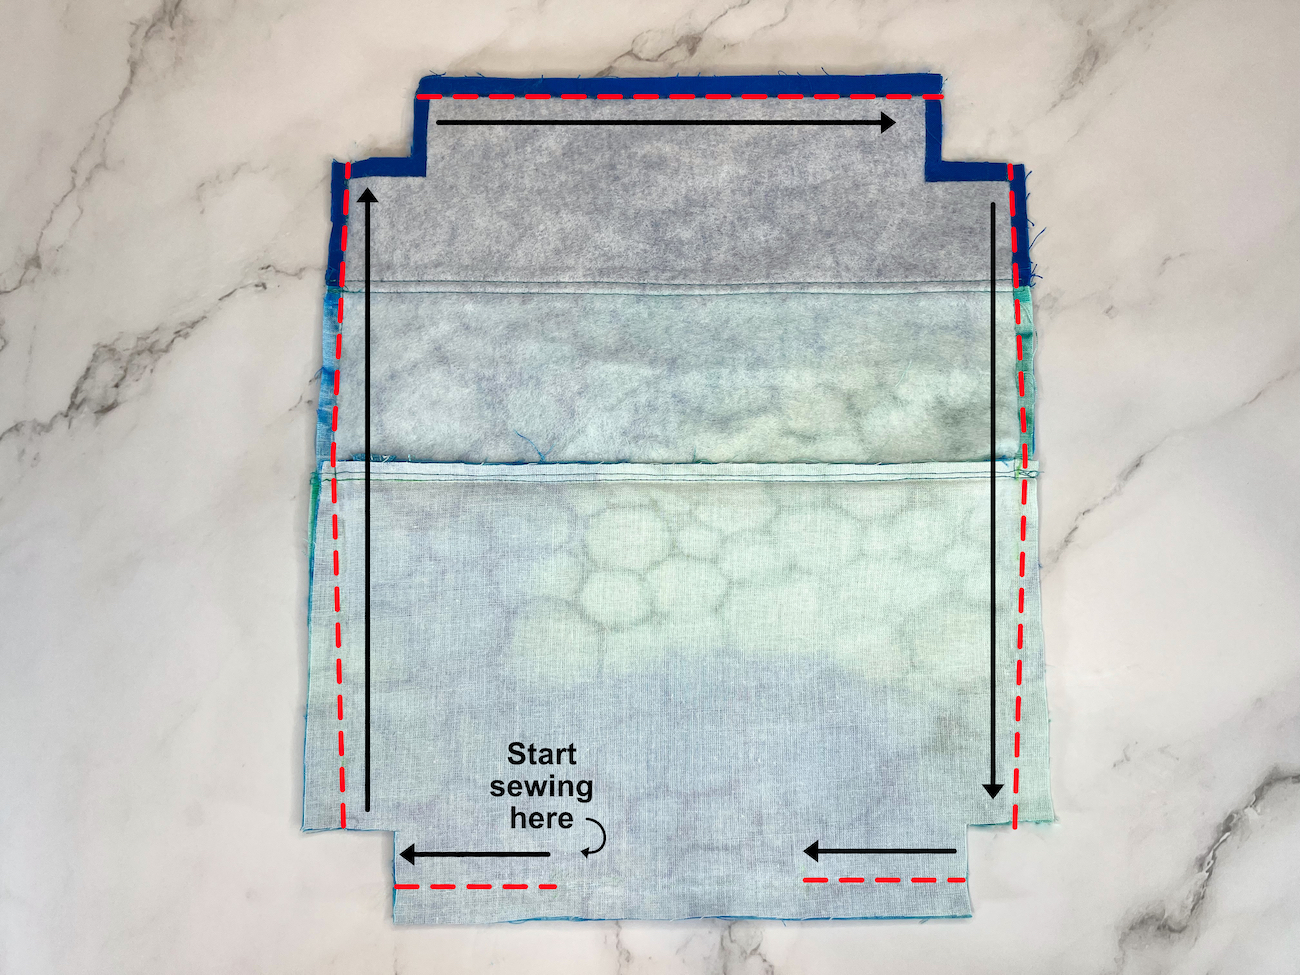
Begin sewing from one of the marks by the opening using a 2.4mm stitch length, and sew each of the seams all the way around making sure to backstitch at the beginning and end of every seam. The black arrows in the photo below indicate the sewing direction.
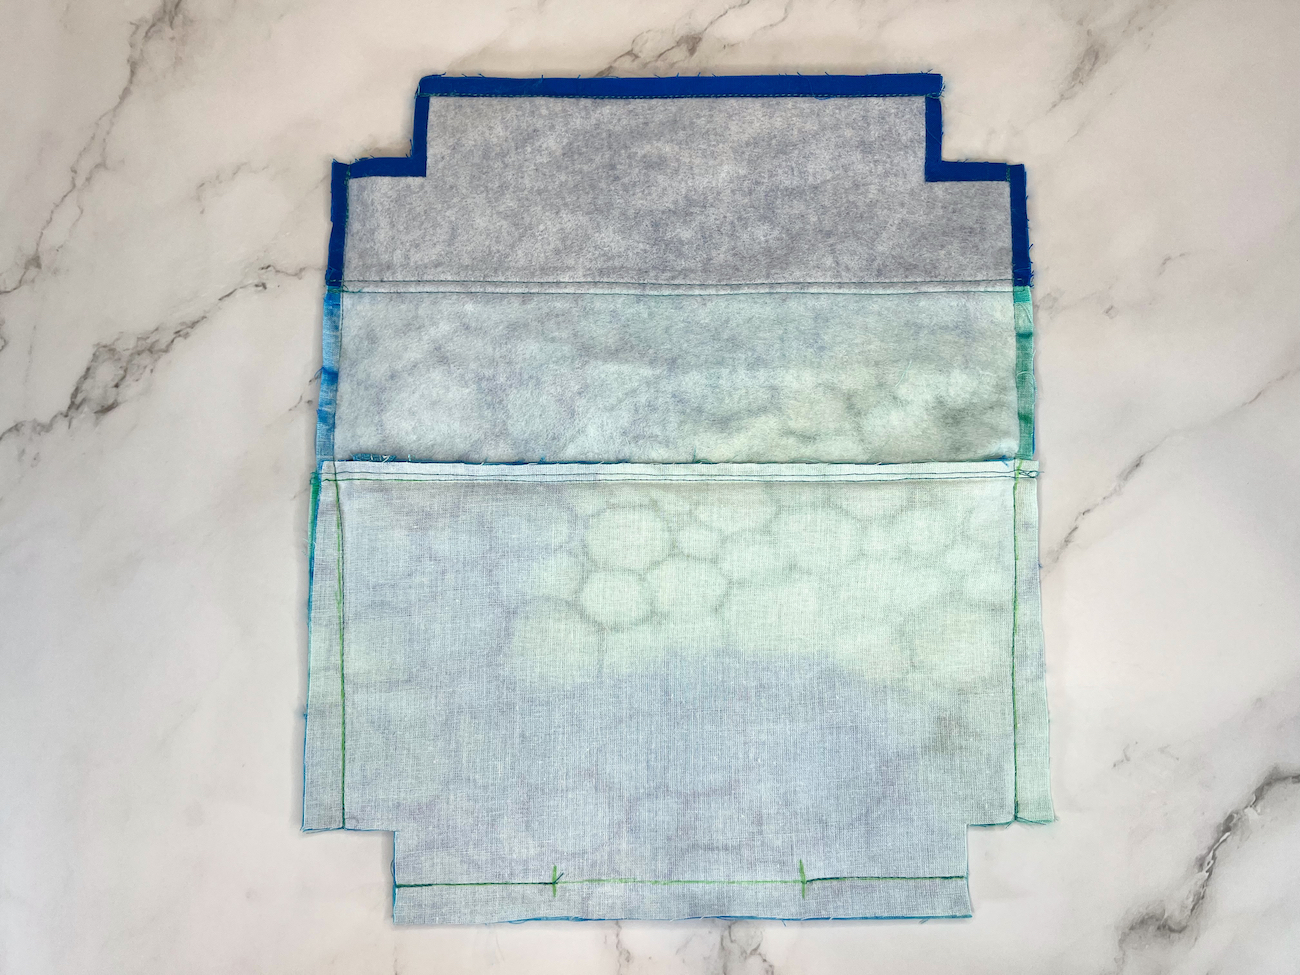
With completed seams, the zipper bag should look like this!
Except for the ½” seam along the turning hole, trim the excess fabric away leaving approximately a ¼” of fabric remaining.
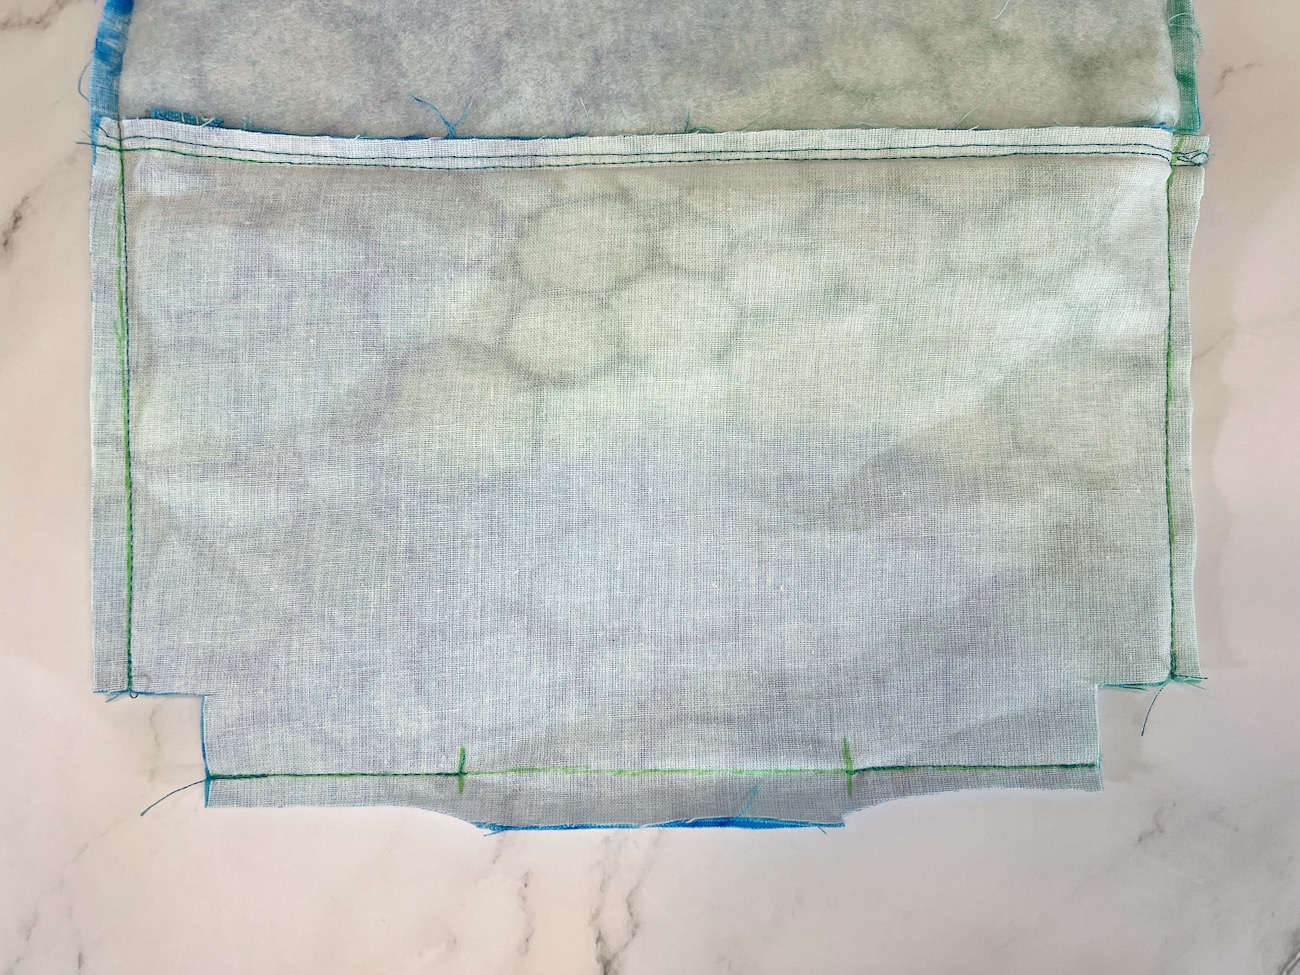
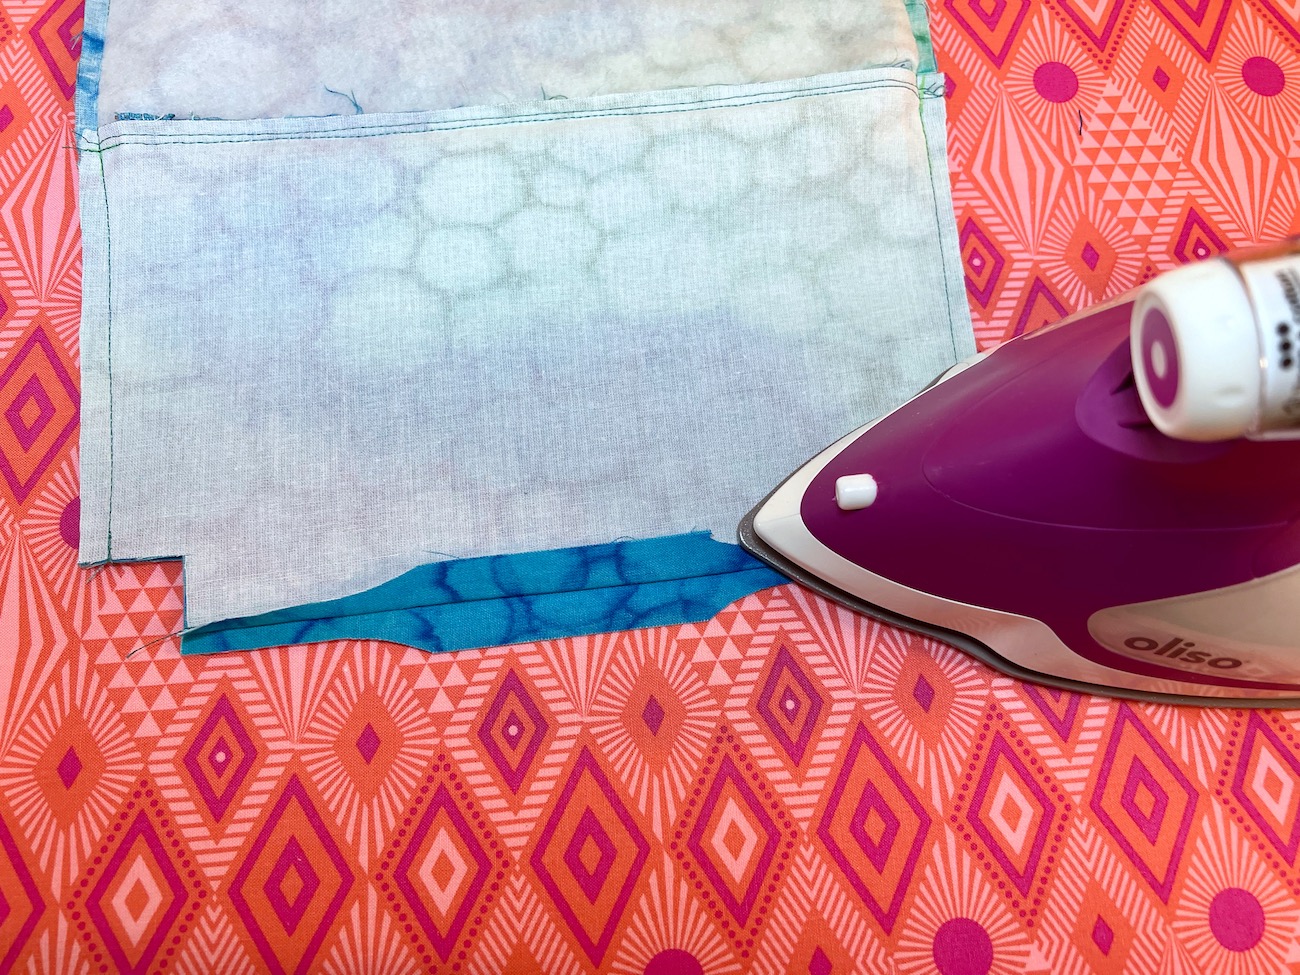
With a hot steamy iron, press the turning hole open, pressing it even with the ½” seam line along the bottom edge.
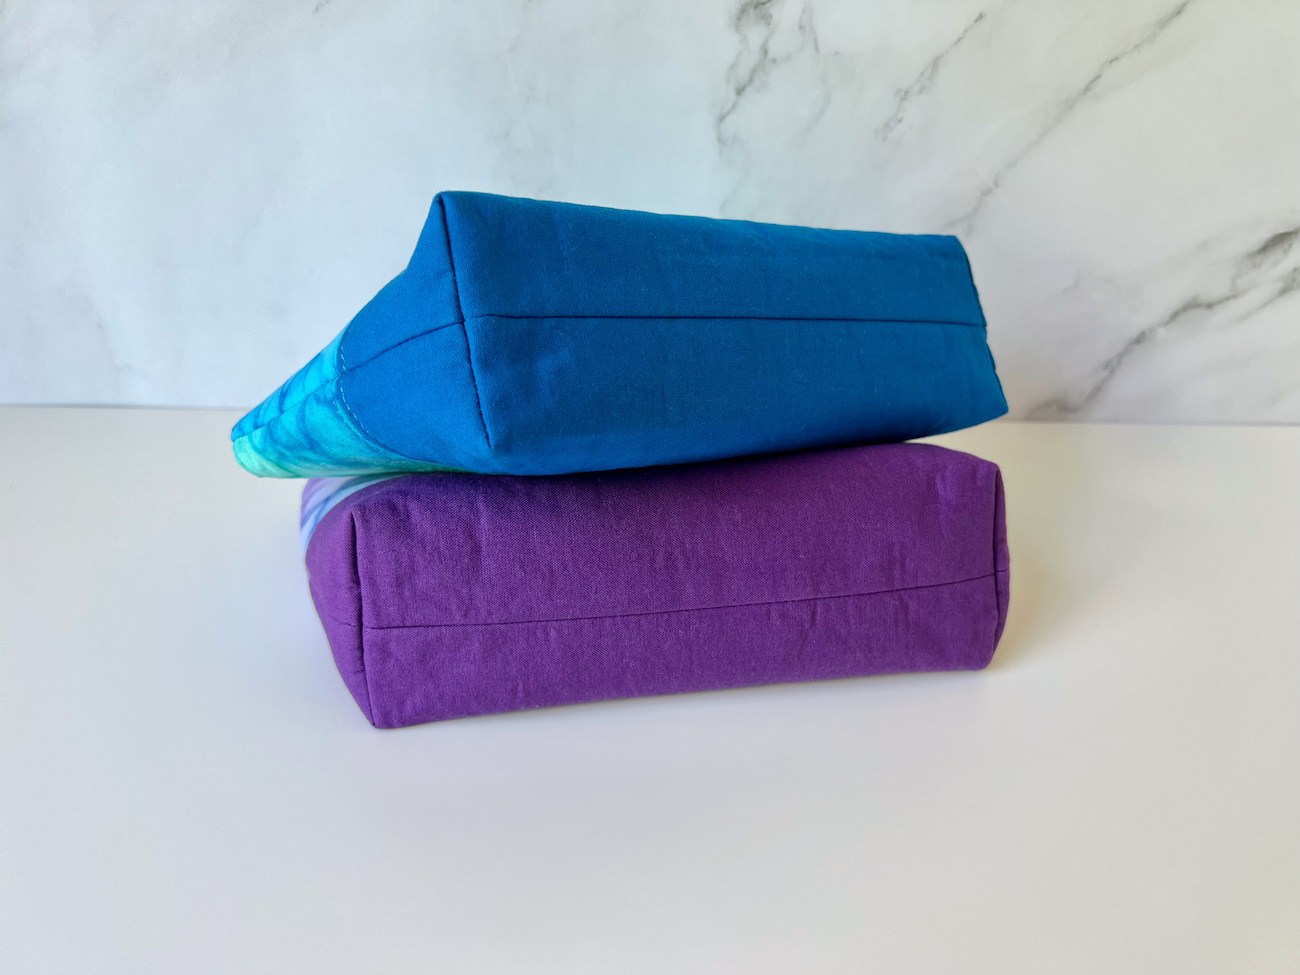
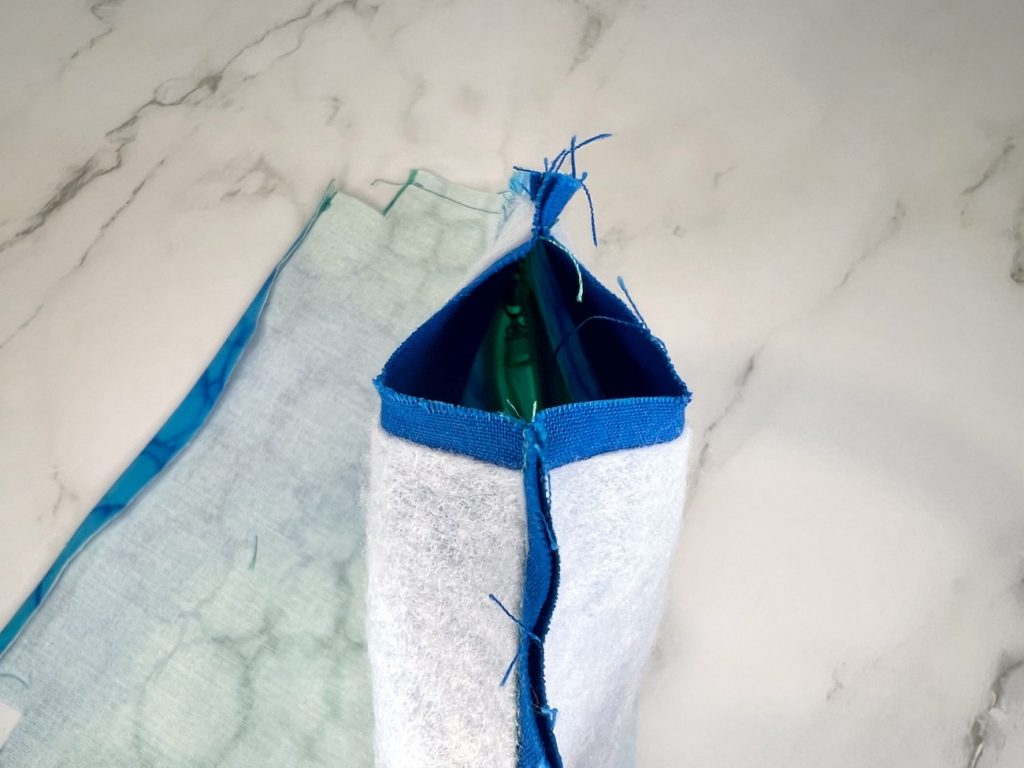
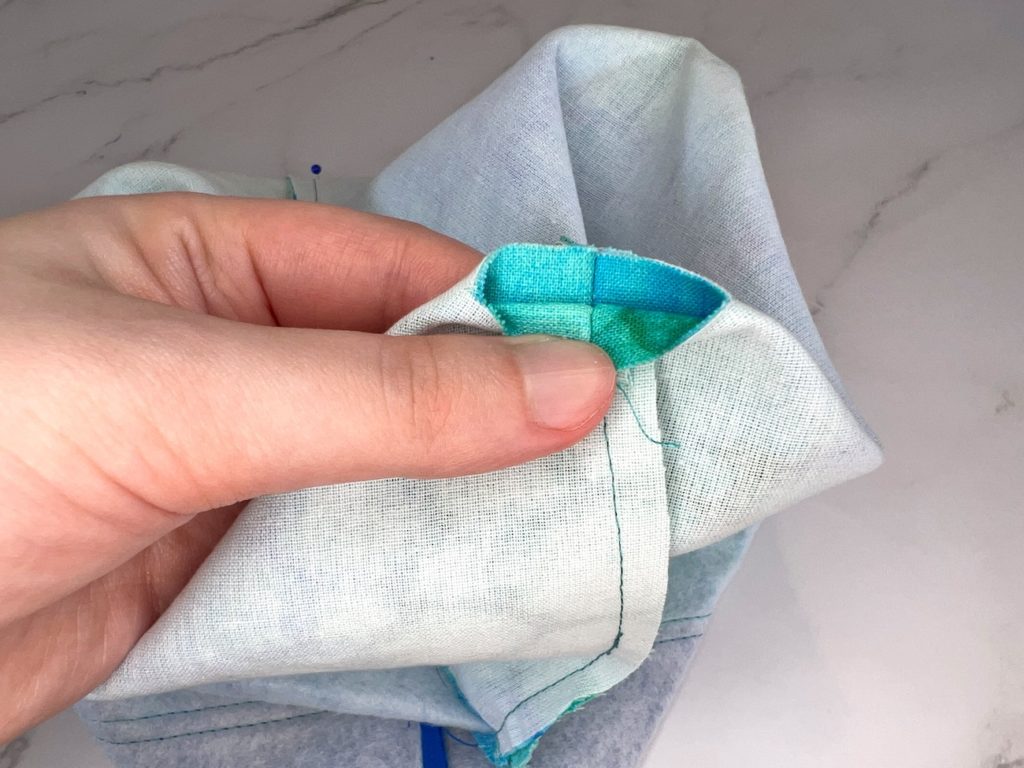
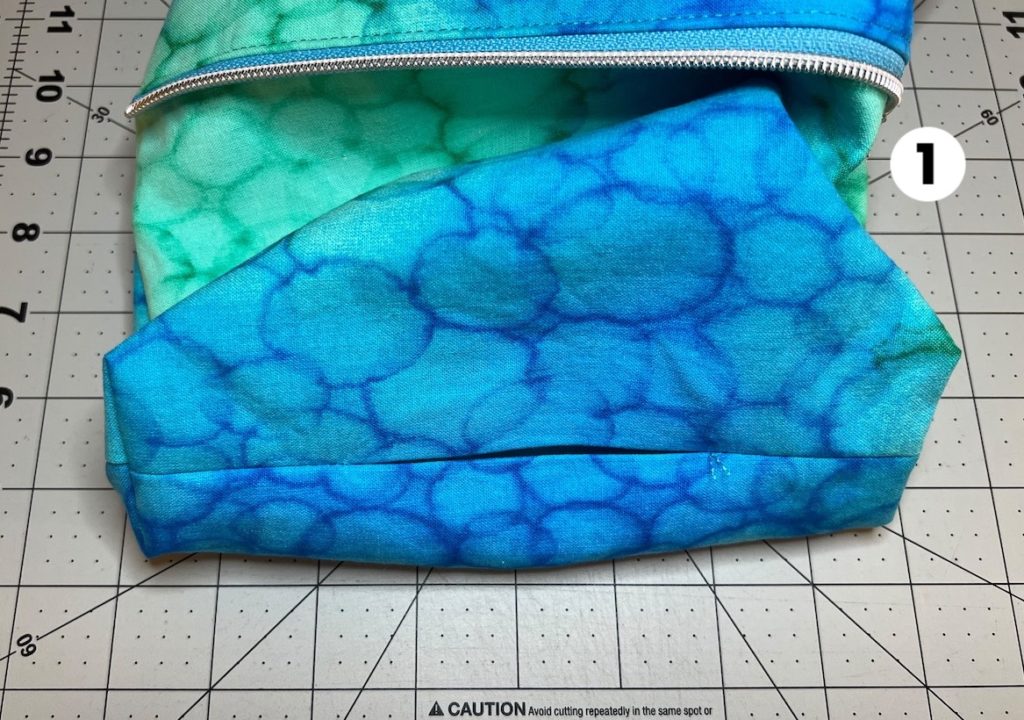
Boxing the Corners
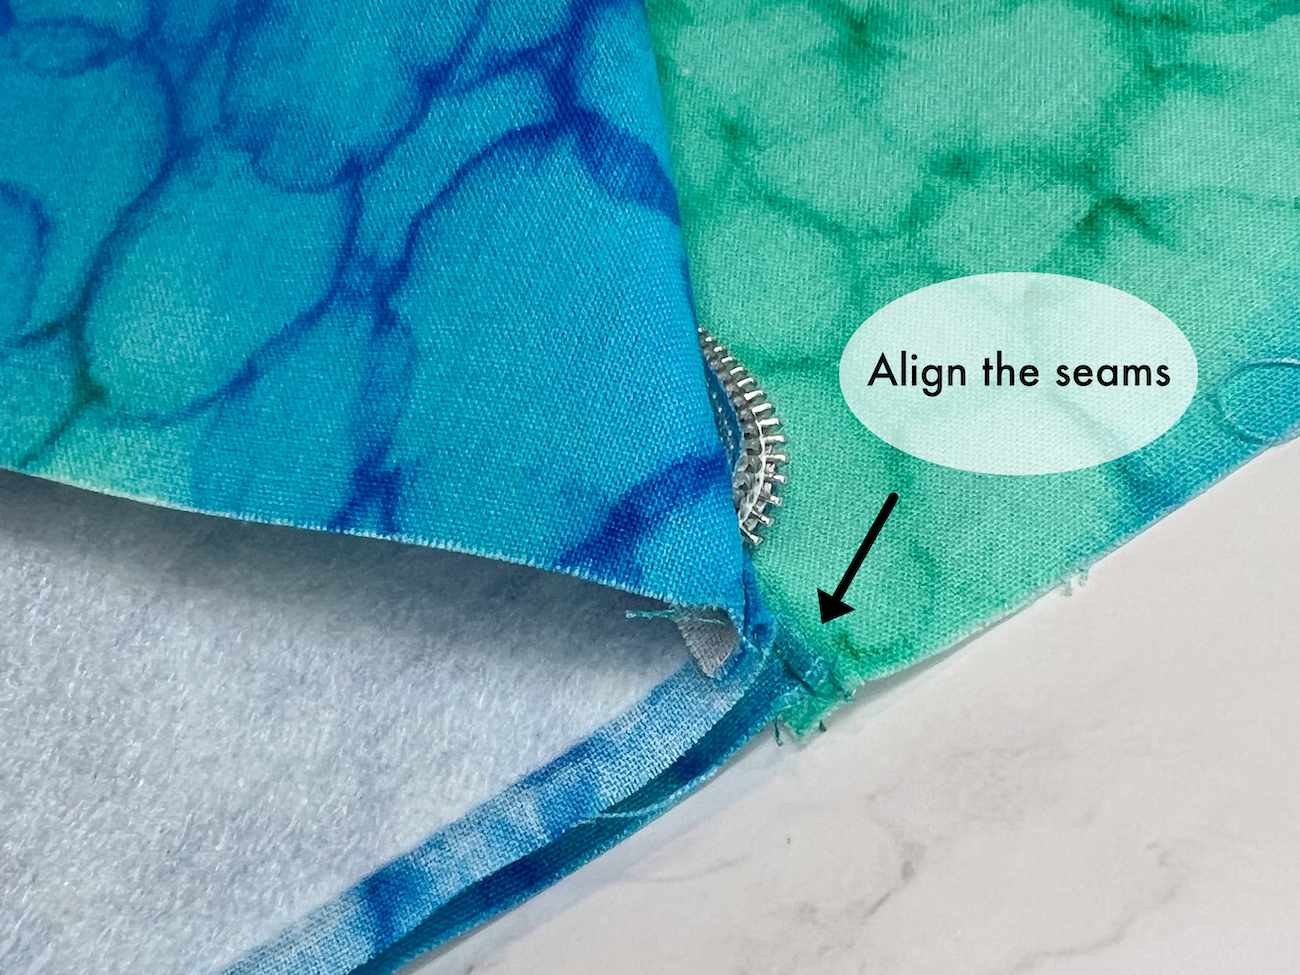
The squares that are cut out of the bottom edges of both the exterior and lining panels are what create the boxed bottom shape of this zipper pouch. Take both of the exterior panels and slightly pull them apart, aligning the side seams at one of the square cutouts. Pulling apart the exterior panels, and aligning the side seams will turn the square cutout into a straight line. Either nest the side seams (have one seam laying one direction and the other side same laying the other direction like in my photos, or open both of the seams). Pin or clip in place.
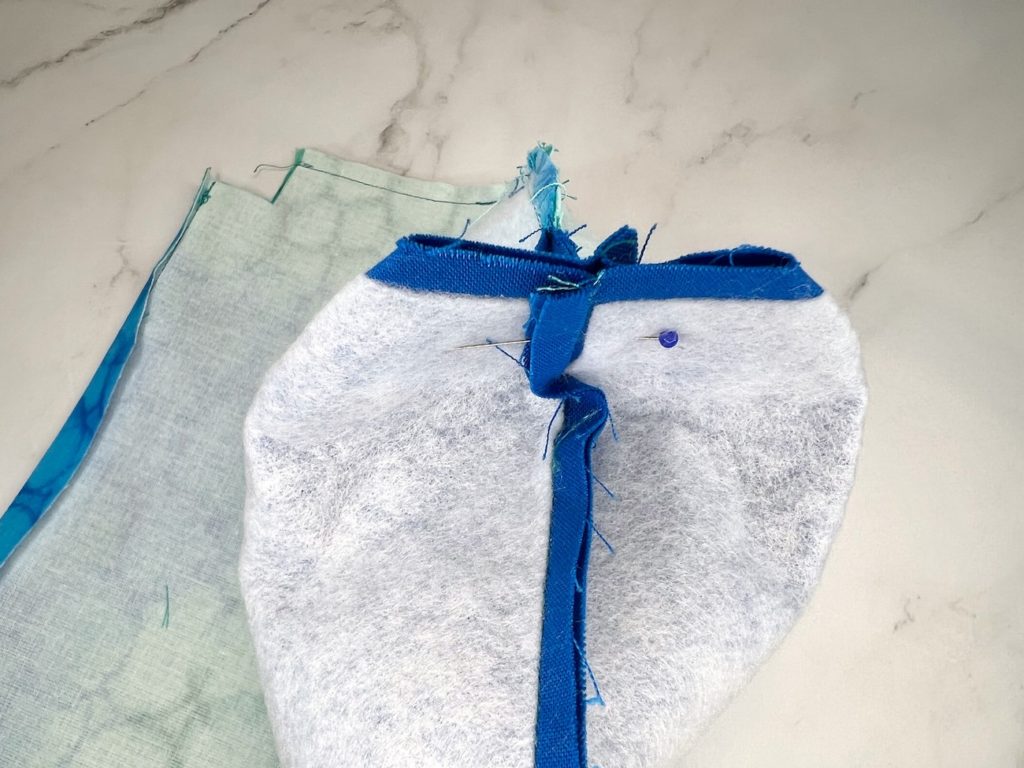
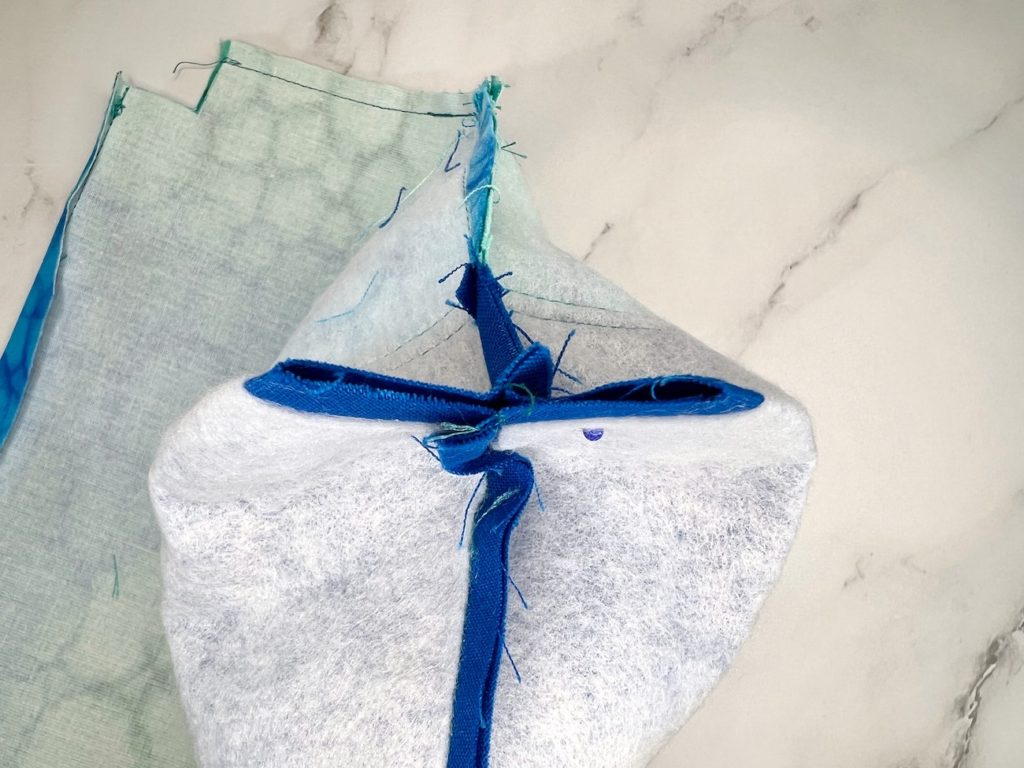
Using a ¼” presser foot (or marking the seam), sew the boxed corner with a ¼” seam allowance, backstitching well at the beginning and end of this seam.
Repeat those steps to box the other exterior corner, and both lining corners, making sure all the sides seams are aligned before sewing the seam.
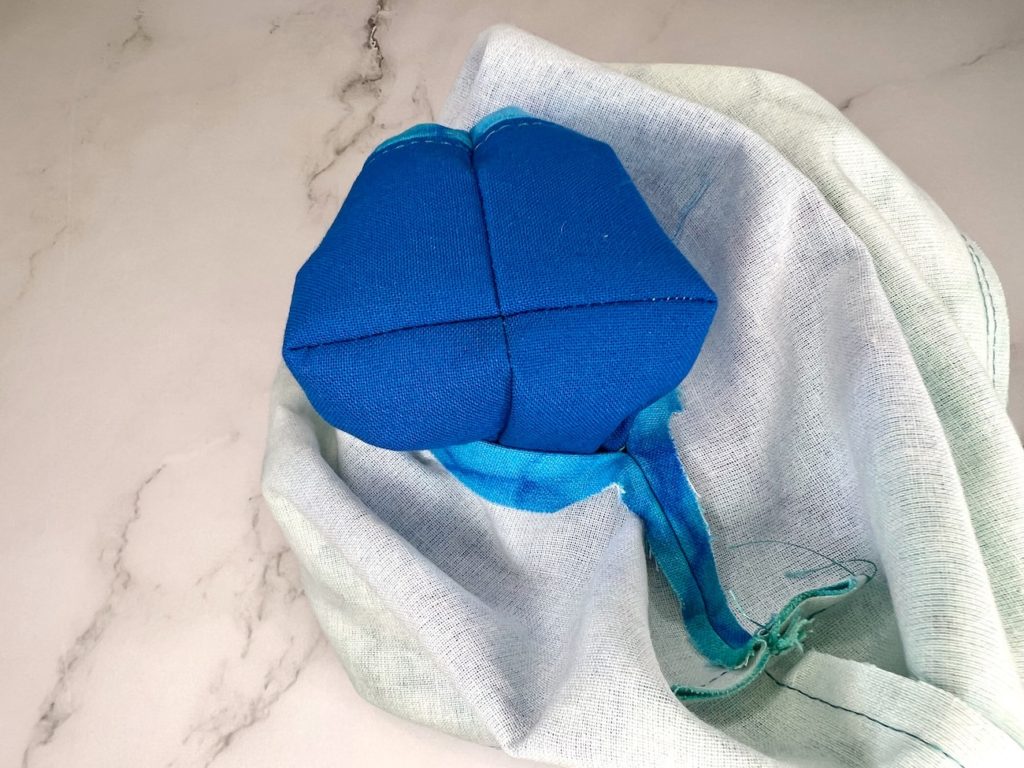
Before turning the bag right sides out, I like to pull each boxed corner through the turning hole, to make sure I am happy with the alignment of the seams. It is easier to seam rip them and fix the corners before the bag is turned right side out.
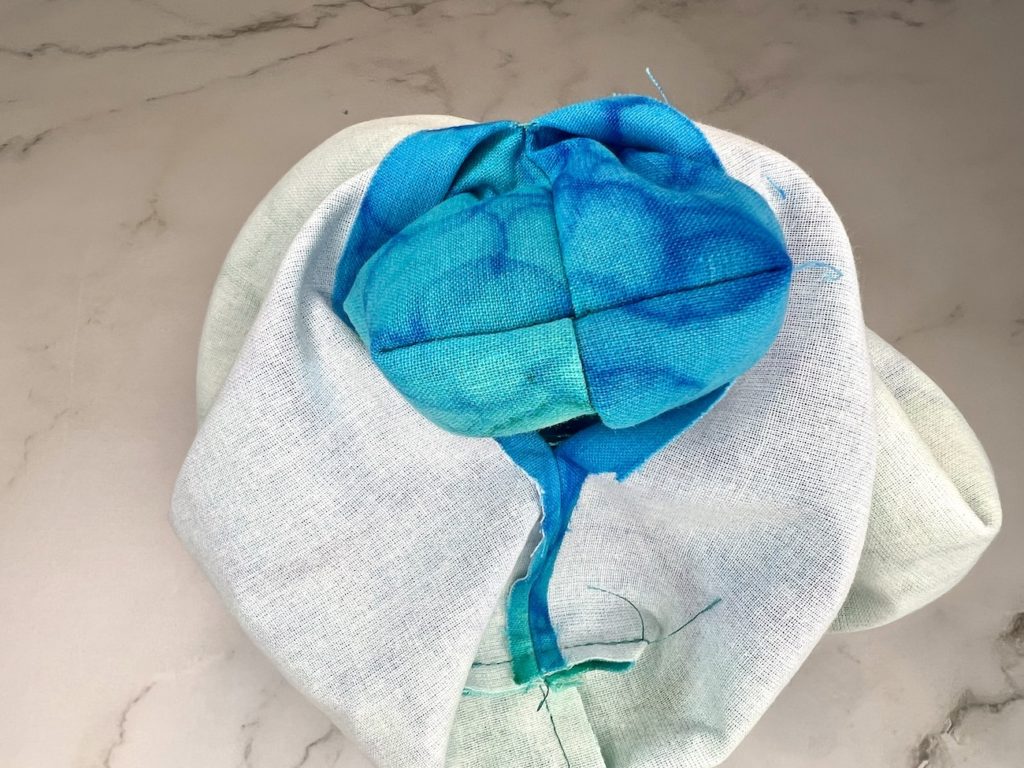
Turning the Bag Right Side Out
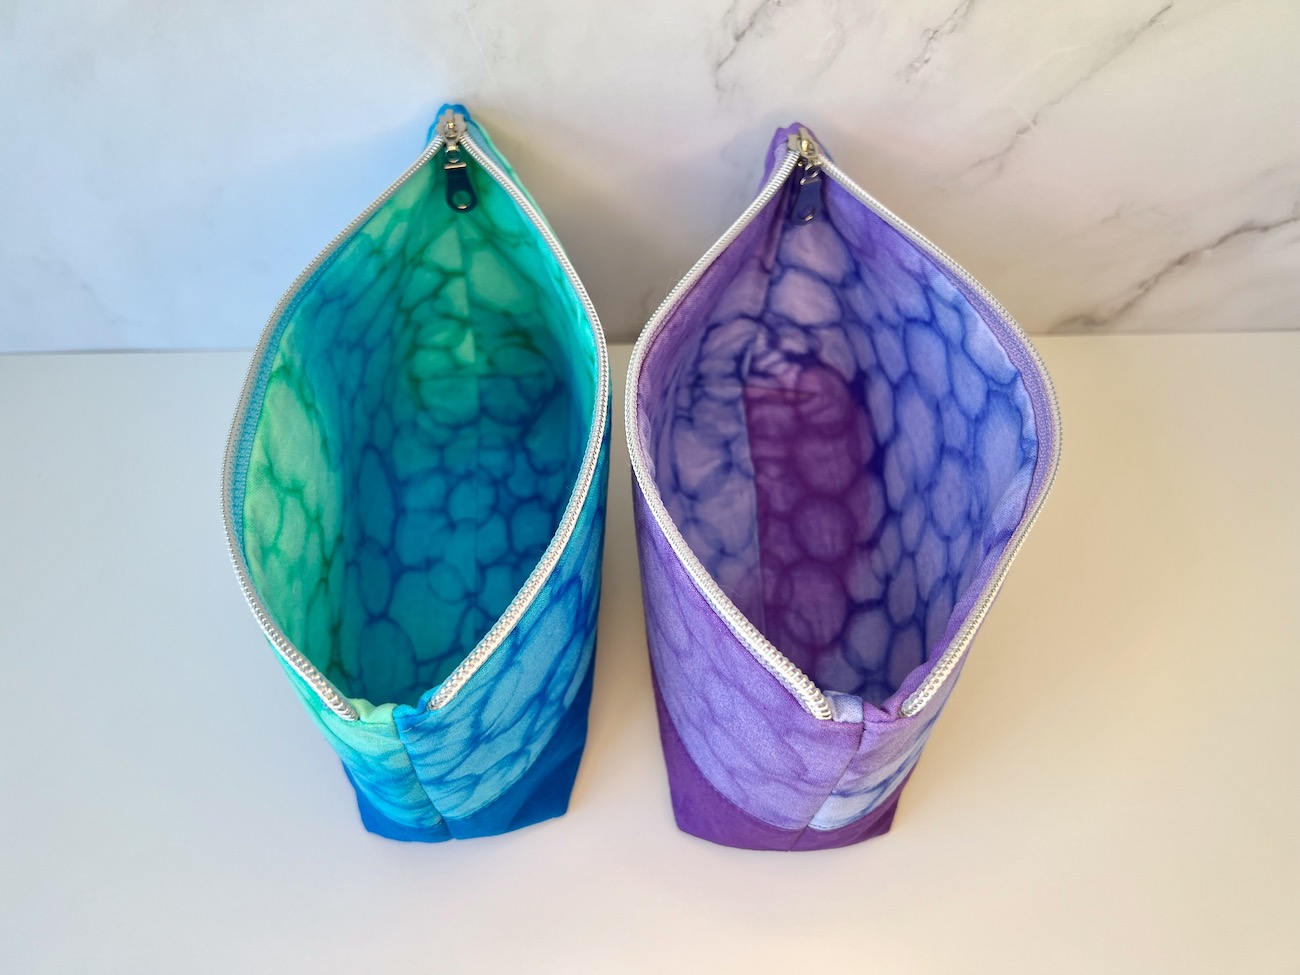
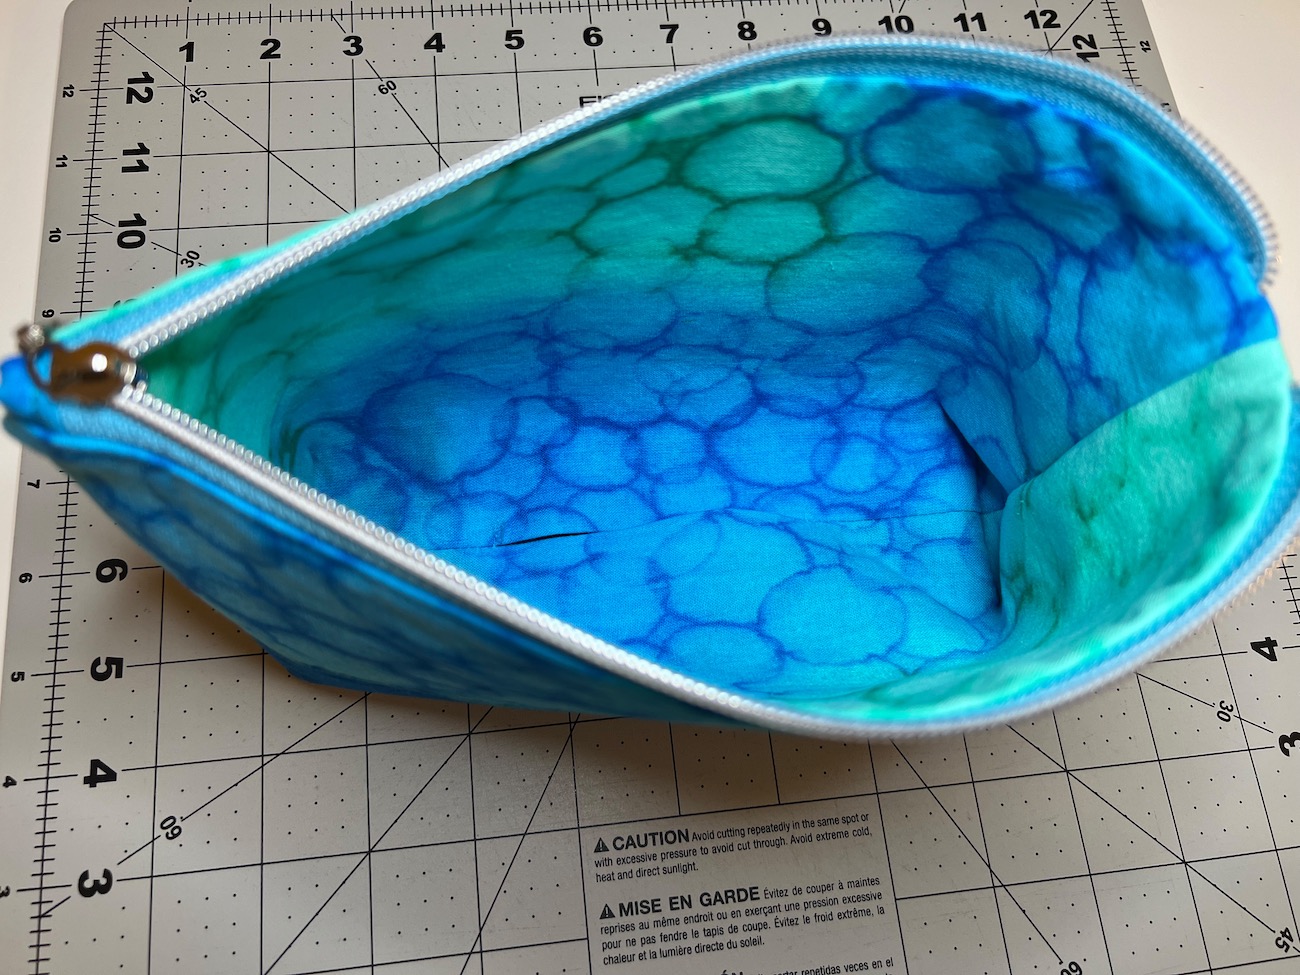
Using the turning hole in the lining, pull the entire bag through the hole turning it right side out. This is also sometimes called birthing a bag, and that term is understandable once you have turned a few bags!! It’s time to get really excited… because you almost have a completed zipper pouch!!
Pressing the Bag
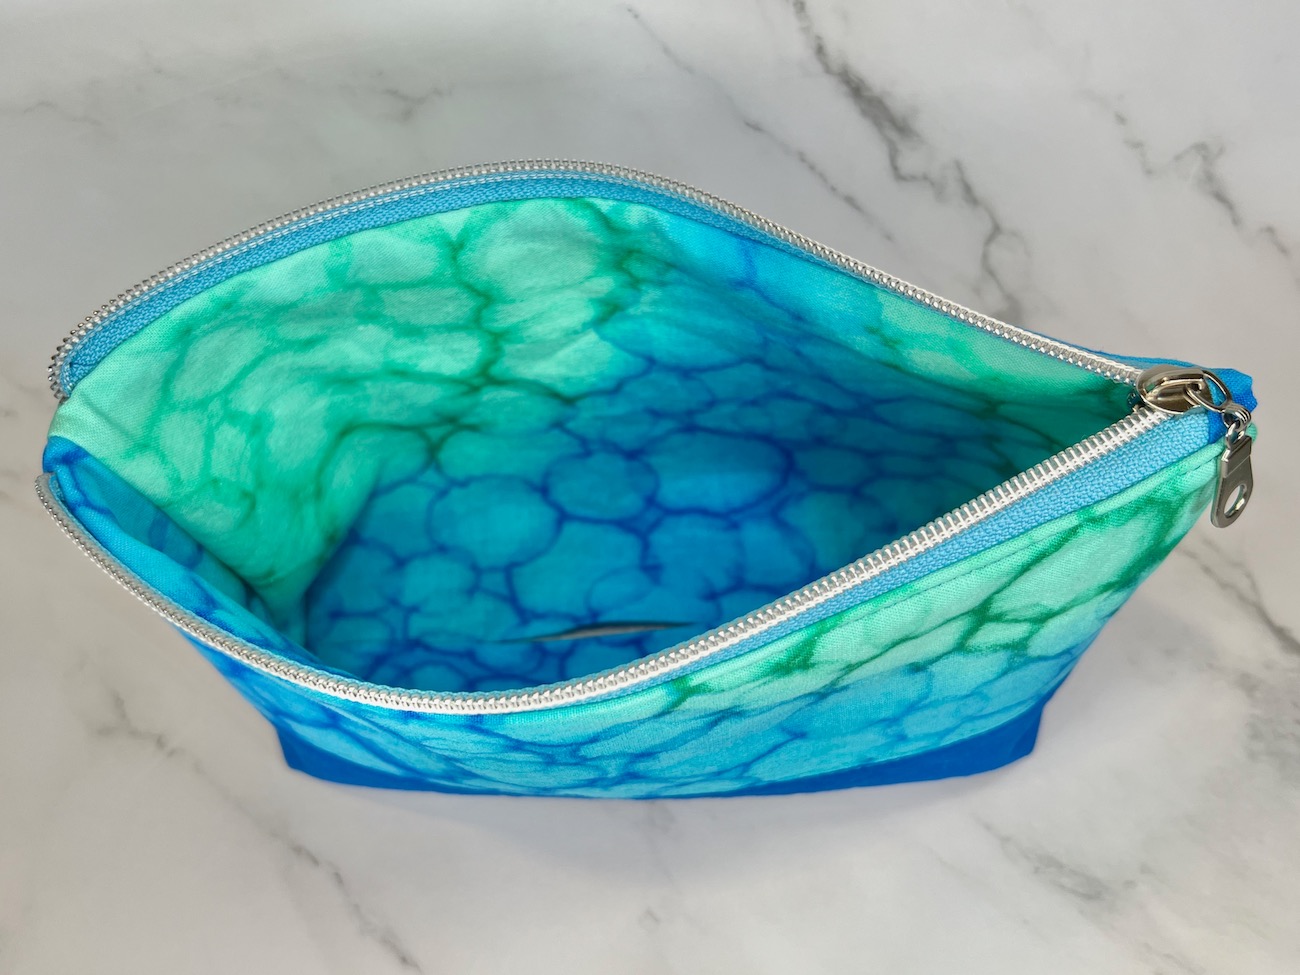
One of the most important steps, in my opinion, when making a bag with quilting cotton is a really good press. Using the front tip of a hot iron with steam, press the lining very flat along the zipper tape. While the zipper teeth are plastic, I have not had issues with them melting as long as I keep the iron moving (you can always turn your iron down slightly or use a pressing cloth if you are concerned). Make sure to use extra steam on the side seam by the curved edge of the zipper, because there is some bulk. A quilting/tailors clapper can be useful here.
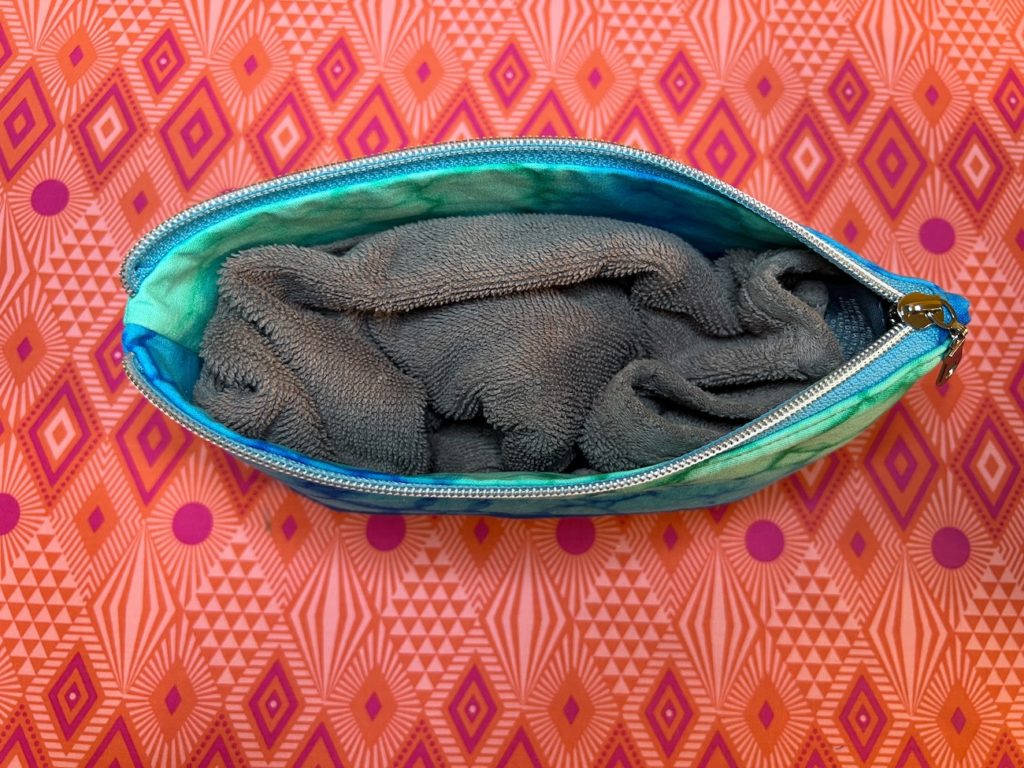
To get a good press on the exterior, take a cotton hand towel and place it inside the zipper pouch, and then zip up the pouch. This creates just enough firmness to be able to press against while ironing the exterior.
Closing the Turning Hole
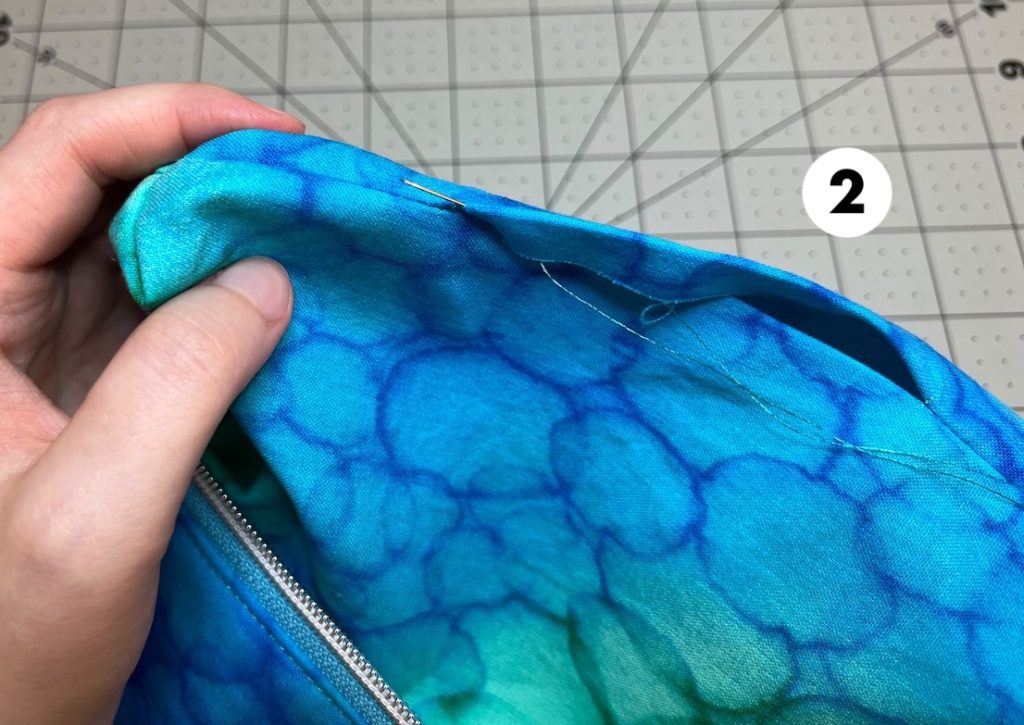
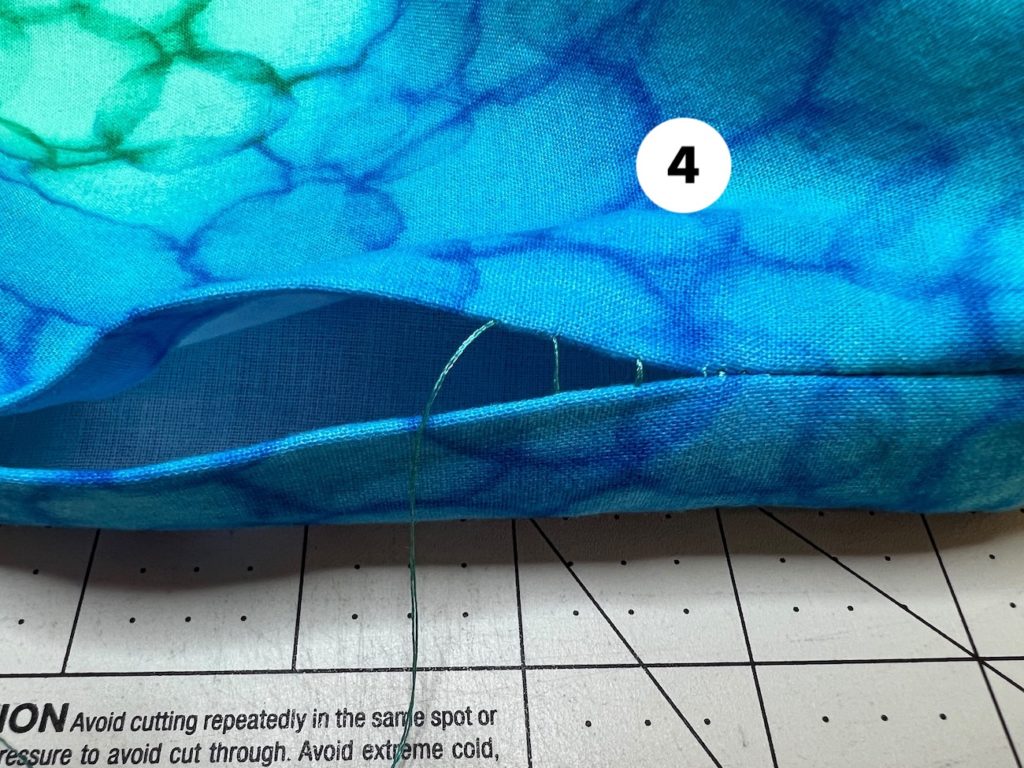
The final step for this zipper pouch tutorial is closing the turning hole in the bottom of the lining of the pouch. You can sew the hole closed with a straight stitch on a sewing machine (using approximately an ⅛” seam allowance), but my preferred method is the ladder stitch. I prefer the ladder stitch because once completed, it is totally invisible! The ladder stitch is probably easiest to learn from a video (there are many options on youtube), but this is a written description with pictures of what I do.
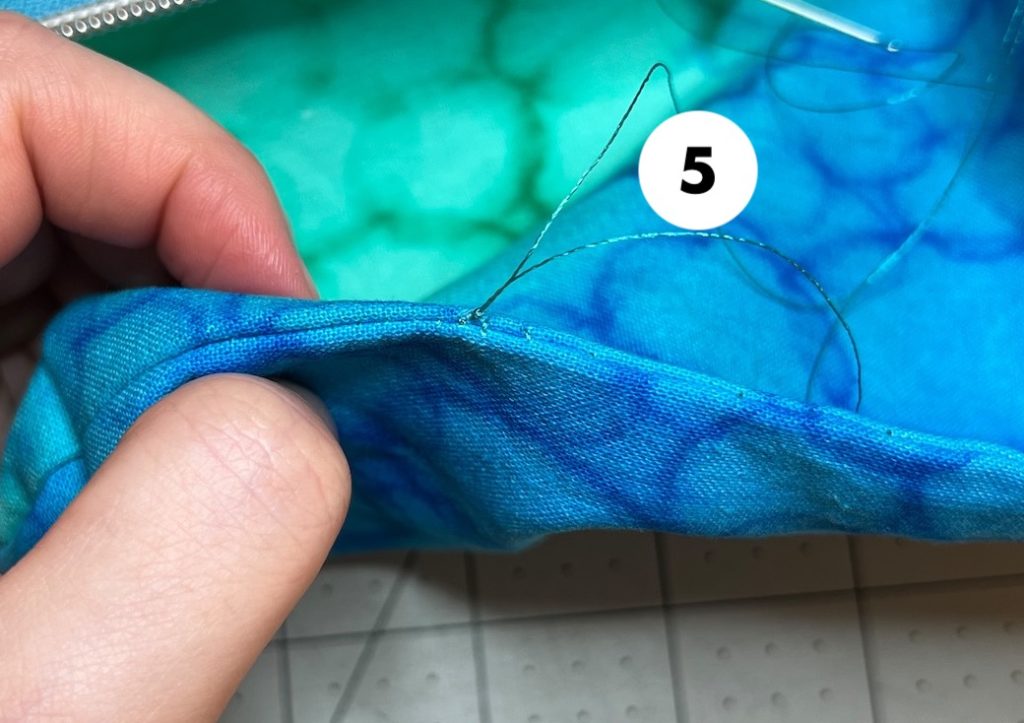
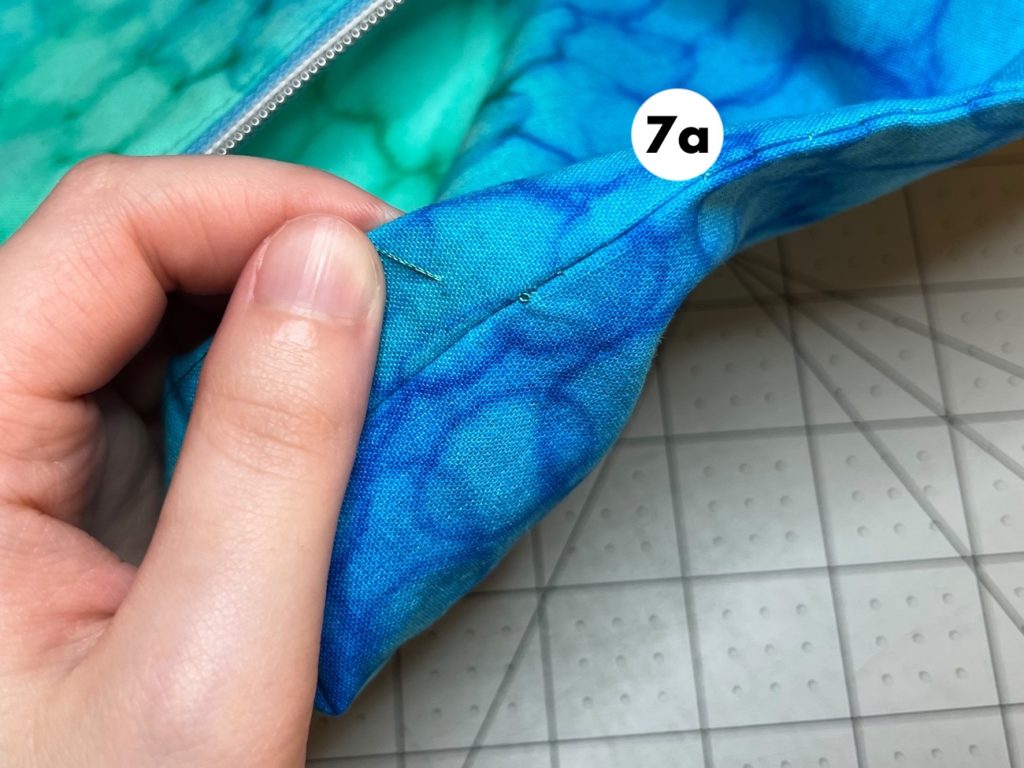
1: Pull the lining out of the pouch. 2: Thread a hand-sewing needle with a piece of matching thread, and tie a knot in the threads. Bring the needle up from the inside of the lining, coming out through one of the folded seam lines (the folded seams that were pressed earlier). 3: Rotate the pouch so that where the needle is coming up is from the fold line on the bottom right-hand corner. Take the needle straight and directly above and into the second fold line. Then pull the needle out of that fold line about a ¼” away to the left. 4: Continue sewing back and forth between the two fold lines, always going in and out directly above and below, and bringing the needle out about a ¼” away from each stitch. 5: Once the turning hole is completely sewn closed, tie a double knot close to the bottom lining seam. 6: Push the needle back through the fabric directly under where the knot is, and pull the needle out about a ½” away from the knot. 7a, 7b: Pull the needle and thread all the way through (7a) and tug on the thread gently until the knot pops below the surface of the fabric (7b). Finally, snip the thread close to the lining fabric.


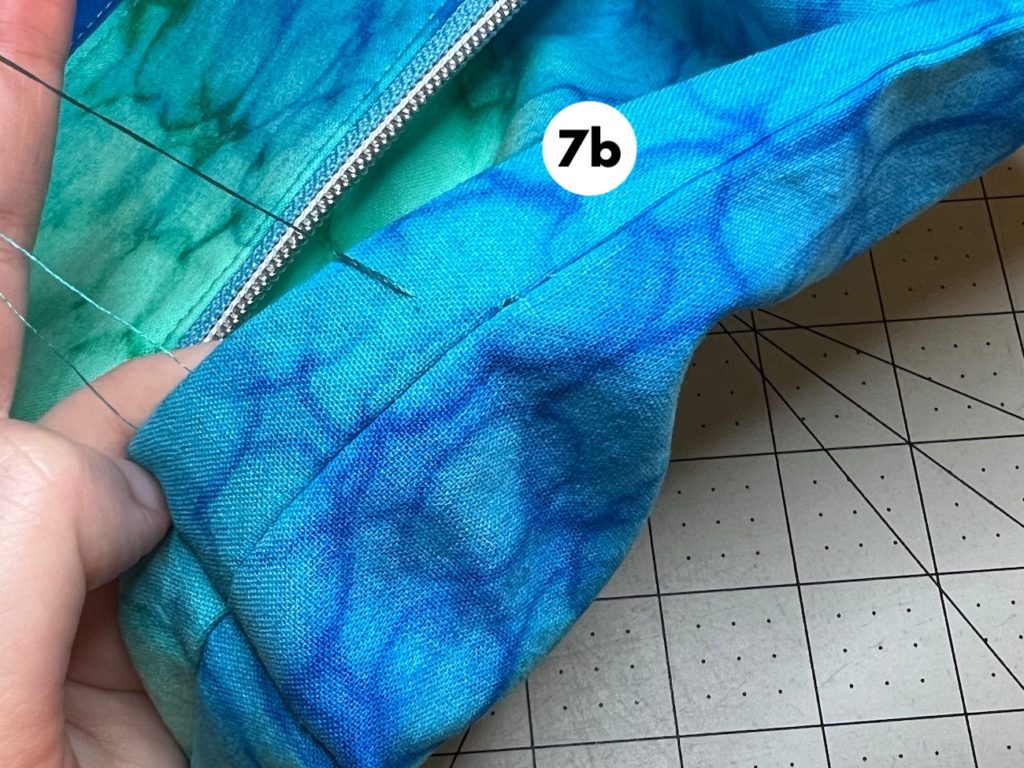
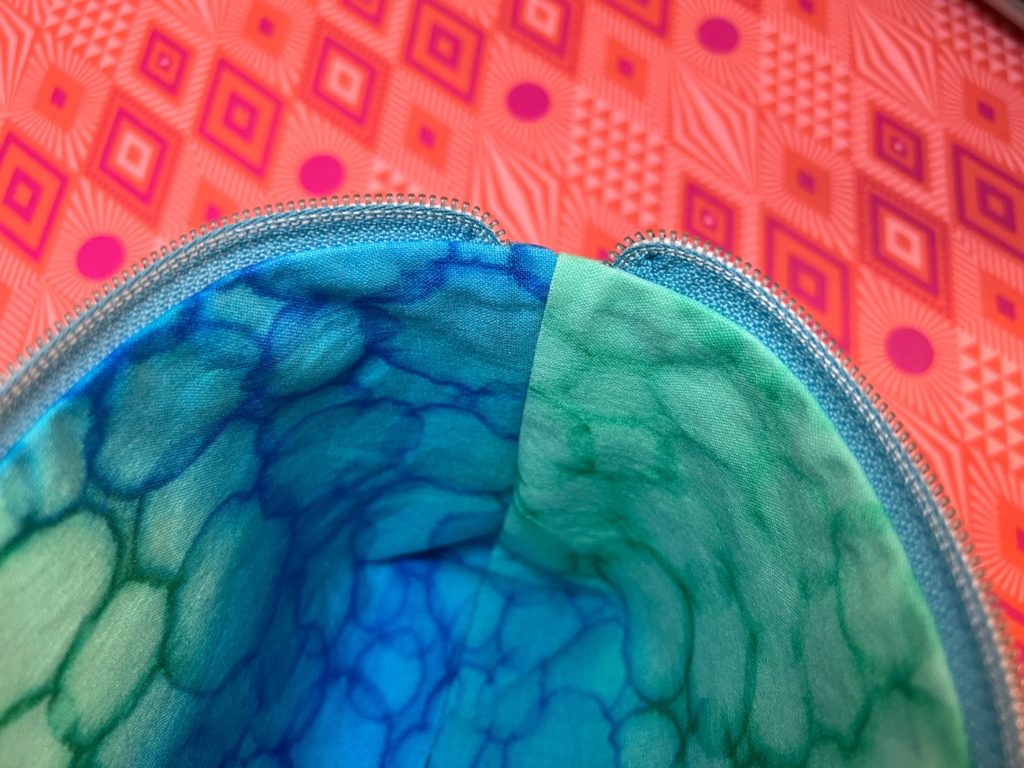
Once completed, the turning hole is now invisible!
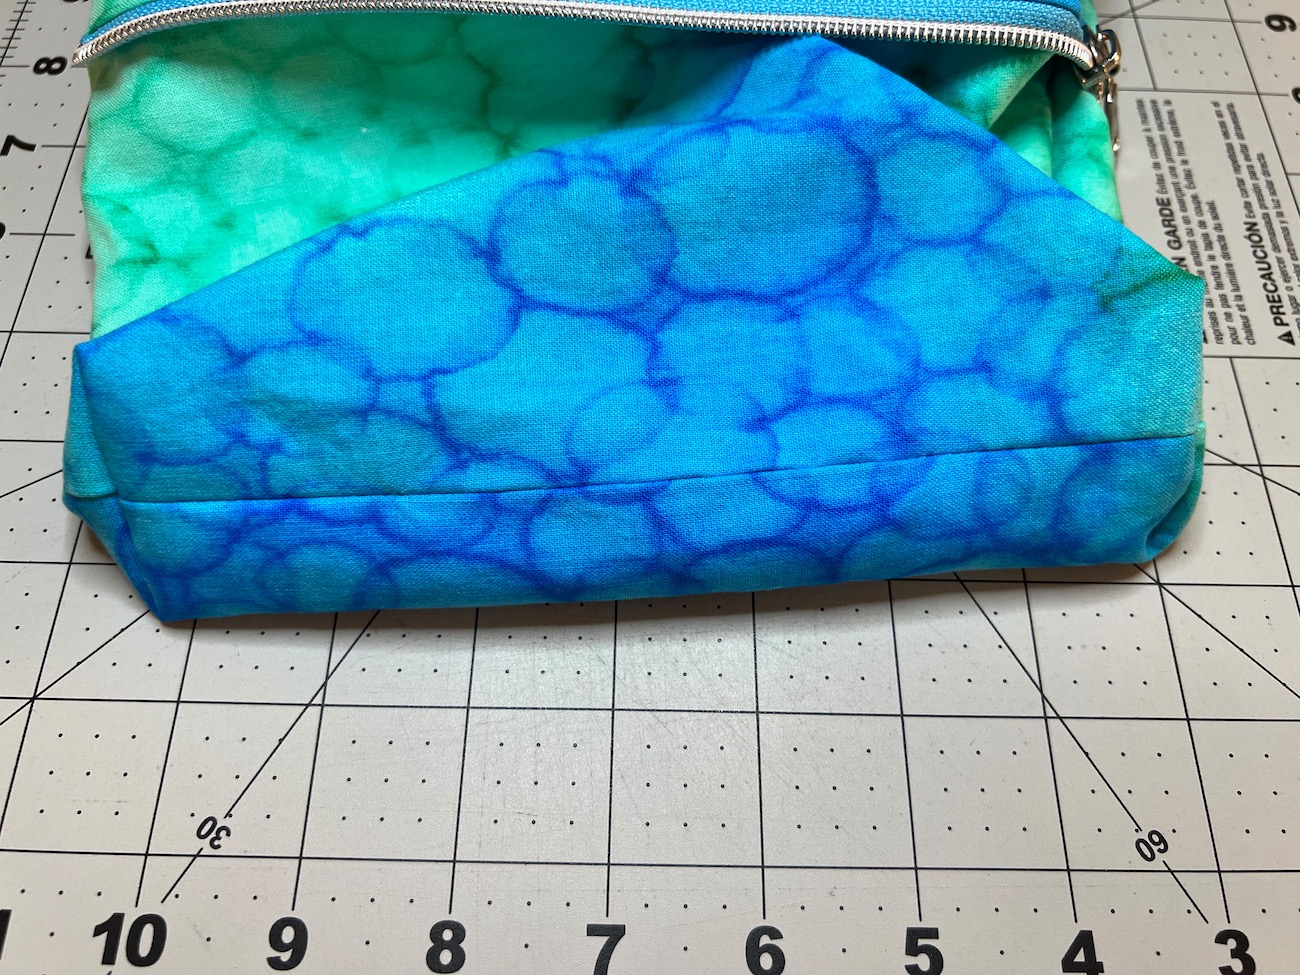
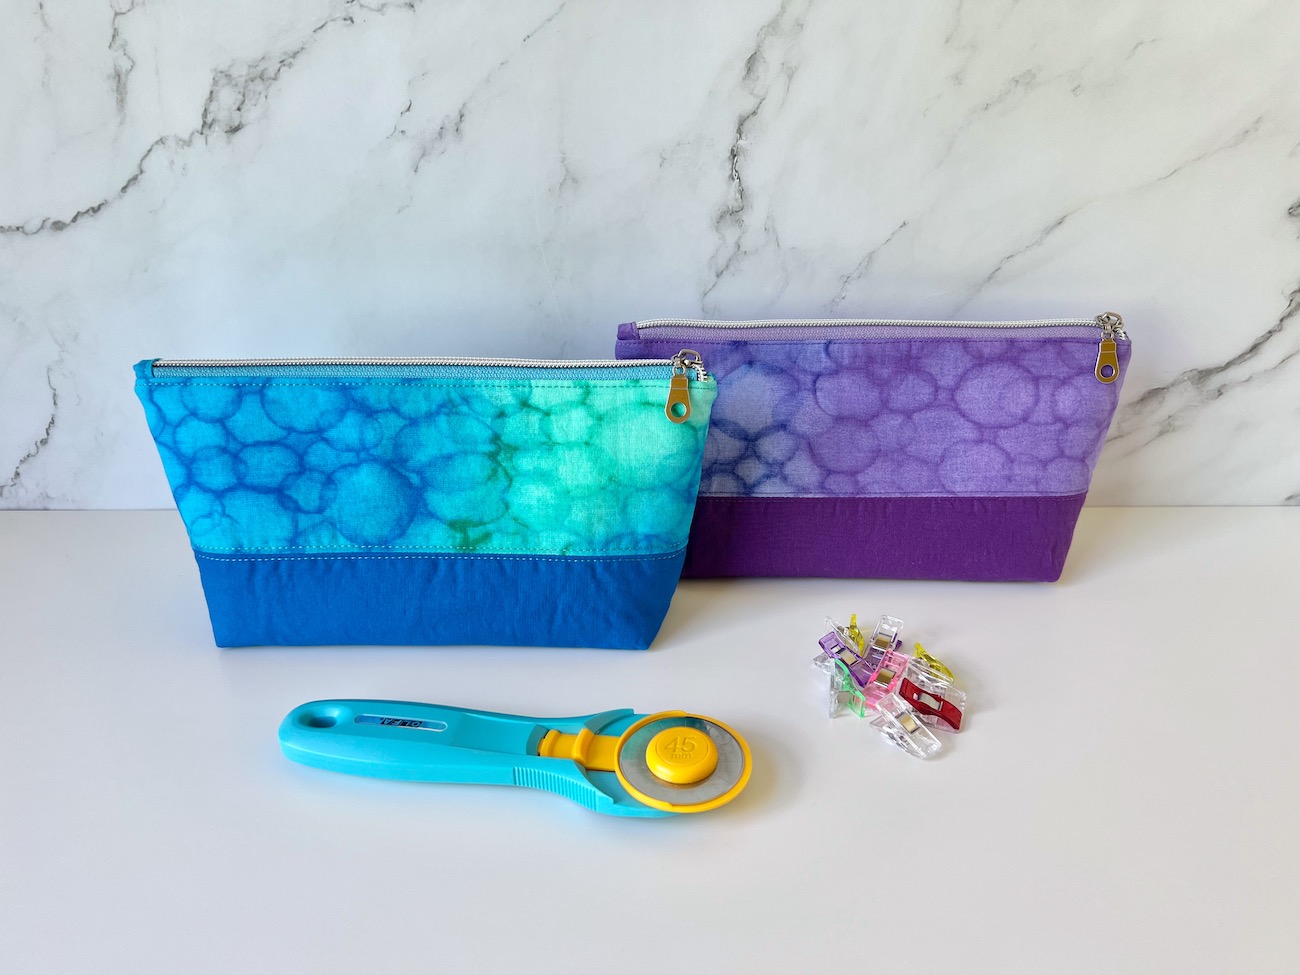
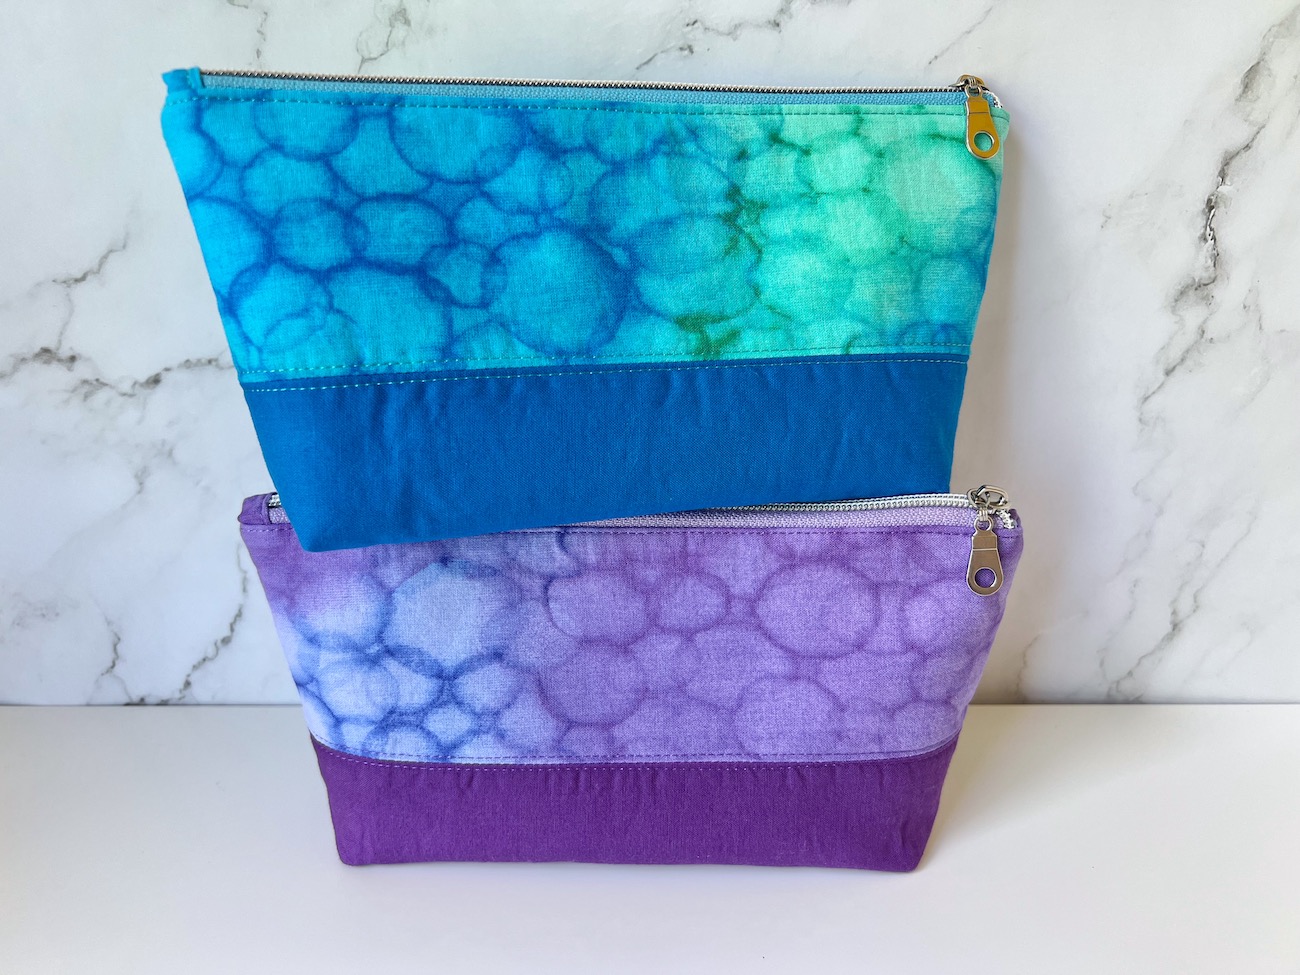
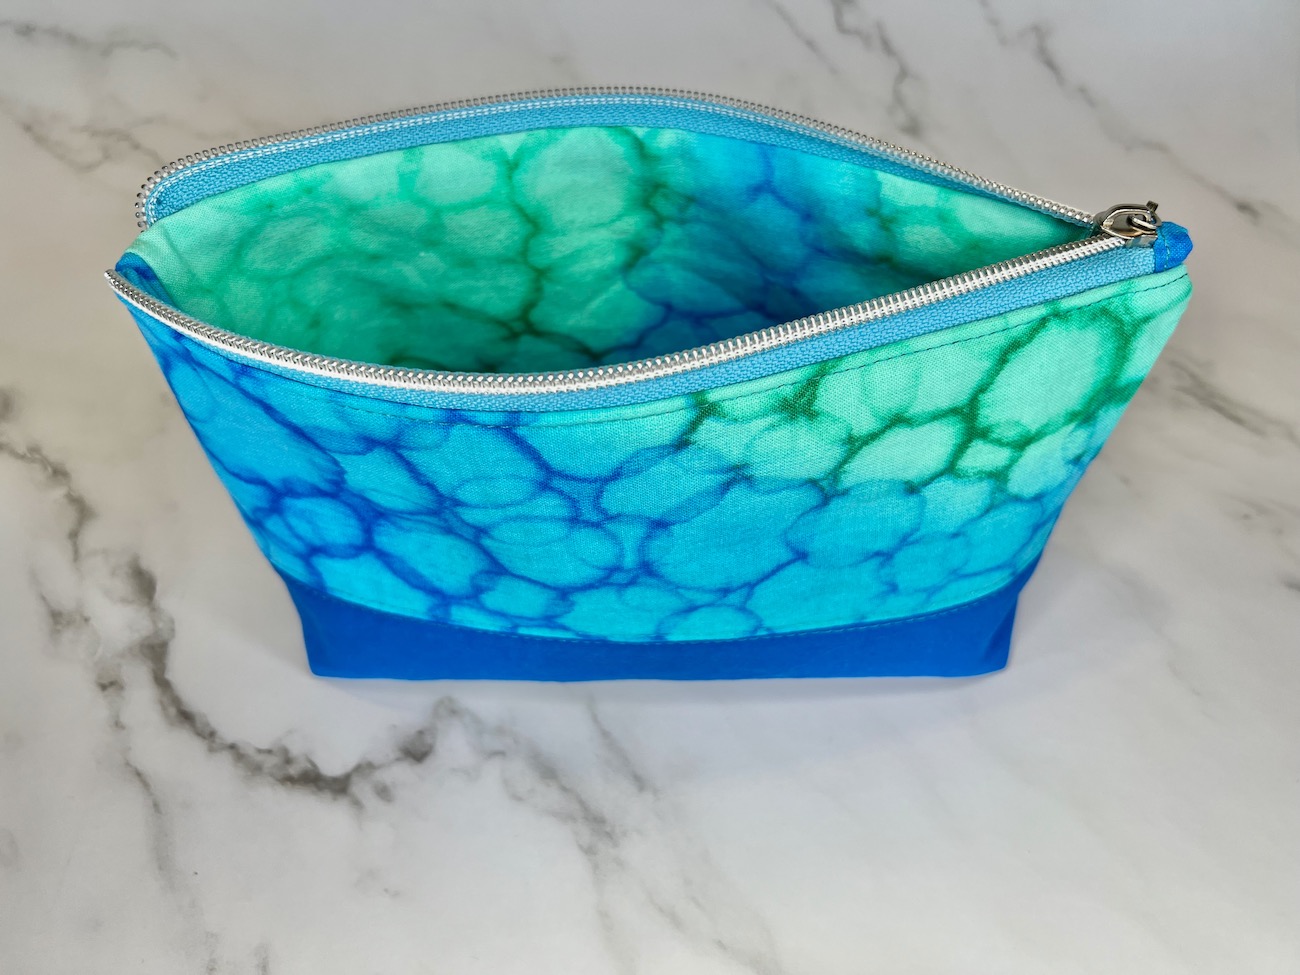
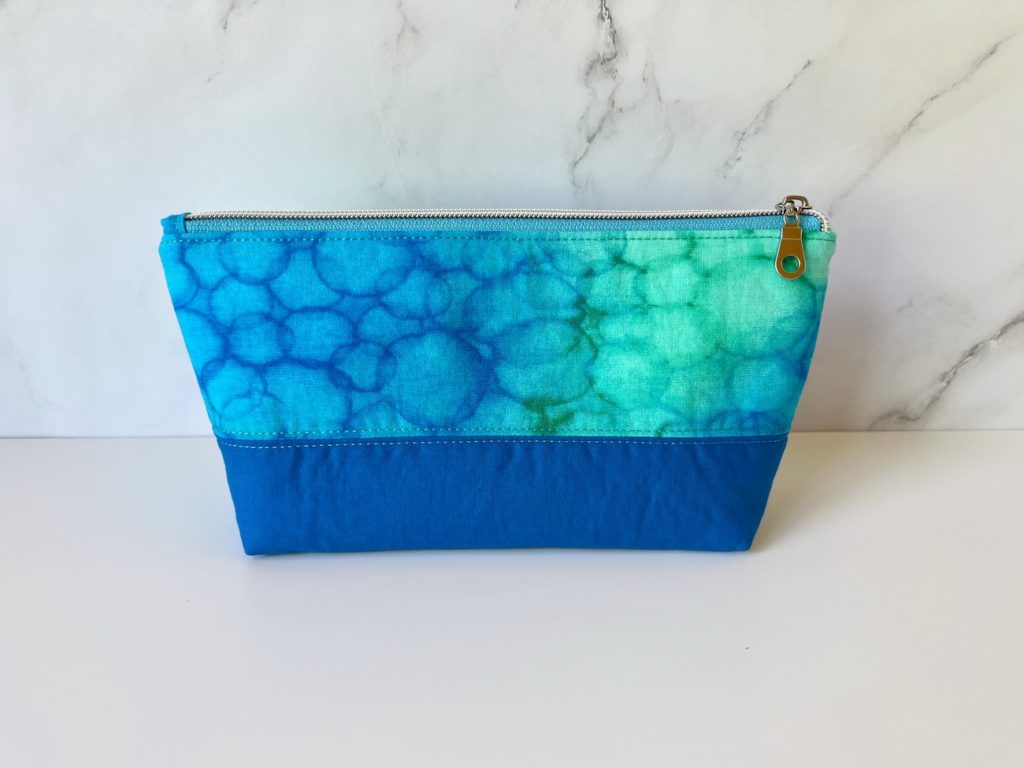
Admiring the Finished Zipper Pouch!
That last seam completes this zipper pouch tutorial series. Time to sit back, and admire your hard work!
If you have stuck with me and read through all these posts, thanks so much for reading! I’ve had several people ask me over the years about my methods for making zipper pouches, so I have been wanting to write these detailed posts for a while. I hope this was informative, and helpful too. If you make a zipper pouch following this tutorial I would LOVE to see it! Tag me on any social media (@RebeccaLangDesign). Feel free to reach out with any questions as well. Happy sewing, and be warned… these are quite addictive to make!