Zipper Pouch Tutorial and Free Pattern Part 1

The internet has many excellent zipper pouch tutorials in lots of shapes, sizes, and varieties. Over the years, and many zipper pouches later, (thankfully only a few wonky ones!) I have discovered the combinations of techniques that yield zipper pouches that I am consistently happy with. While some of these methods are not my invention entirely, I wanted to create an extremely detailed step-by-step tutorial and free pattern that includes my favorite steps for sewing a zipper pouch. My goal is to write the tutorial that I wish I had when I first started my bag-making journey. Sewing zipper pouches are not scary (I promise!), they are extremely fun to make and are lovely gifts! If you have always wanted to make a zipper pouch but didn’t know where to start, or if you have made some and are looking for some tips and tricks, I hope that you find these posts helpful!
I do recommend having a little general sewing knowledge before sewing your first zipper bag. Because this tutorial is very detailed and beginner friendly, I will be splitting it up into several individual blog posts. Part 1, this post, is all about cutting and interfacing the bag!
The finished bag created with this zipper pouch tutorial is 9 ¾” wide, 5” tall, and the boxed bottom is 2 ½” deep.

Here is a table of contents to easily navigate this post!
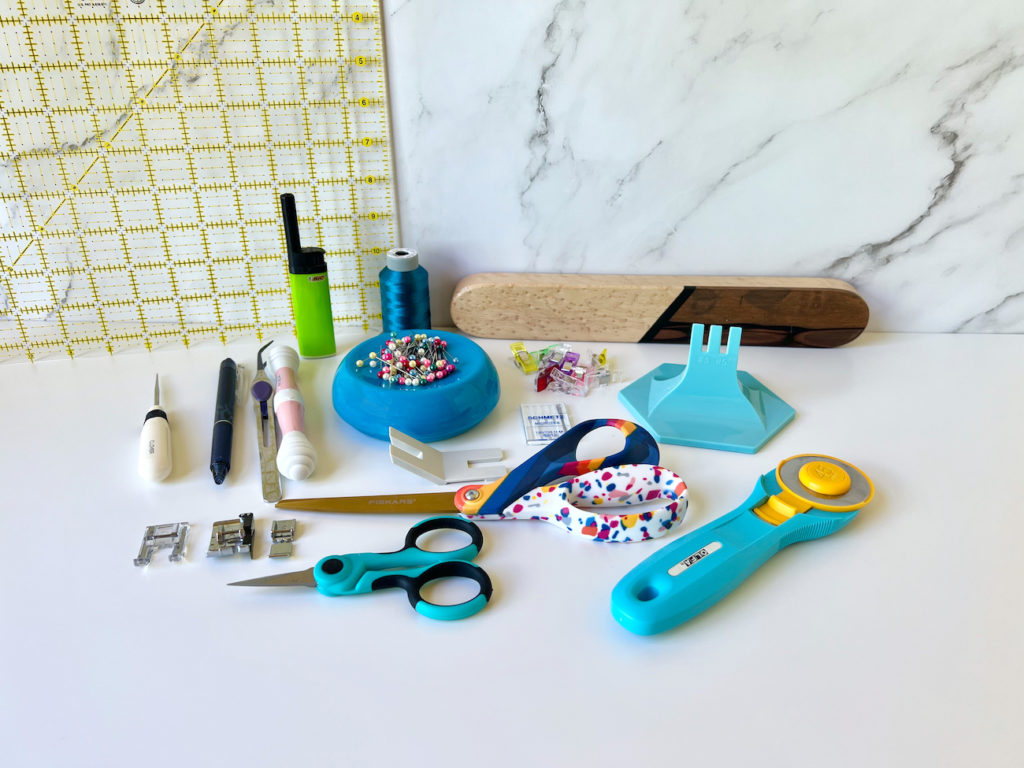
Supplies
You will need:
Cutting
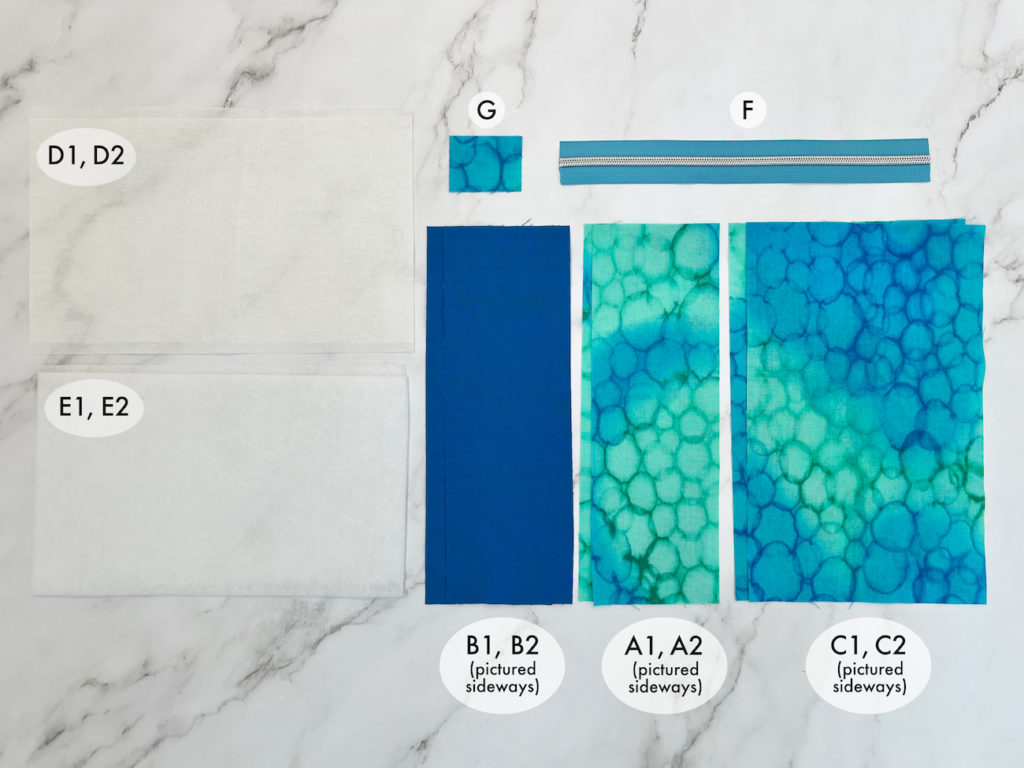
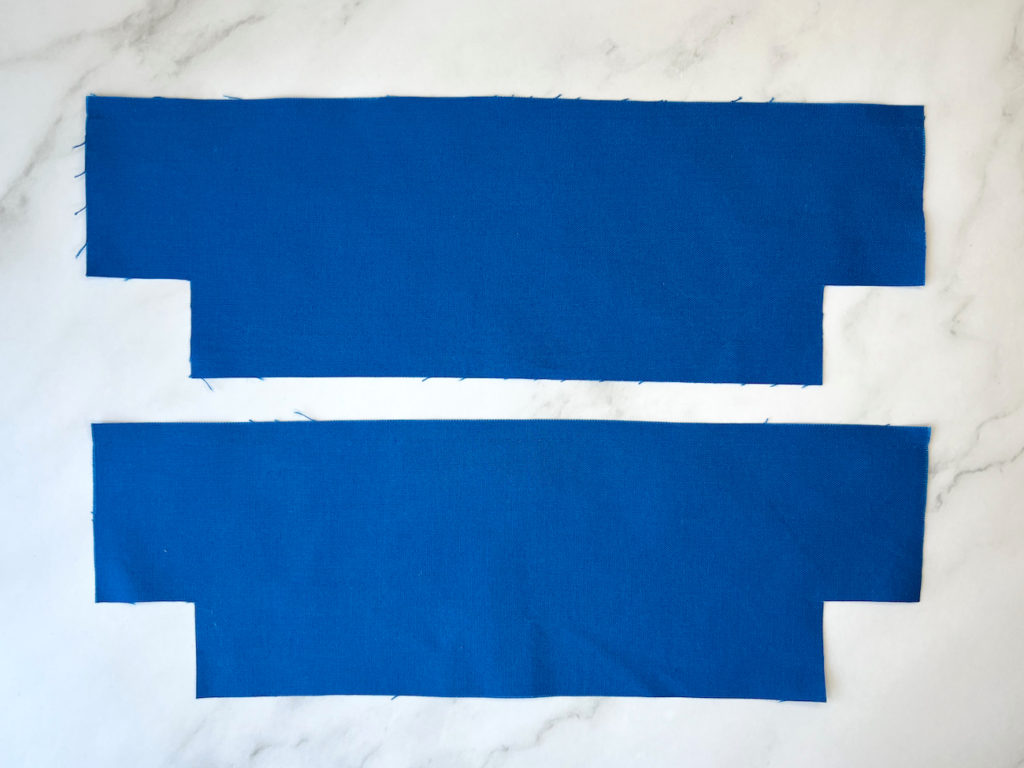
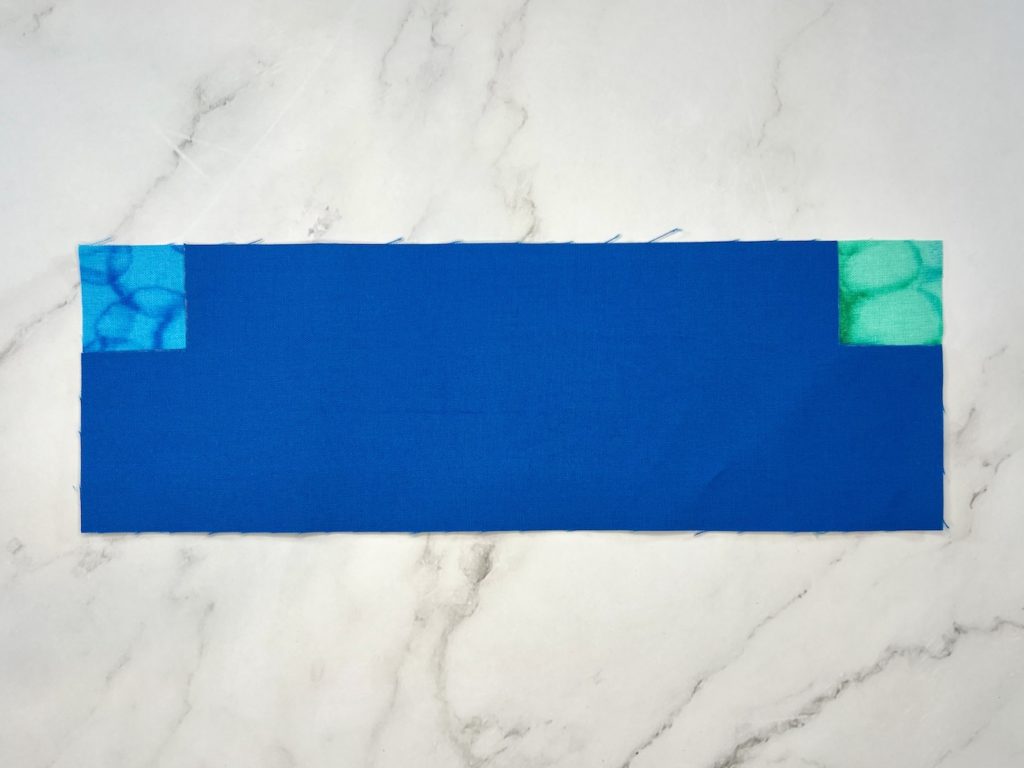
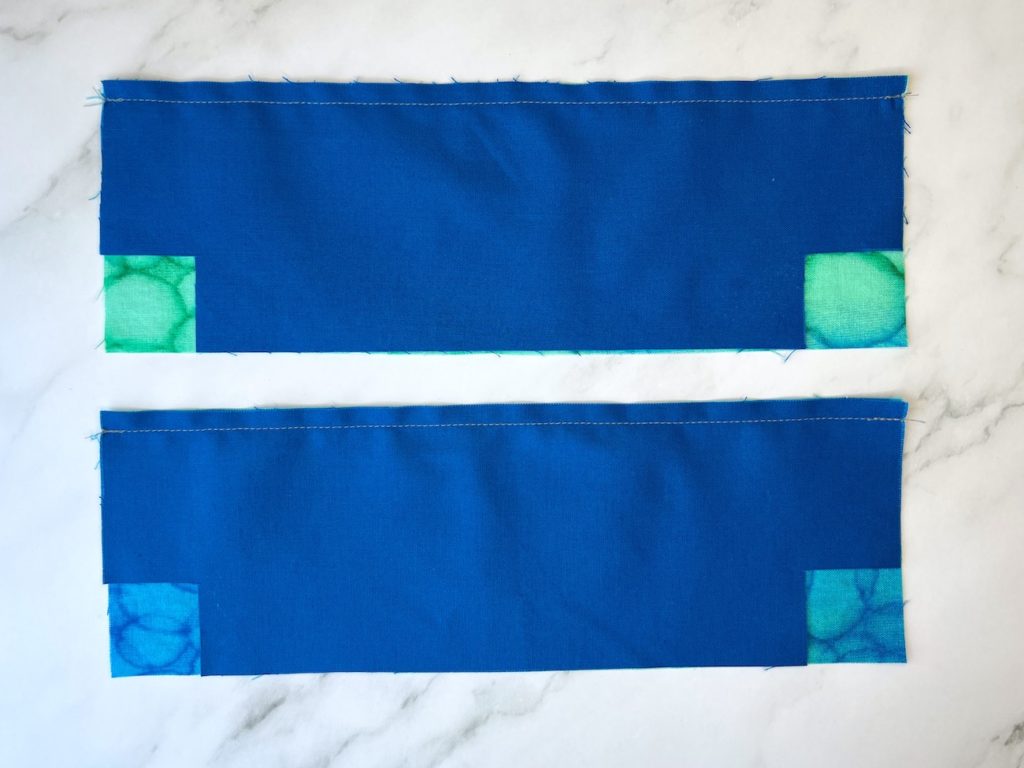
Take B1 and B2 and cut 1 ¼” squares from both corners along one of the long 10 ½” sides. These cutouts will turn into the boxed bottom of the bag. I like to use a ruler to mark lines and then cut the squares with sewing scissors instead of a rotary cutter. I prefer scissors because it’s very easy to overcut the squares with a rotary cutter.
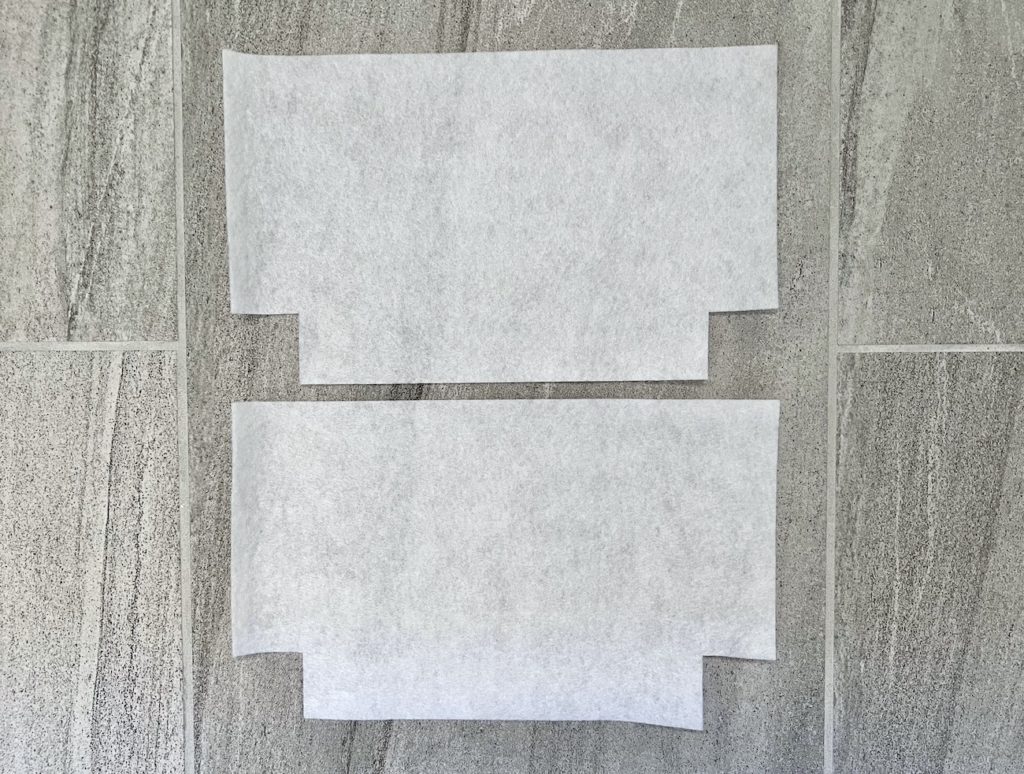
Take the E1 and E2 (the fusible fleece pieces) and cut 1 ¼” squares from both corners along one of the long 10” sides. Just like before, I prefer to use a ruler to mark the 1 ¼” squares and then cut them with scissors.
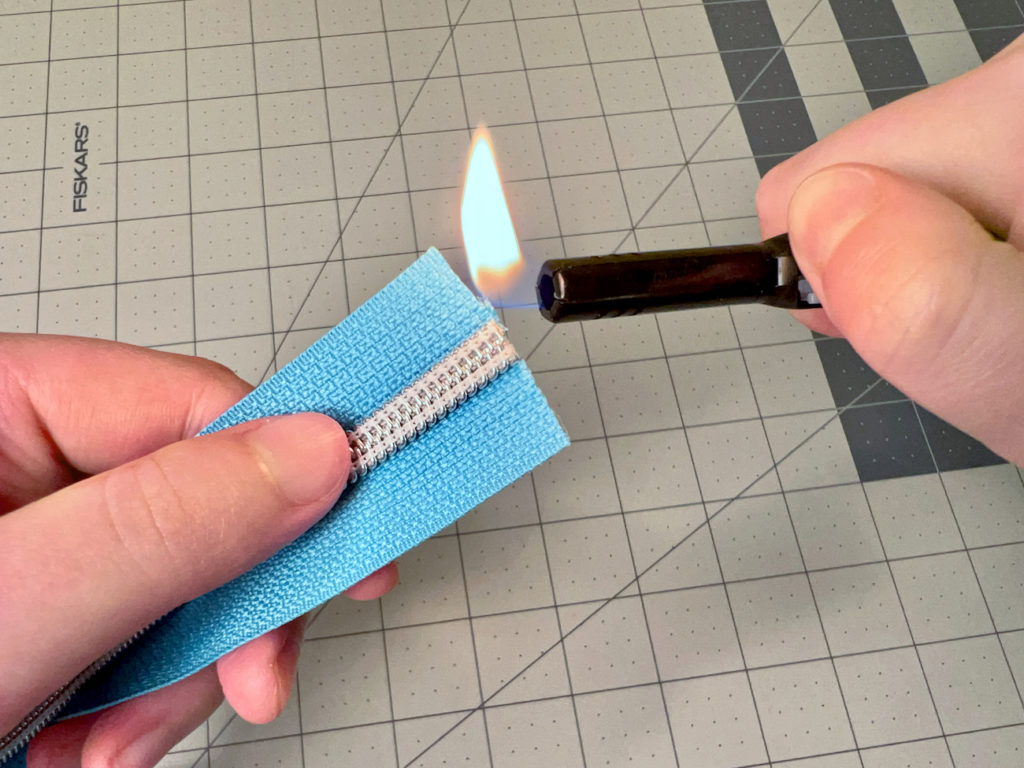
Take F (the 10 ½” zipper) and run the flame from a lighter along both cut edges of the zipper tape. This will slightly melt the polyester zipper tape to prevent it from fraying.
Piecing the Exteriors
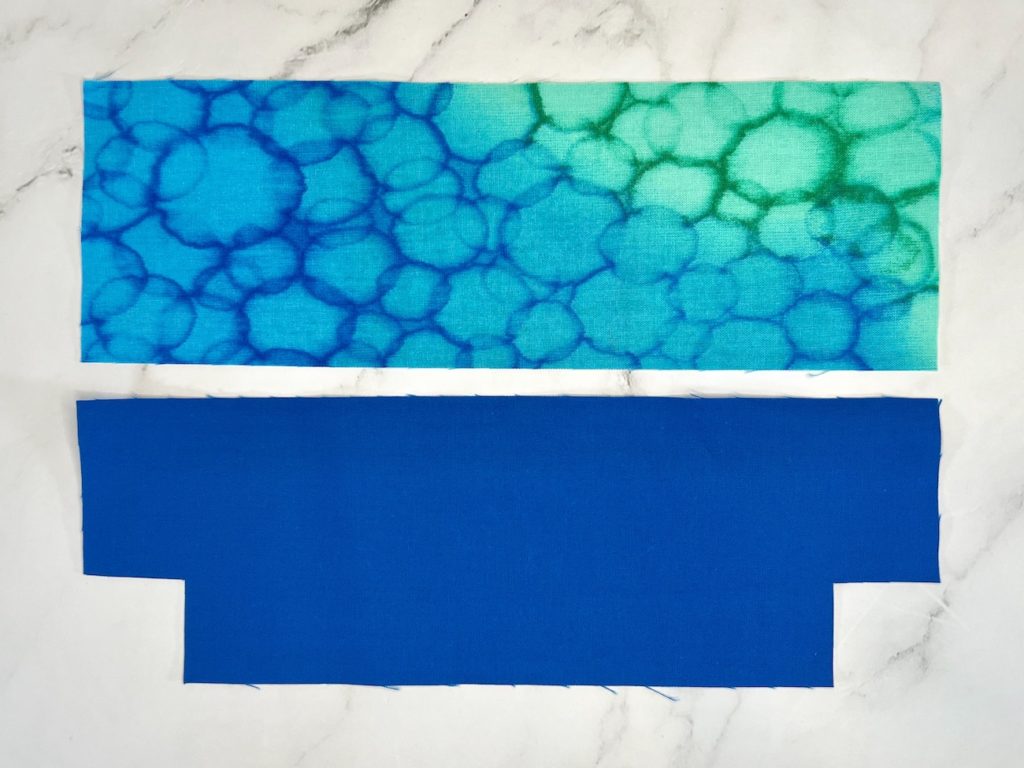
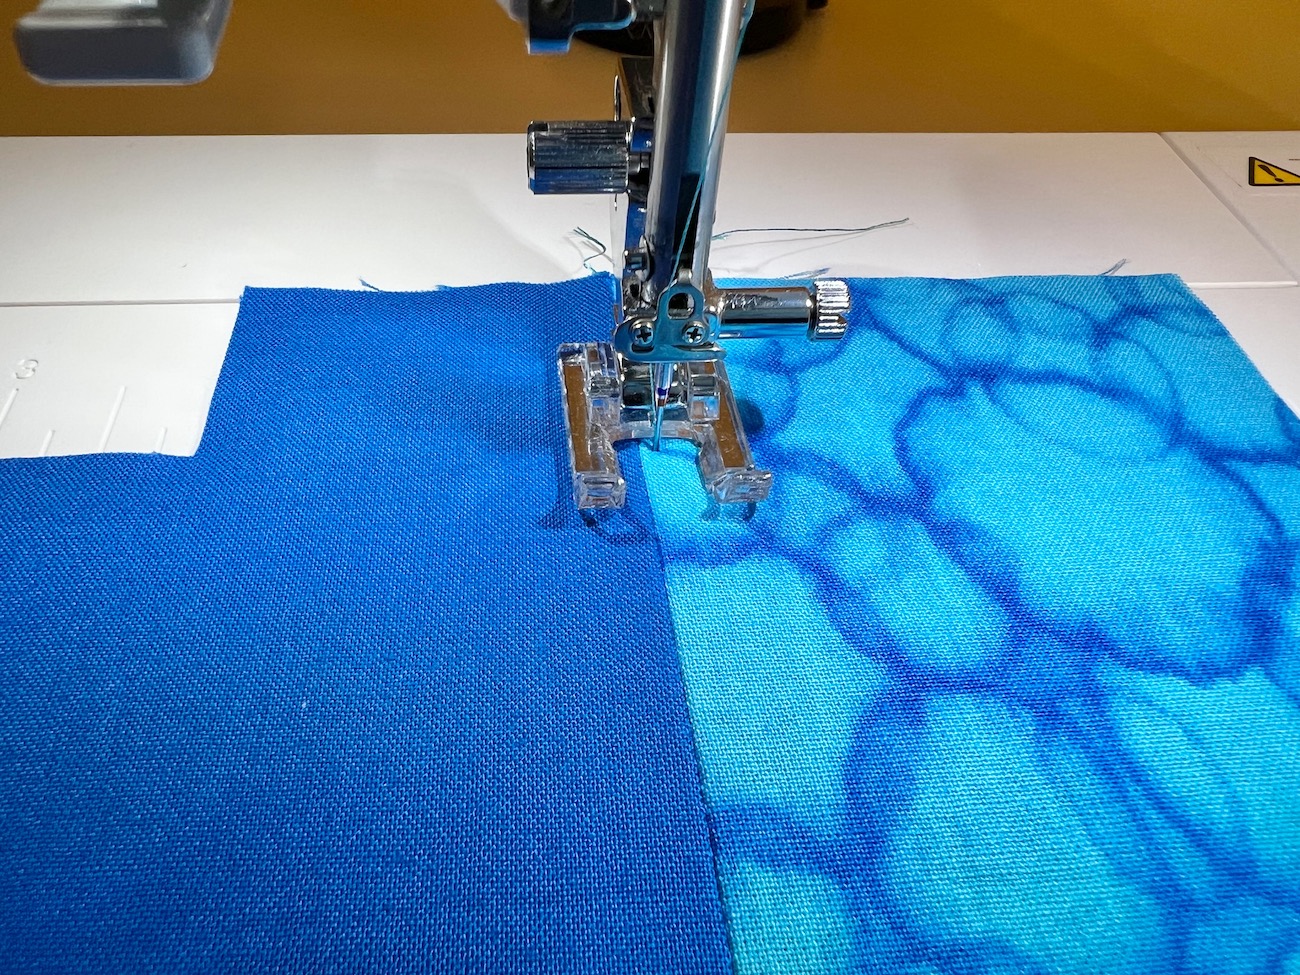
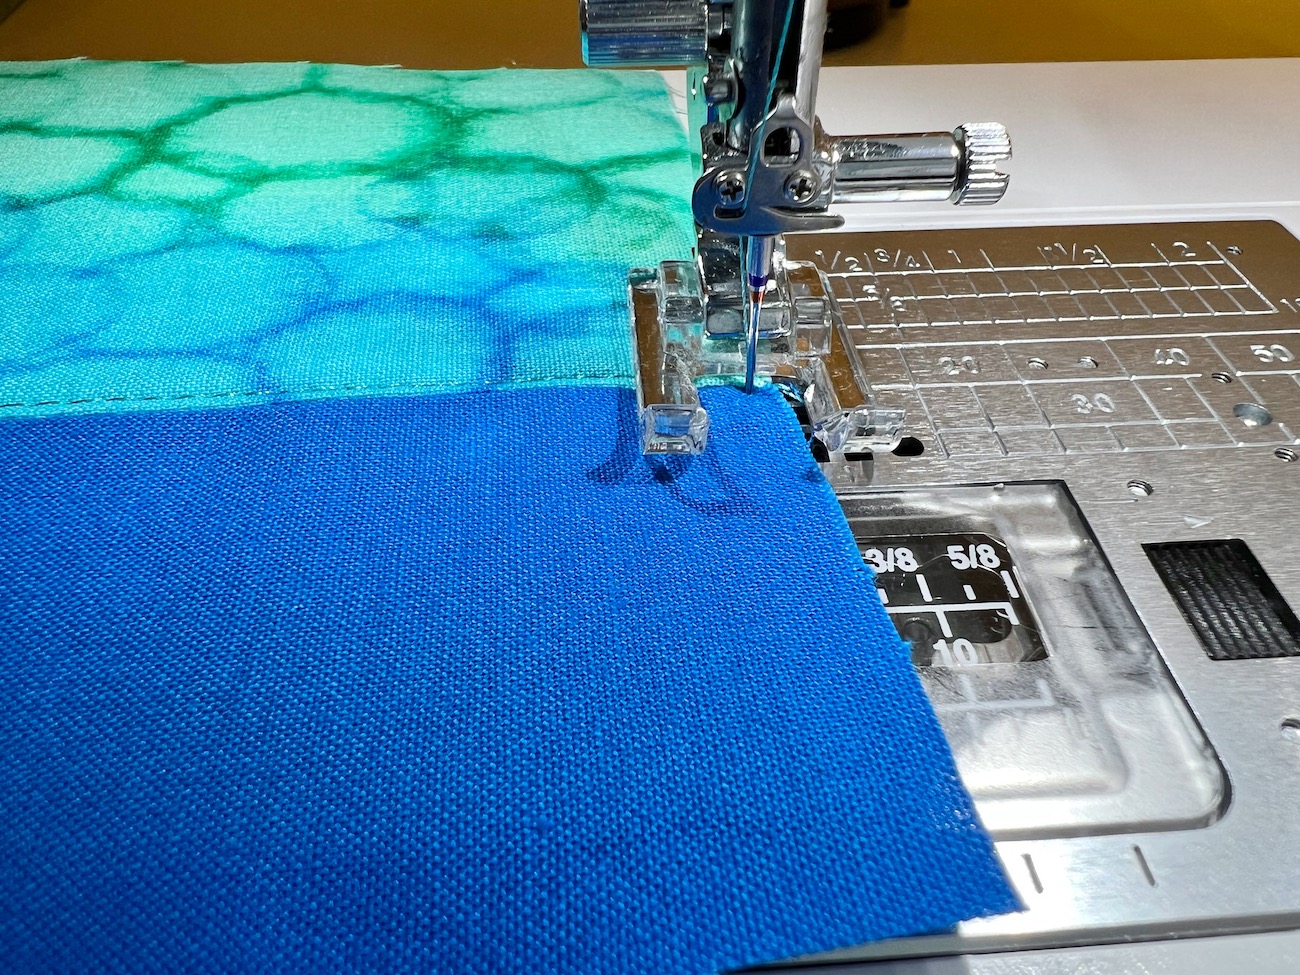
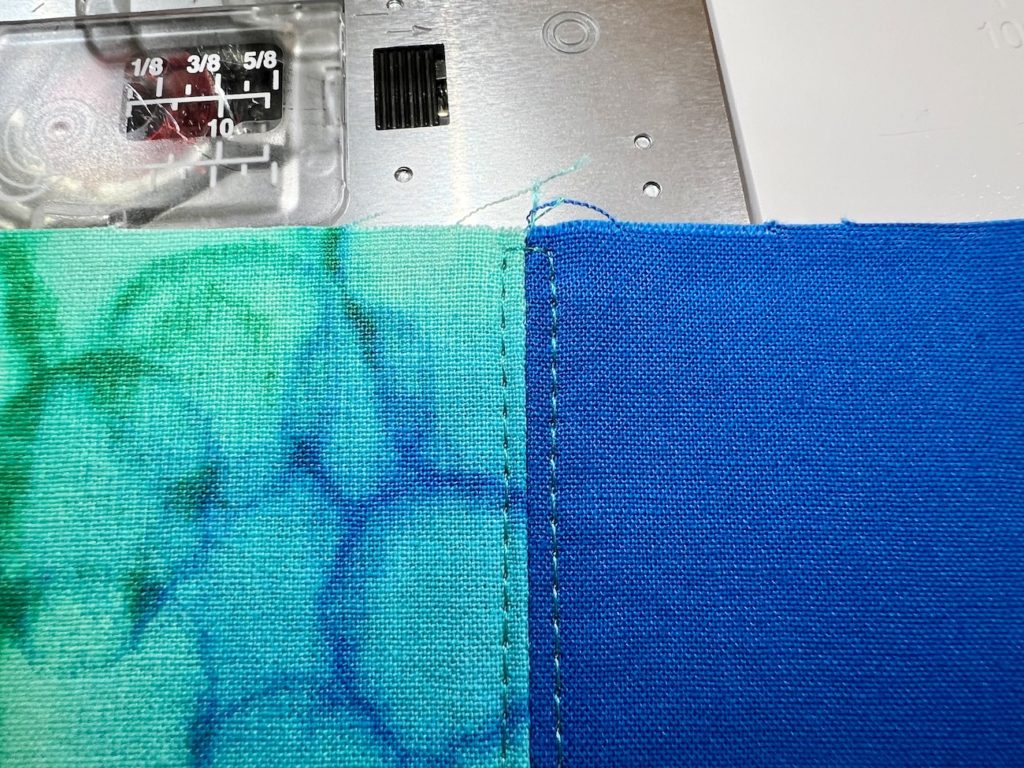
Take A1 (one of the main exterior top pieces), and B1 (one of the main exterior bottom pieces), and place the pieces in their correct orientation right sides facing up.
Take B1 and flip it up so that A1 and B1 are touching right sides together. The long sides of the pieces will match and the side of B1 with the square cutouts will be at the top.
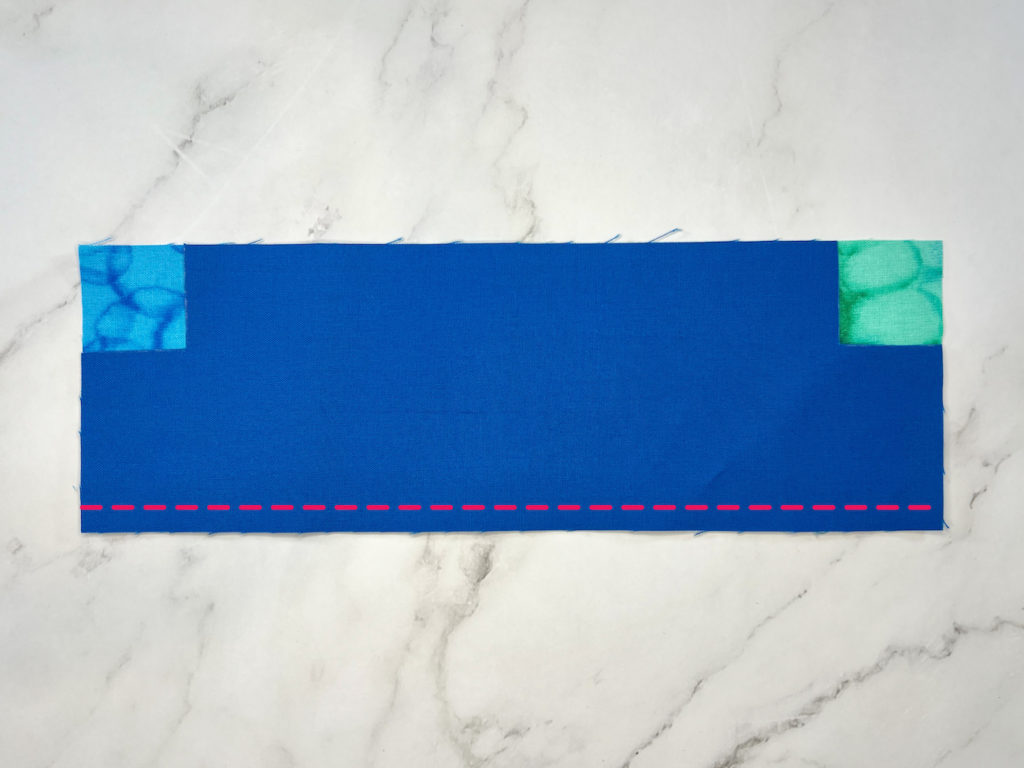
Stitch along the bottom edge (the edge with no cutouts) with a ¼” seam allowance using a 2.4 mm stitch length. Backstitch at the beginning and end of this seam.
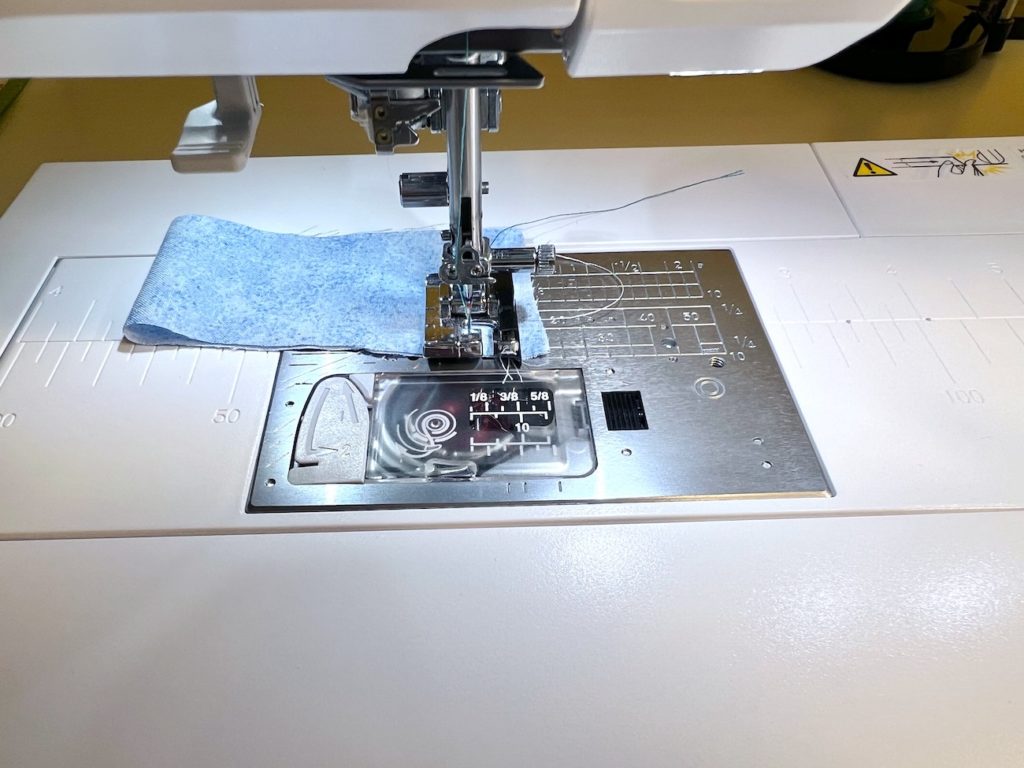
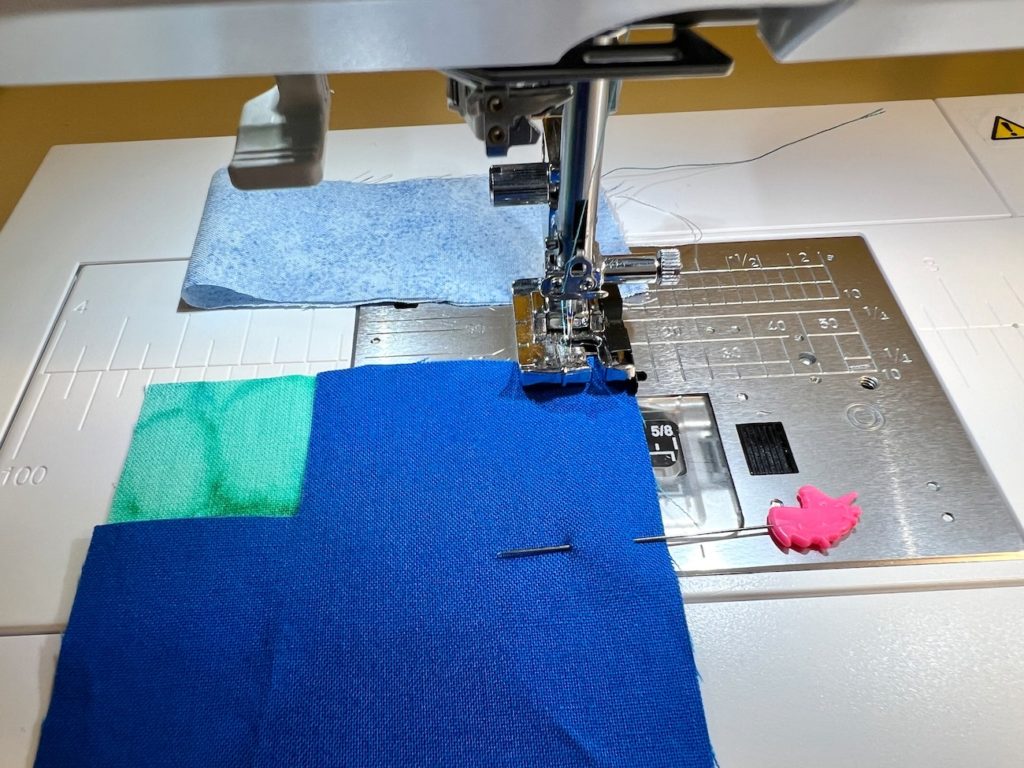
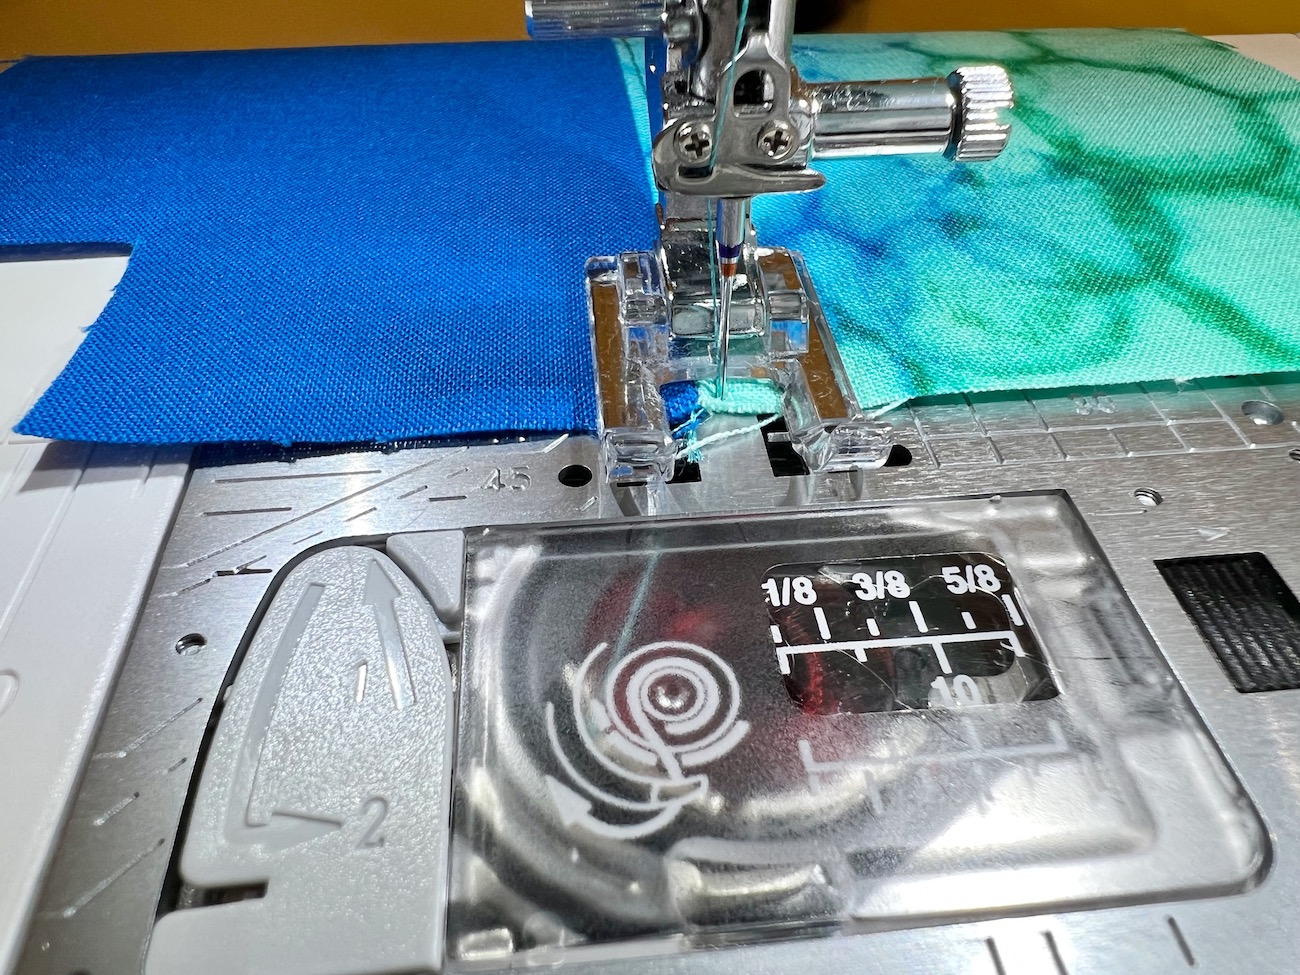
TIP: When sewing just two pieces of thinner material like quilting cotton, the fabric can sometimes want to pull into the needle hole in the needle plate. To help with this, you can use a scrap piece of fabric (often called a leader). Start by sewing on the leader, then sew off of the leader for a few stitches, then start sewing onto the two pieces of quilting cotton, all without cutting your threads. In the pictures below, the light blue fabric is the leader.
Repeat those same steps for A2 and B2.
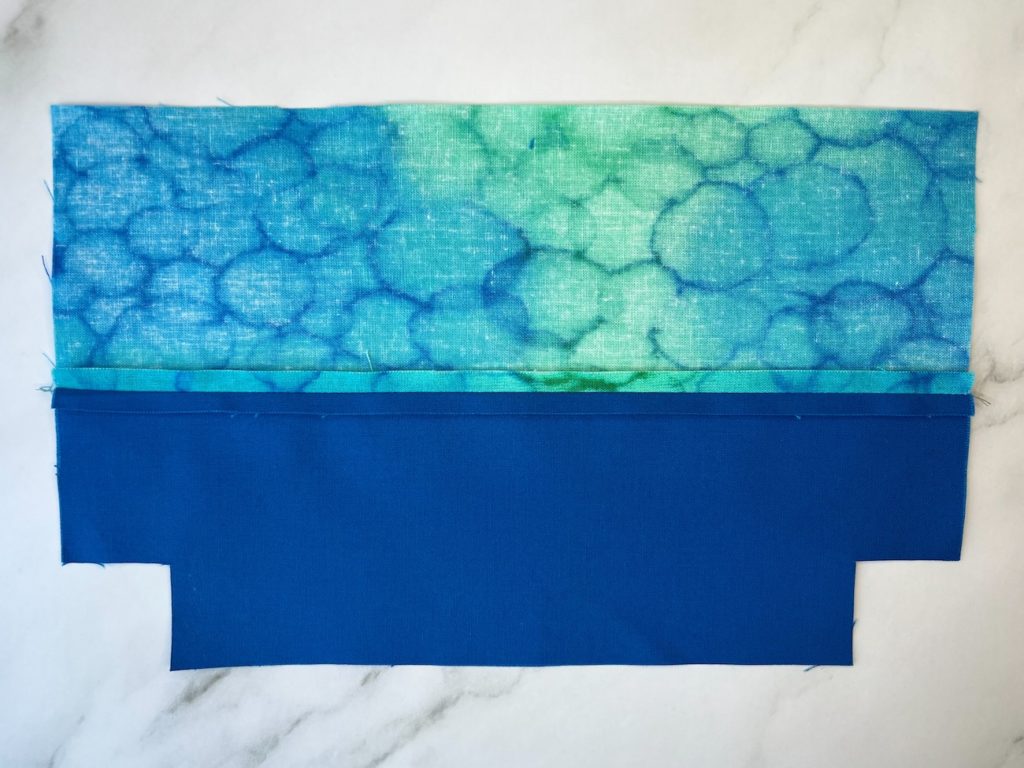
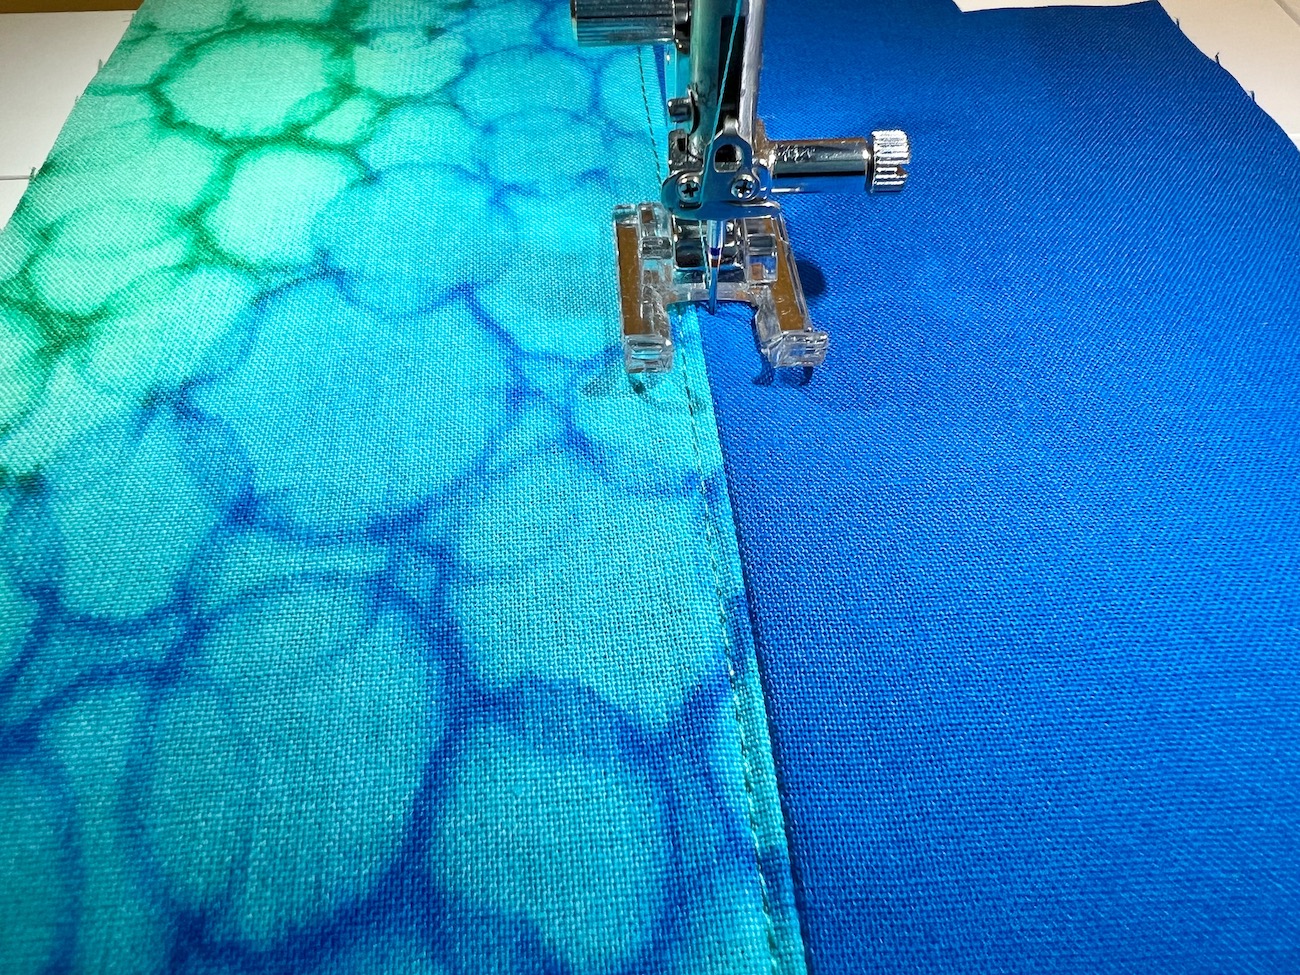
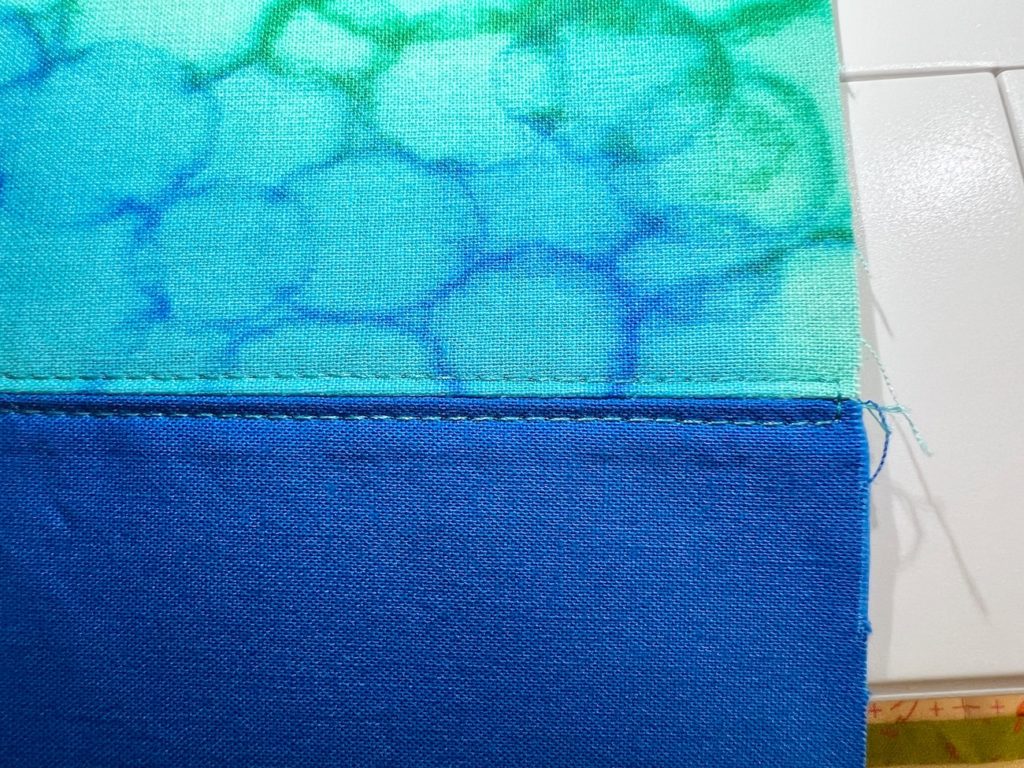
Press the seams just sewn (with the pieces still folded right sides together), then unfold the pieces and press the seams open.
TIP: A tailors/quilters clapper can be very useful here. After pressing the seam open (with steam) lay your clapper on top of the freshly pressed seam and leave it there for a minute or two for an extra flat seam.
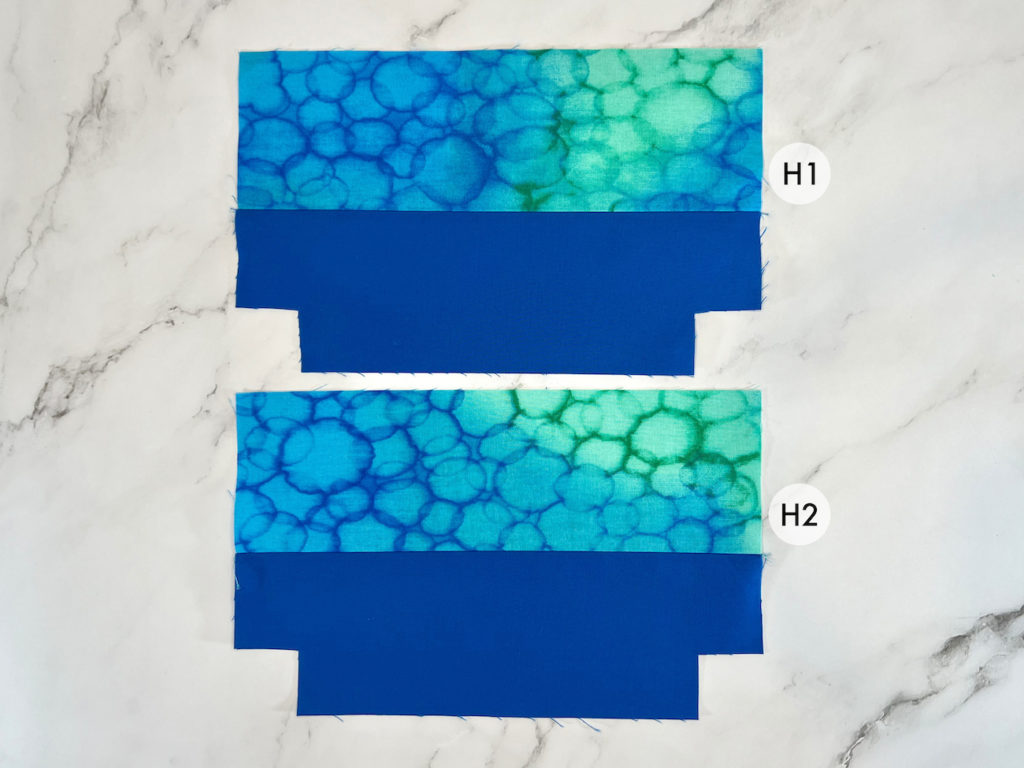
The two exterior panels are now finished! These exterior panels are now pieces H1 and H2.
Fusing the Interfacing
The lining pieces (C1, C2) and the Shape Flex SF101 (D1, D2) pieces are cut to the same size, so align them making sure the bumpy glue dot side of the SF101 is touching the wrong side of the lining fabric. Fuse them following the manufacturer’s instructions.
Take the fusible fleece pieces (E1, E2) and the exterior panels (H1, H2), and align the fusible fleece with the bumpy glue dot side touching the wrong side of the exterior panels. Center the fusible fleece on the wrong side of the exterior panels with a ¼” (approximately) around each edge, and fuse following the manufacturer’s instructions.
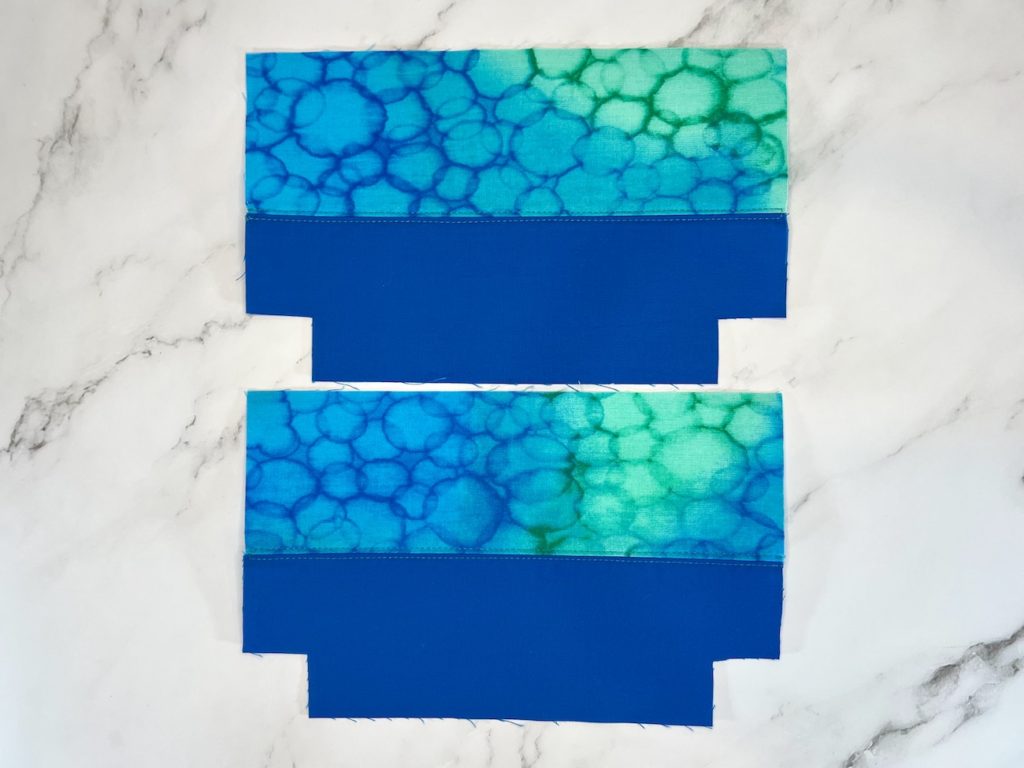
The two lining pieces (C1, C2) and the two exterior pieces (H1, H2) should now look like this from the wrong side.

Fusing Interfacing Tips
When it comes to fusing interfacing, it is important to test with the exact combination of fabrics/irons/interfacings to determine what combination gives the best results. For my first test, I always initially follow the manufacturer’s instructions. From my personal experience, however, I have found I have greater success with higher heat settings than what is typically recommended. I also prefer using my Cricut Easy Press to fuse interfacings rather than a regular iron. The benefits of a Cricut Easy Press (or any larger heat press) are that they have a much larger surface space so it is quicker to adhere interfacings, and the larger surfaces tend to have more consistent heat which helps the interfacing attach more evenly and solidly.
For Pellon Shape Flex SF101, I set my Cricut Easy Press to 350 degrees. I spritz my material with a mister filled with water and I apply heat and pressure for 10-15 seconds. For Pellon Fusible Fleece, I set my Cricut Easy Press to 350 degrees. With a press cloth (a scrap piece of quilting cotton or muslin) covering the fusible fleece, I spritz the press cloth with a mister filled with water and I apply heat and pressure for 10-15 seconds.
Keep in mind that when fusing and interfacings, a press cloth is a good idea to keep your iron clean. Shape flex SF101 is made of 100% cotton, so the side that does not have glue can be touched with your iron without leaving residue. Fusible fleece is made from 100% polyester and will stick to your iron very easily (ask me how I know!!). Each iron can be different, however, as some irons I have had in the past with stainless steel sole plates have seemed to stick even to the 100% cotton SF101. So when in doubt… use a press cloth!
Topstitching the Exterior Panels
Because the interfacing used for this bag is fusible, technically no stitching is required for the front and back exterior panels (H1, H2). However, topstitching is a nice-looking addition and can add to the strength of the bag so that the bag can last many years and many washes, so I do typically topstitch! It’s also a fantastic way to try out some decorative stitches on your machine for something extra fancy. For this tutorial, I will stick with straight-stitch topstitching, which is the method I use most often.
Take H1, and topstitch ⅛” away from the seam on both sides of the seam using a 3mm stitch length. Backstitching on topstitching can often look messy, so as long as you start and stop your topstitching within the ¼” seam allowance I don’t always backstitch (if your machine does a locking stitch, you could try that within the seam allowance). It is not vitally important to topstitch here because these lines of stitching will be caught when the bag is sewn together at the end. This a great time to utilize an open-toe foot if your machine has one, as it can help with visibility while sewing.
Instead of starting and stopping your stitching for each row of topstitching, stitch along one side until you near the edge and then stop WITHIN your seam allowance.
Stop with your needle down, raise your presser foot, pivot your project 90 degrees counter-clockwise, and sew two to three stitches within the seam allowance.
Stop again with your needle down, raise your presser foot, and pivot your project 90 degrees counter-clockwise. Continue stitching down the other side of the seam ⅛” away from the seam.
This is what one side of the exterior panels will look like if the pivot method is used.
Repeat the topstitching steps on the other exterior panel (H2).
The two exterior panels will now look like this!
Marking the Exteriors
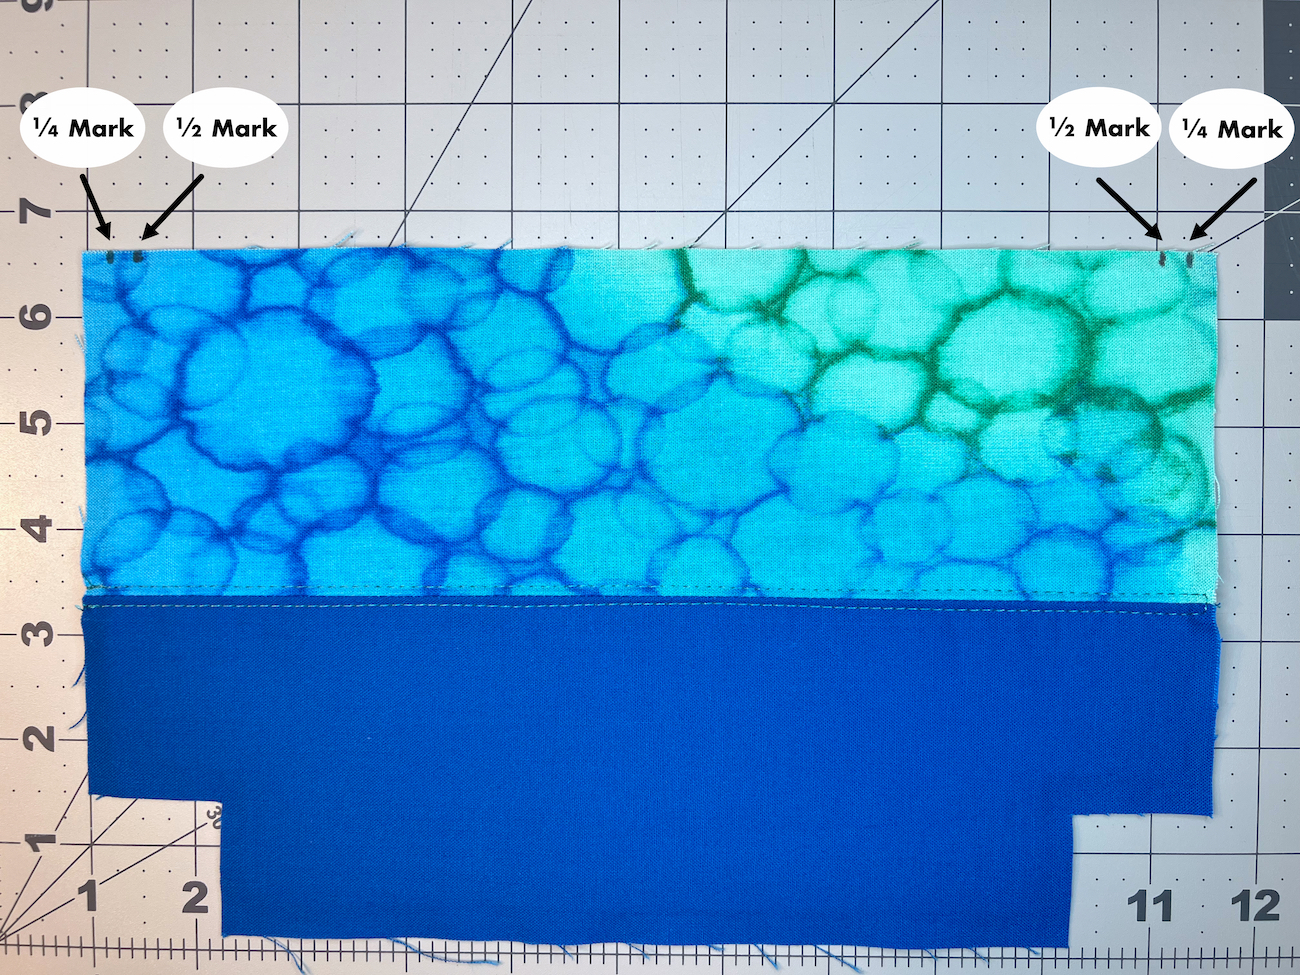
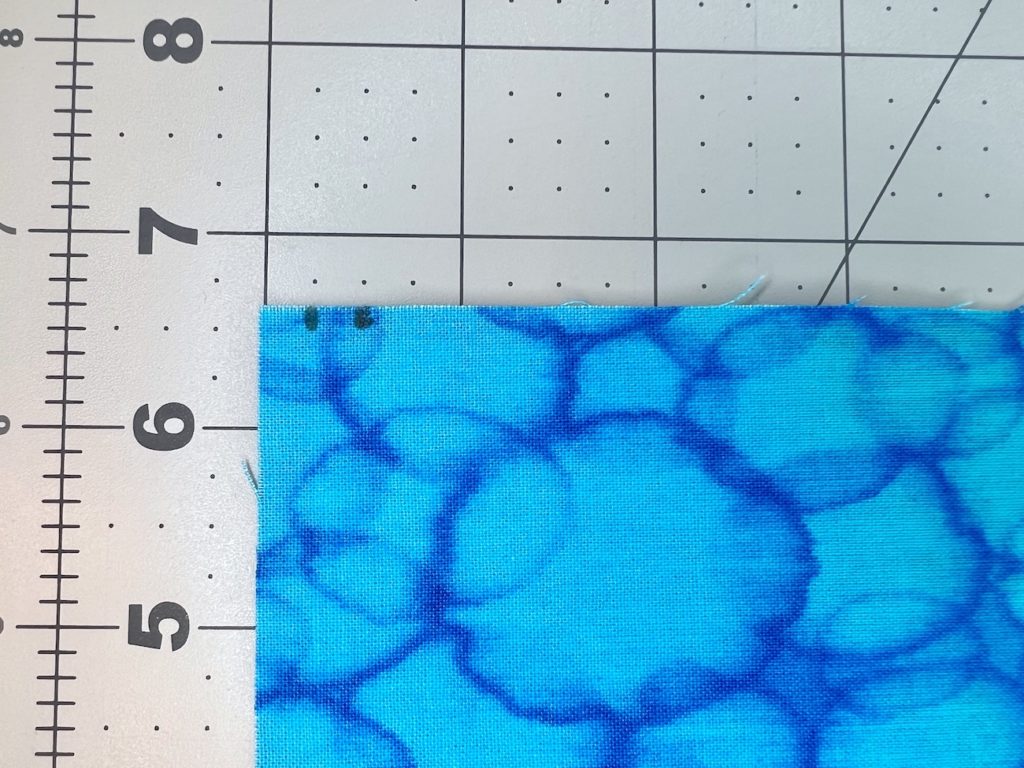
For sewing the zipper later, there are a few points that need to be marked on the front of the exterior panels (H1, H2). Use a fabric marking tool that is removable here or make sure the marks stay within the ¼” seams.
Using either a ruler or your cutting mat, mark a ¼” in and a ½” in on both top sides of the exterior panels. These do not have to be exact, these markings are just for general placement guides later.
That’s the last step for part 1 of this zipper bag tutorial and free pattern! Part 2 is about prepping the zipper by the yard. Part 3 is about sewing the zipper. Part 4 is about finishing the zipper pouch. Happy cutting and interfacing!