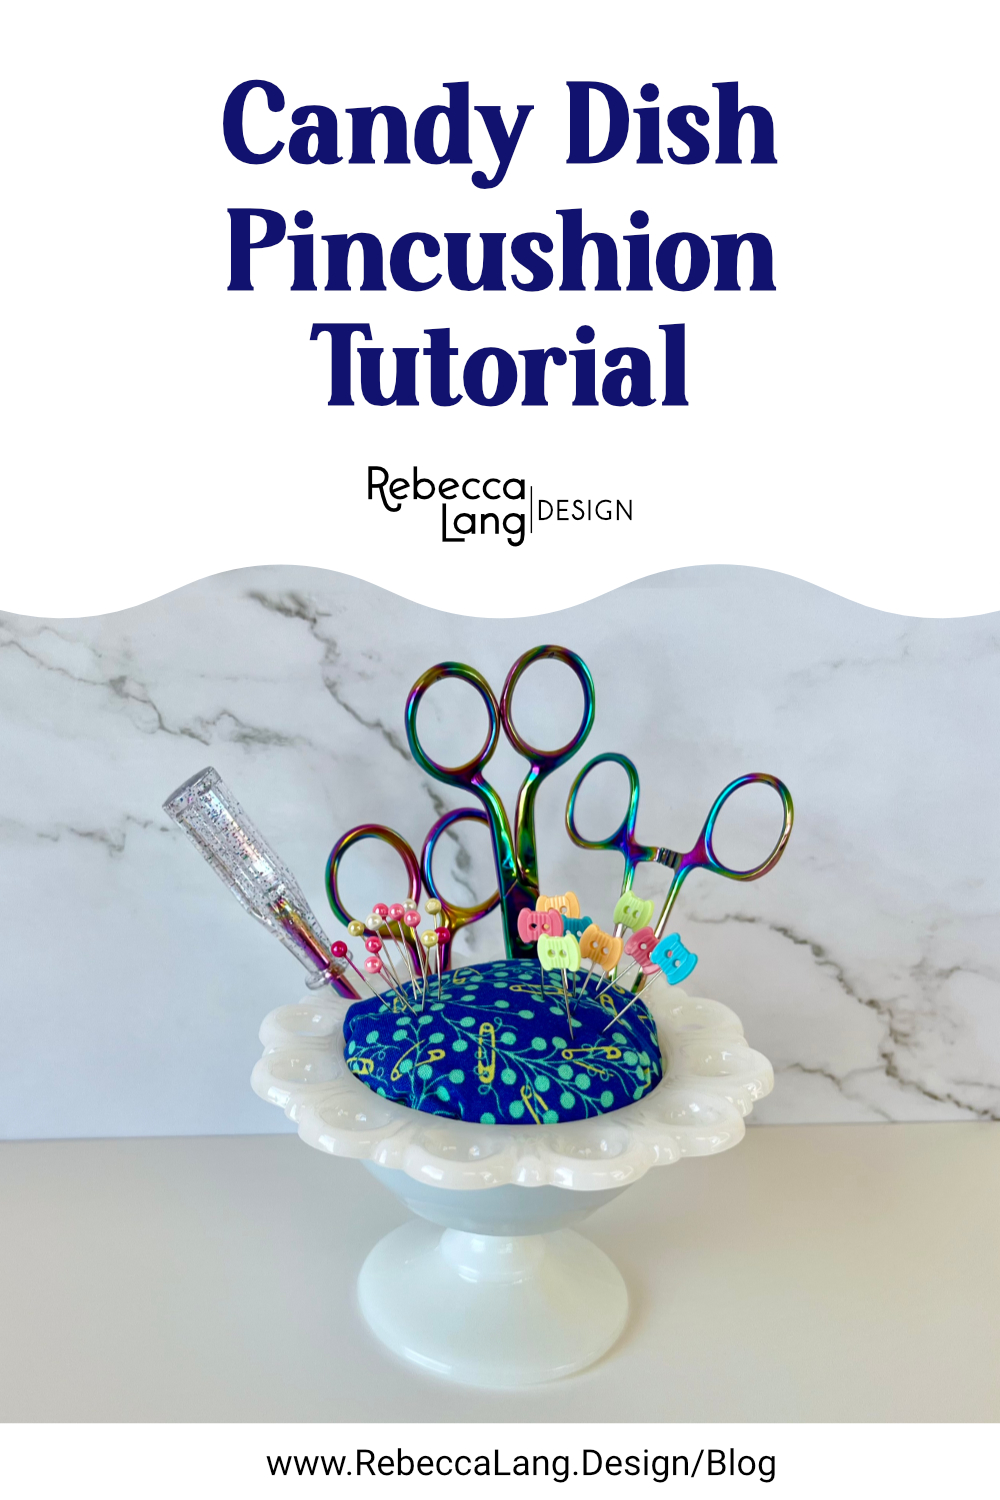
Candy Dish Pincushion Tutorial
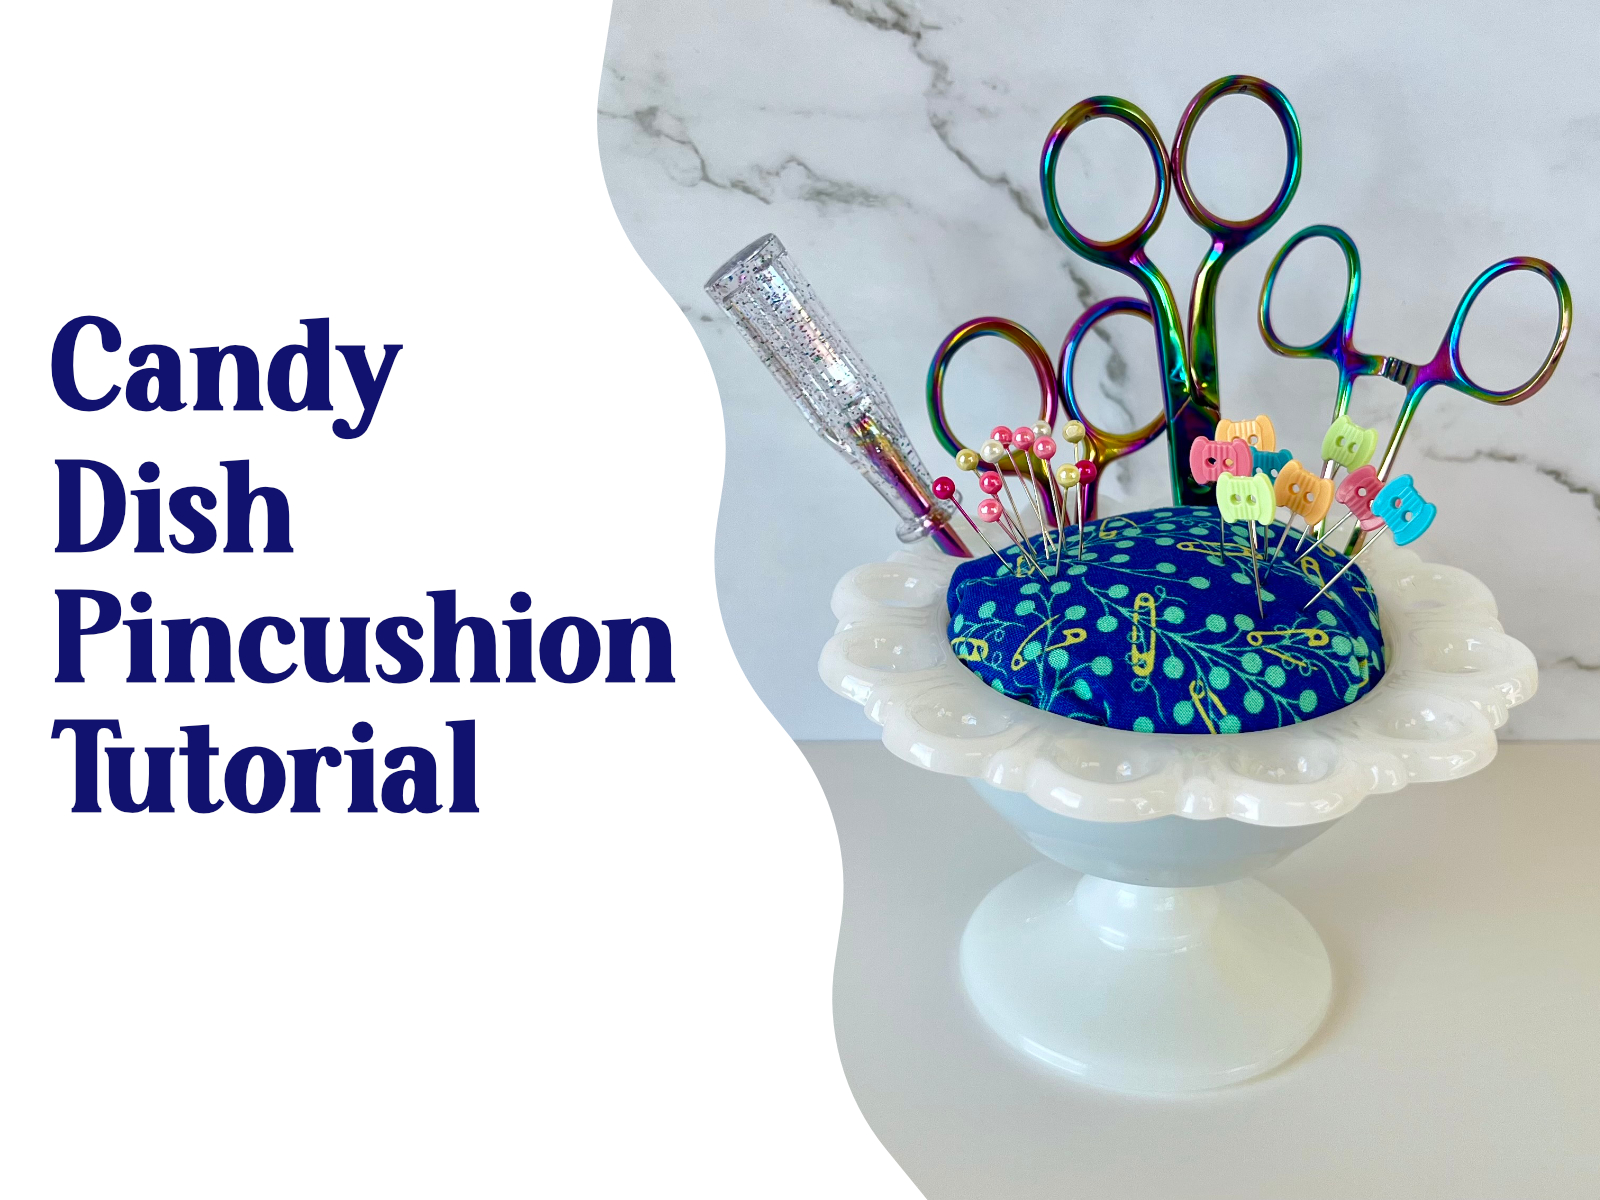
Pincushions are one of my favorite sewing room trinkets. I’ve seen several recently made with candy dishes that I immediately fell in love with! I wanted to share what I came up with for creating one in this quick candy dish pincushion tutorial post. A big thanks to my amazing sister-in-law, who has incredible thrifting skills and found this candy dish about two days after I asked her to watch for one!!
Candy Dish Pincushion Tutorial Supplies
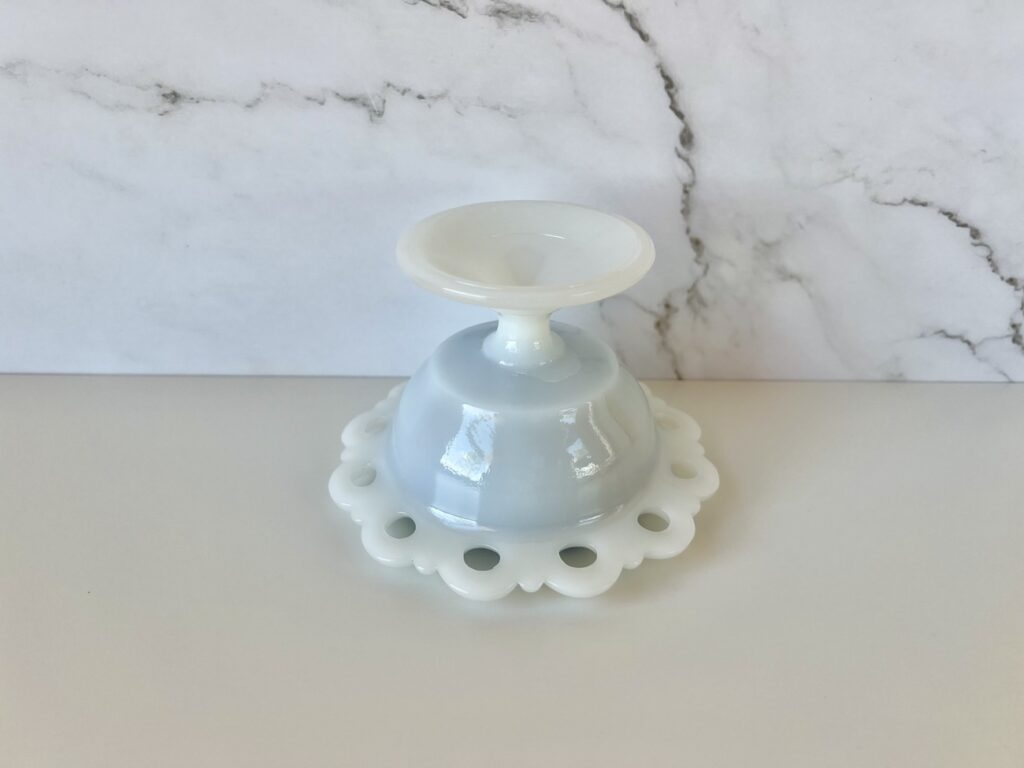
Step 1: Trace the Candy Dish
Place the candy dish upside down on the wrong side of your fabric, leaving at least 2 inches or more of fabric all the way around.
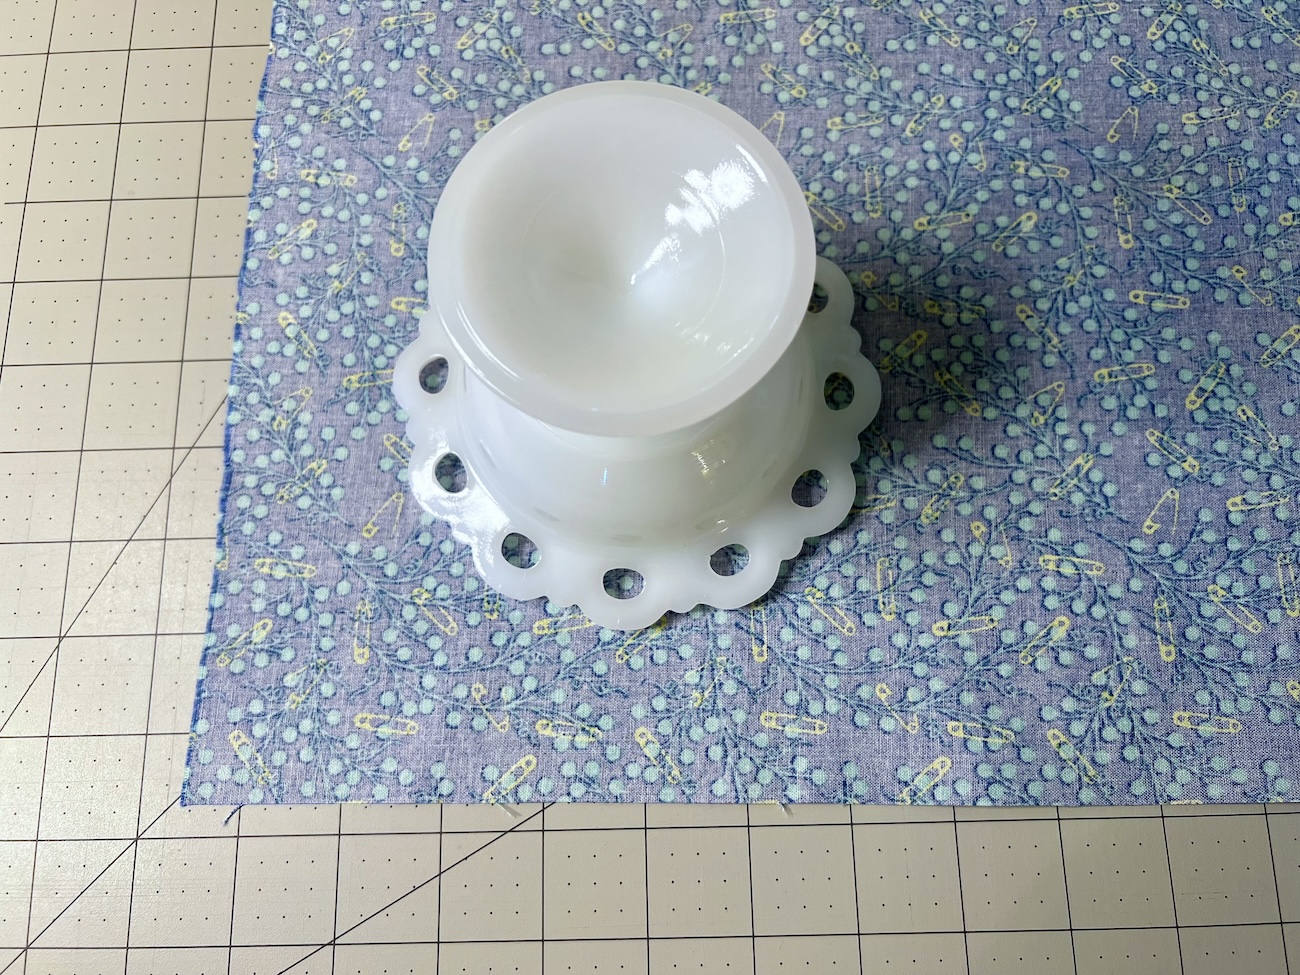
With a marking pen, trace along the top edge of the candy dish. Remove the candy dish from the fabric, and even out the traced edge for a cleaner circle (this doesn’t have to be perfect!)
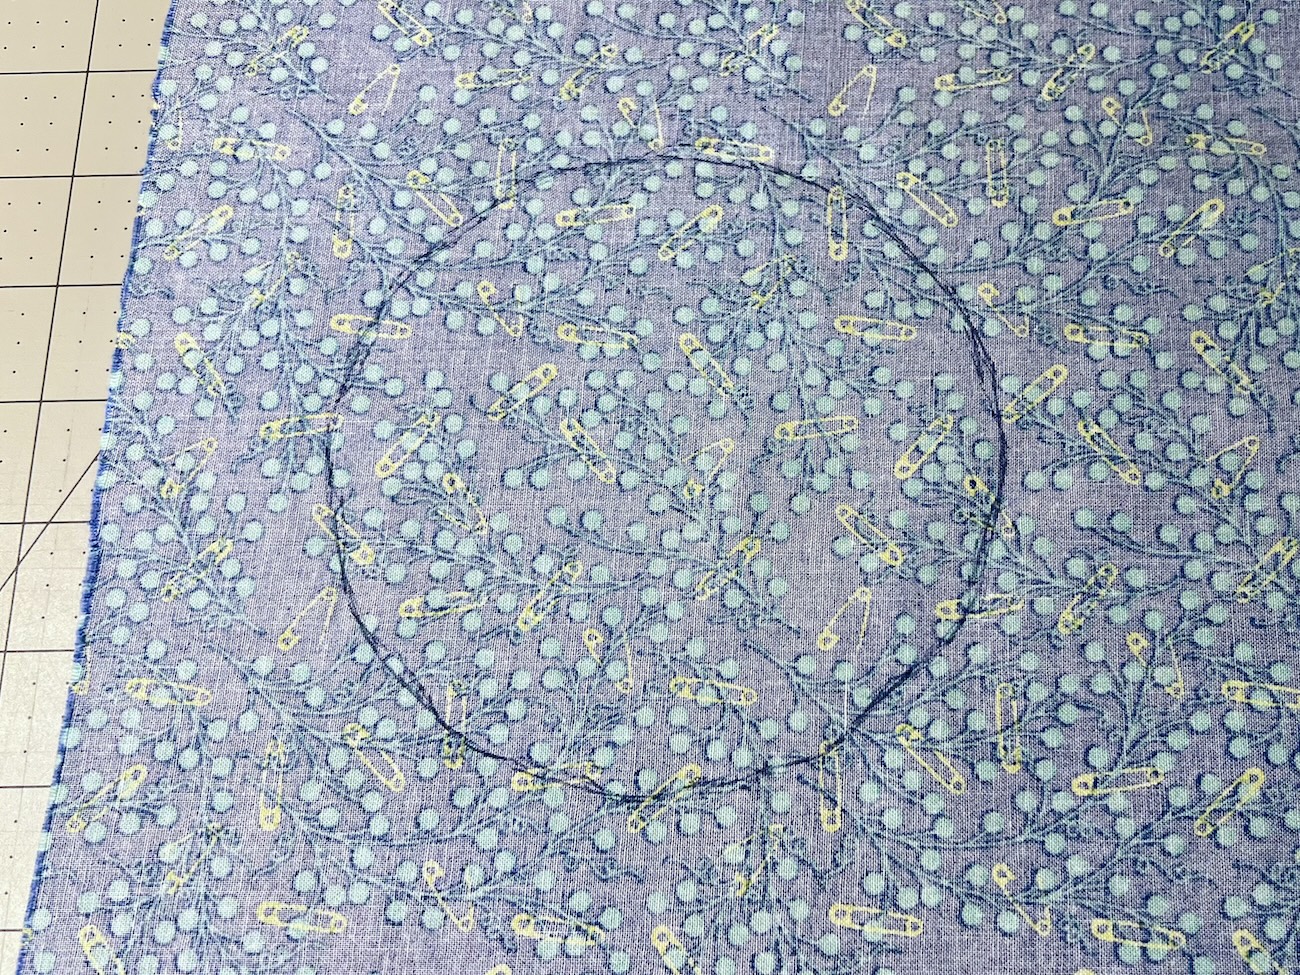
Step 2: Mark the Cutting Line
Use a ruler to mark a circle 1½ inches bigger than the traced circle. To make the larger circle, I made dash marks, moving the ruler in small sections and then connected the dashed marks to create a new larger circle (this also doesn’t have to be perfect).
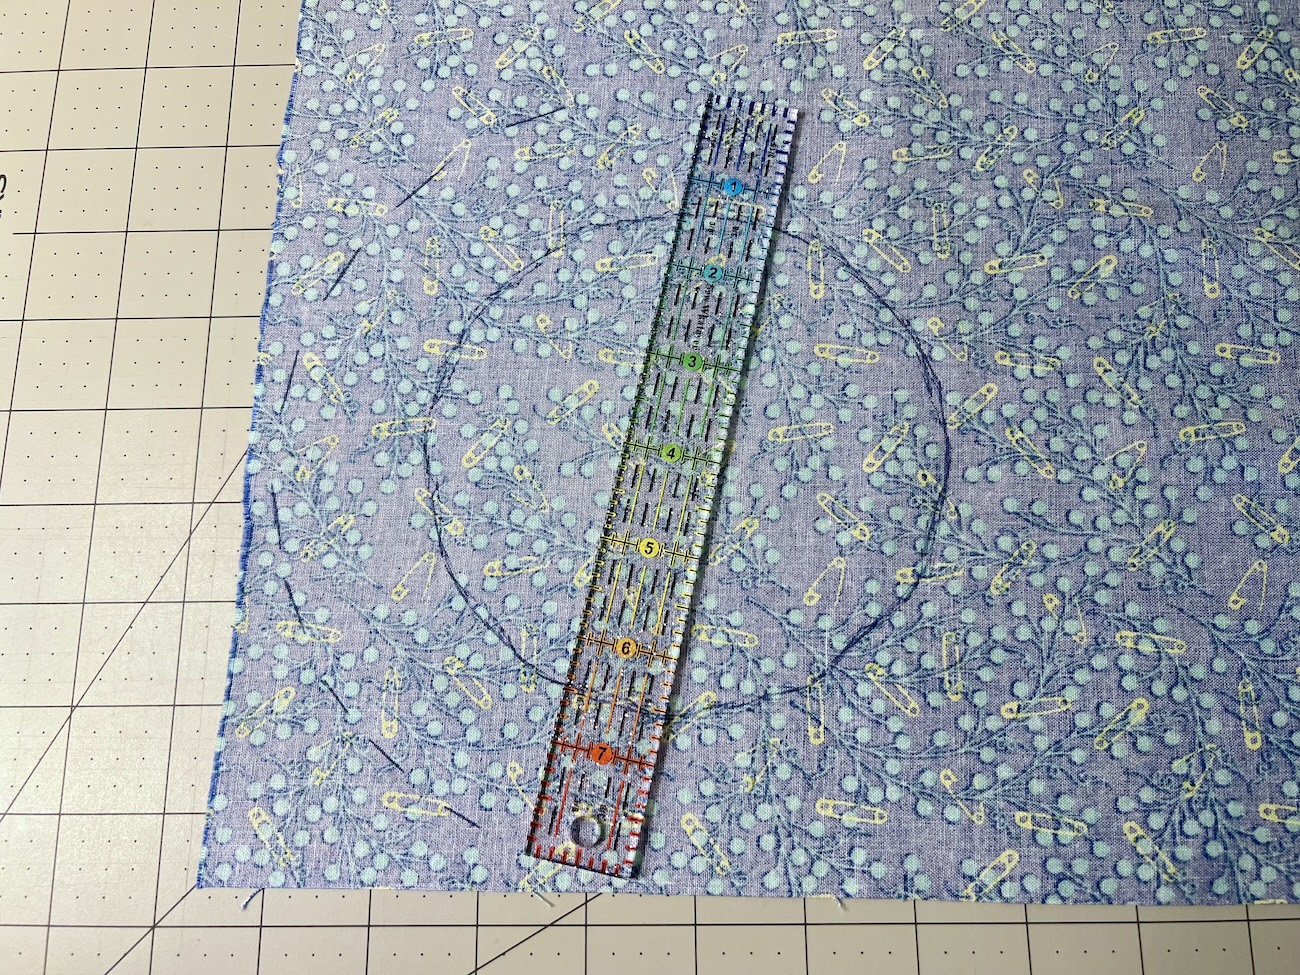
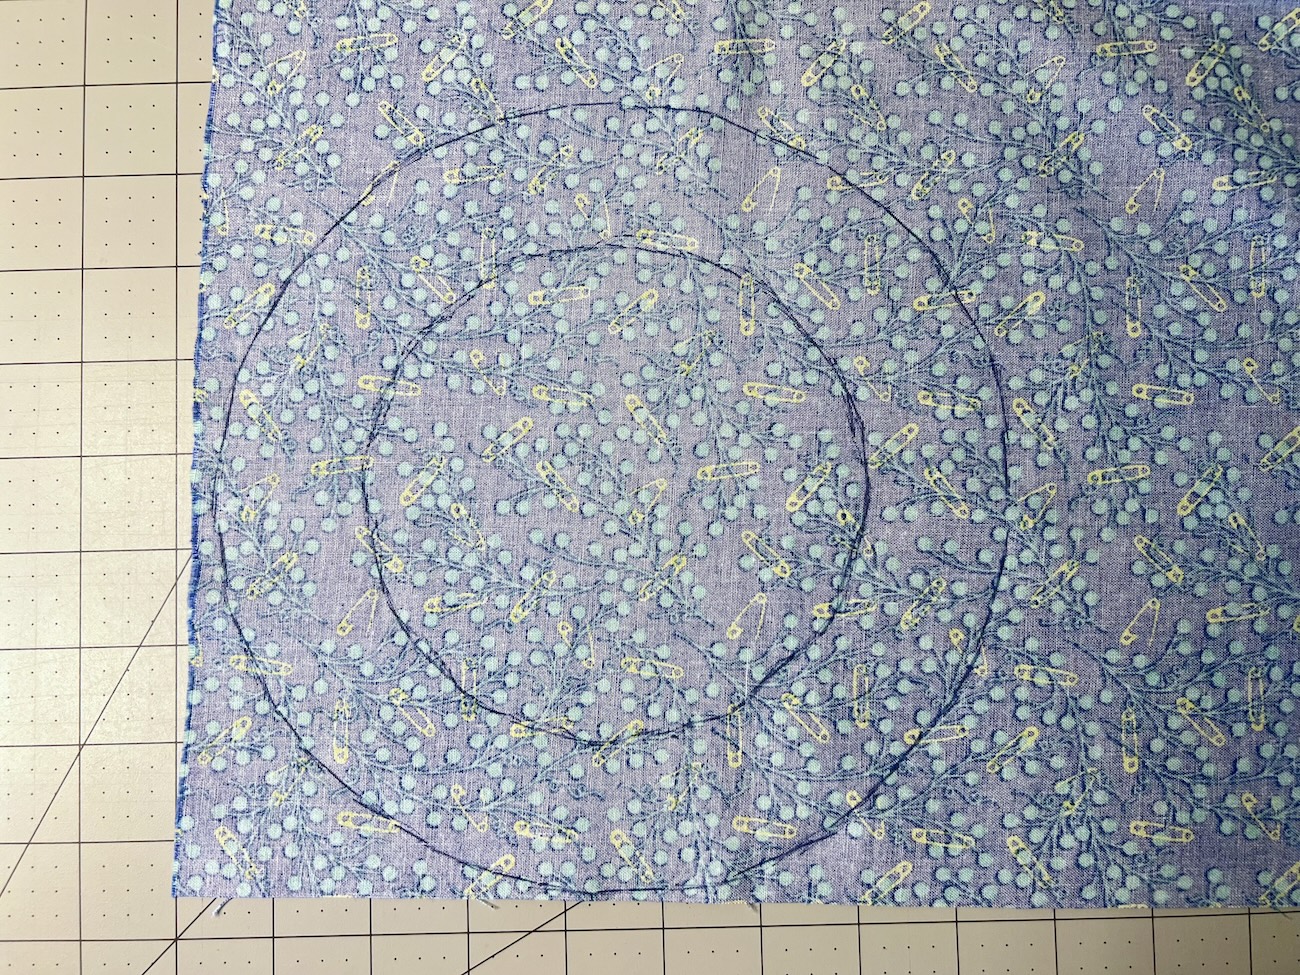
Note: Marking the circle 1½ inches bigger resulted in the puffiness of a pincushion that I was happy with. Experiment with fabric scraps and larger circles if you want a puffer pincushion.
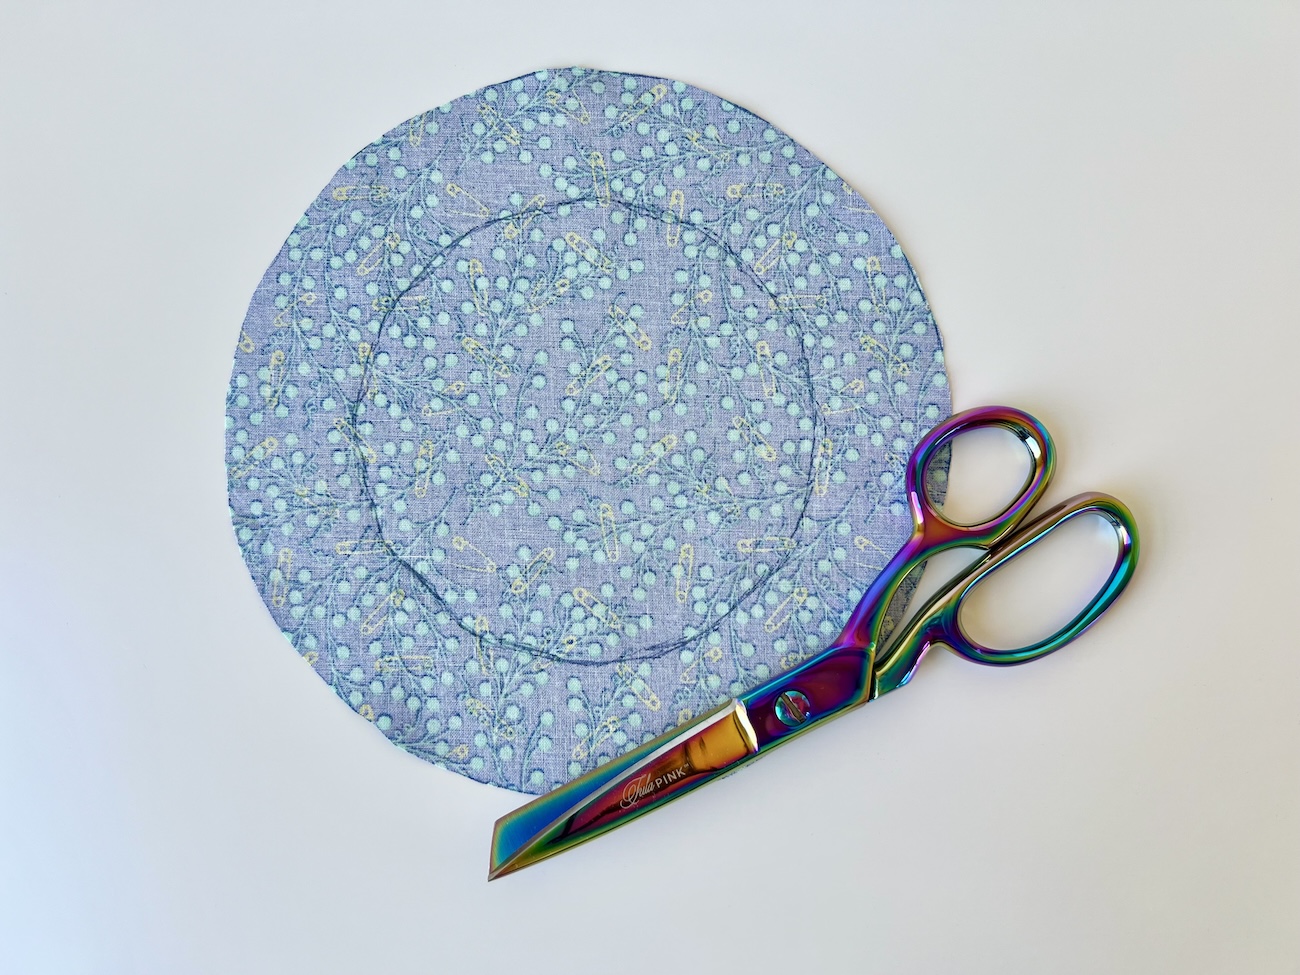
Step 3: Cut the Circle
Use scissors and cut out the larger of the two circles.
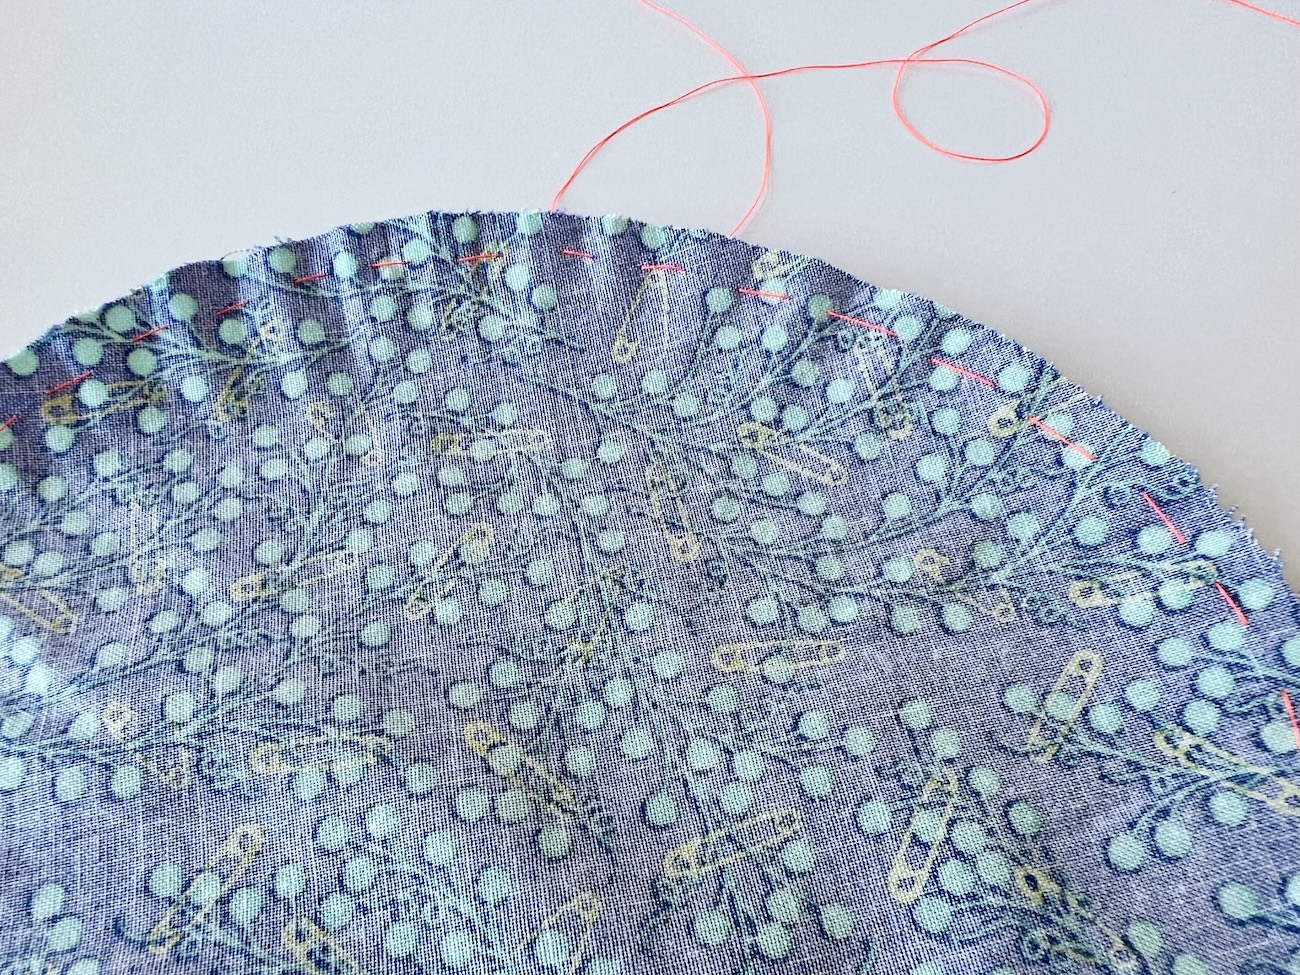
Step 4: Gather the Circle
With a hand-sewing needle threaded with a REALLY long piece of strong thread, sew a gathering stitch around the edge of the circle about a ¼ inch away from the cut edge.
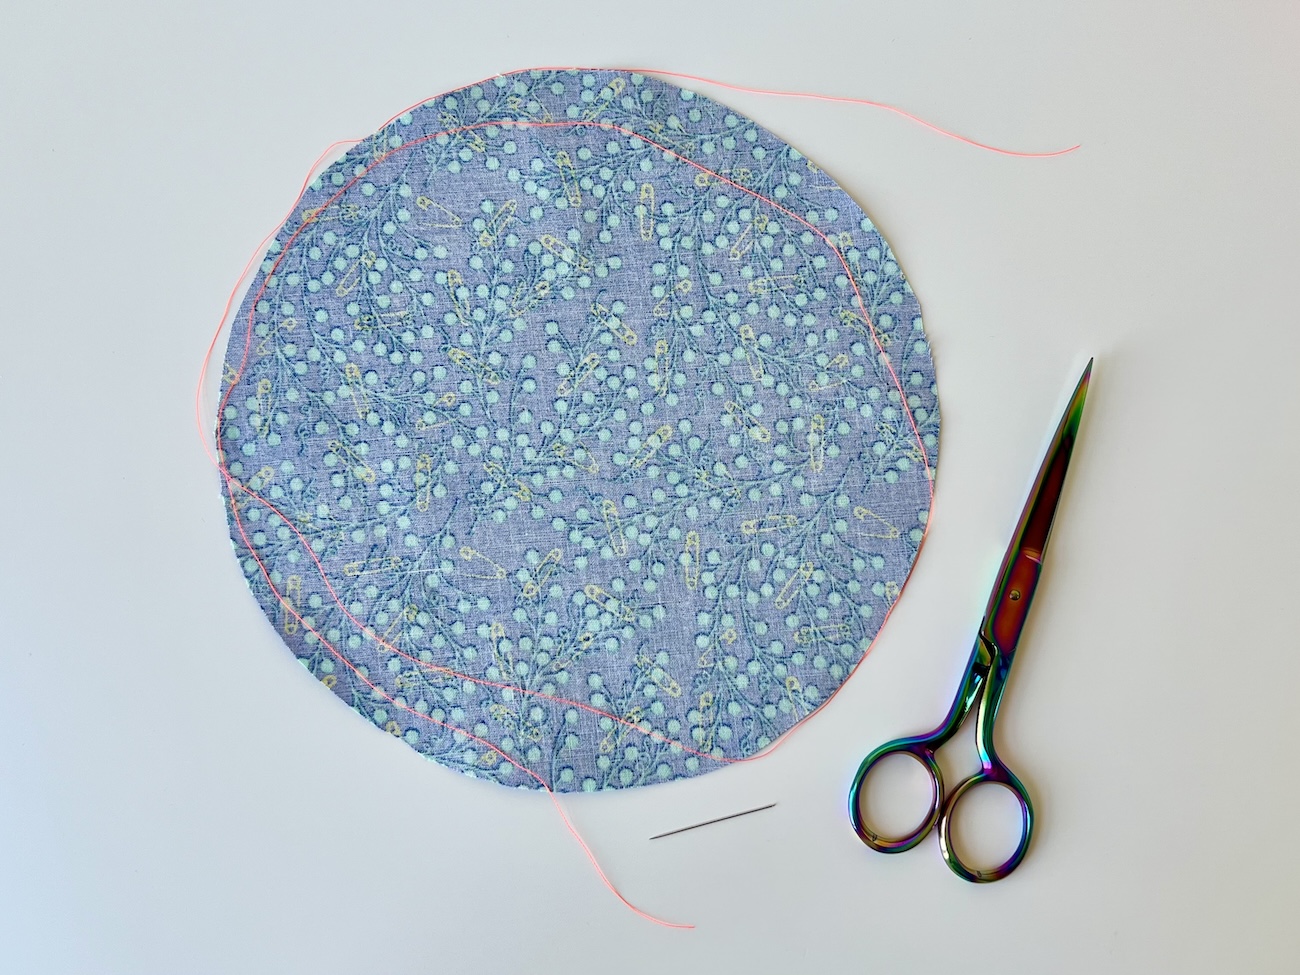
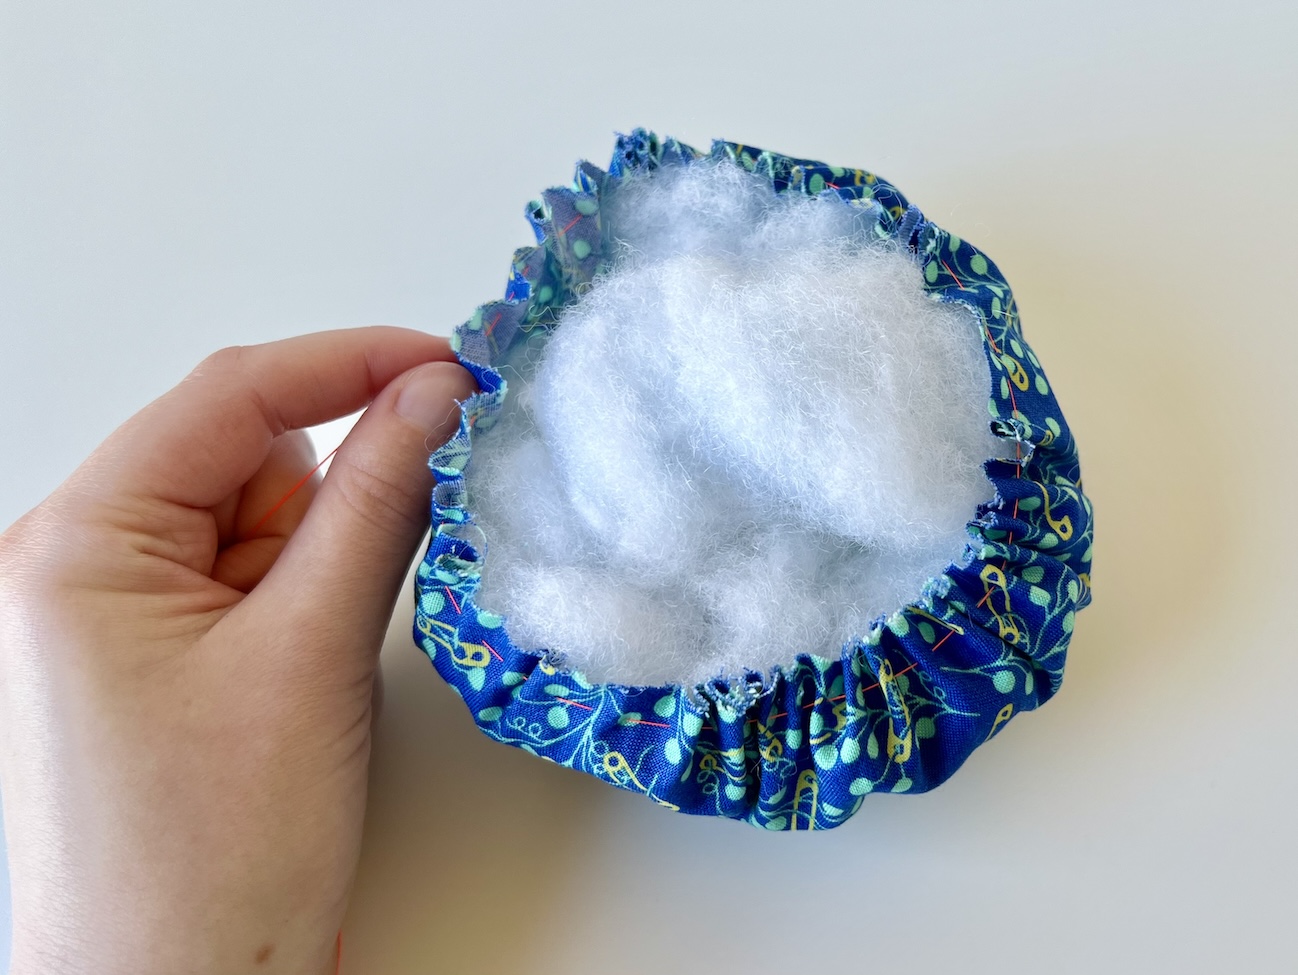
Pull on the thread ends to gather the fabric and start stuffing the pincushion, stopping periodically to test fit into the candy dish to get the desired level of floof (you know… the super technical term floor!!).

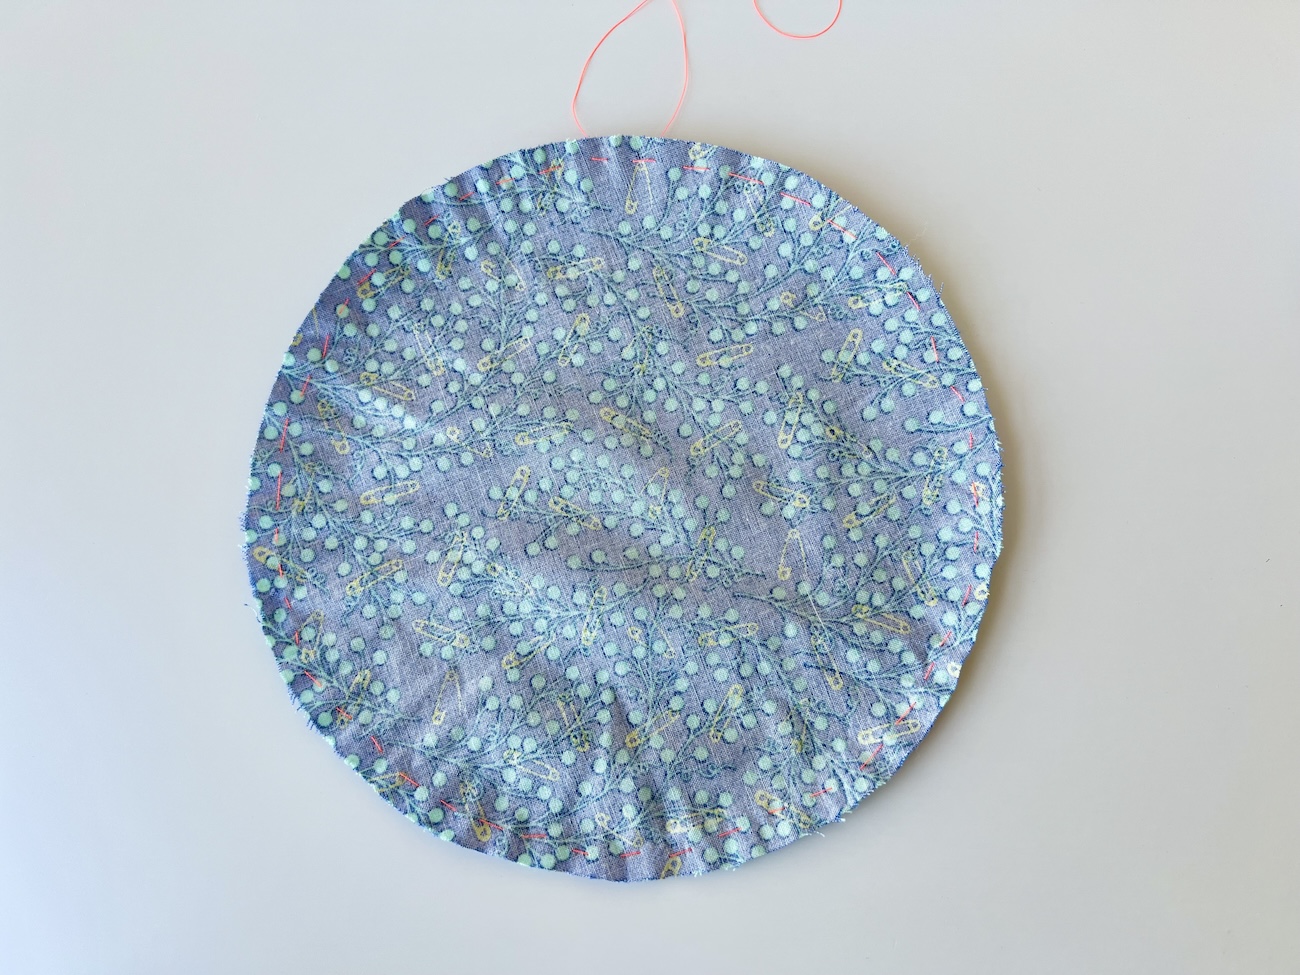
Step 5: Sew the Pincushion Closed
Once you have filled the pincushion to your desired level of floof, gather the fabric as tightly as possible by pulling on the threads. Thread both ends of the thread through a large eye-sewing needle. About a ¼ inch down from the cut raw edge of the fabric, sew back and forth, crisscrossing and making X’s from one side to the other multiple times to secure the base of the pincushion (a video may more clearly show this step. You can see how I did this step in my reel here).
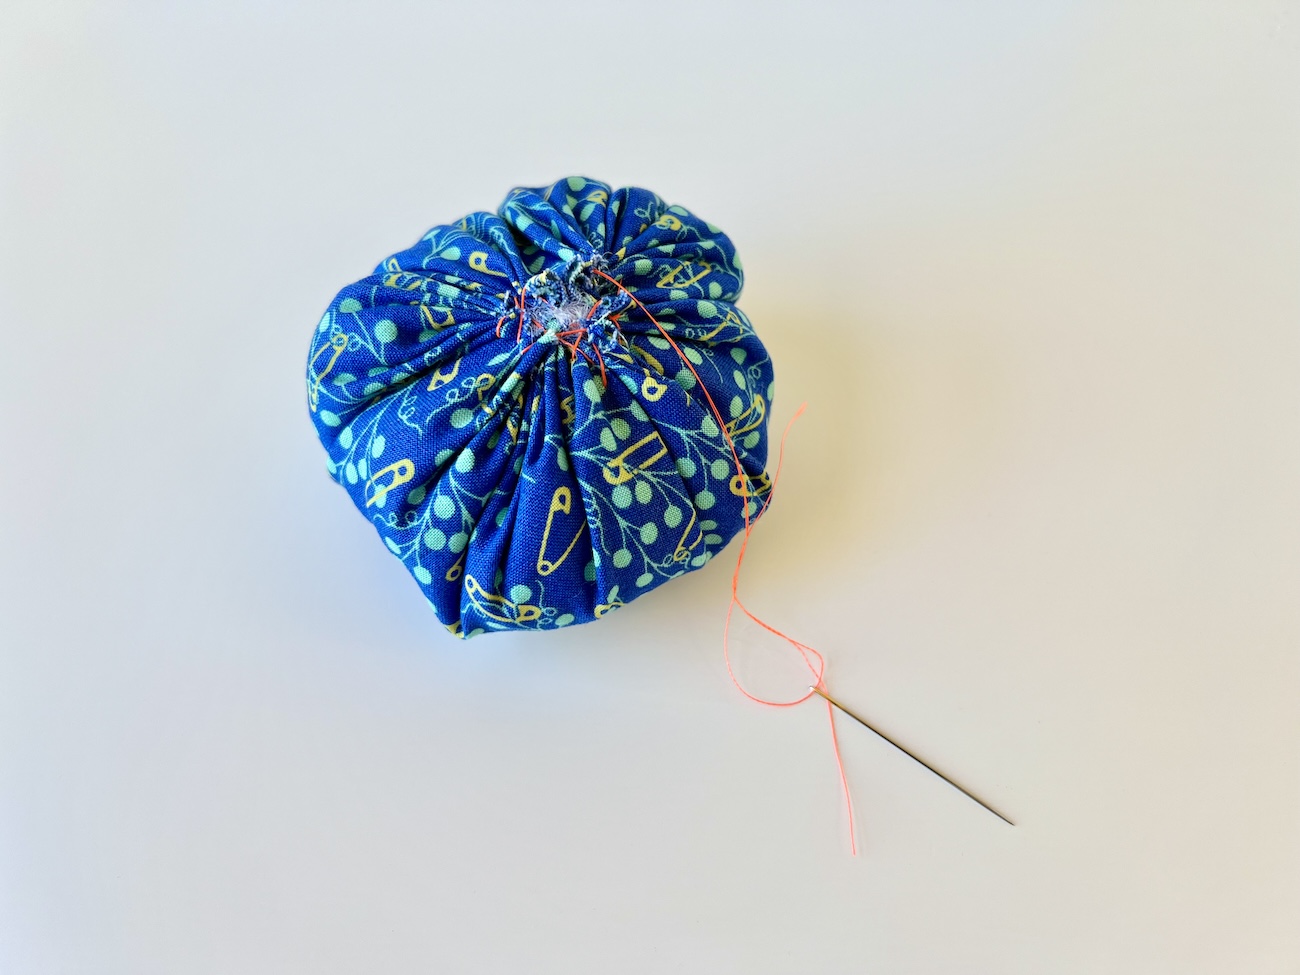
Once the bottom of the pincushion feels closed and secure, tie off the threads.
Step 6: Glue the Pincushion to the Candy Dish

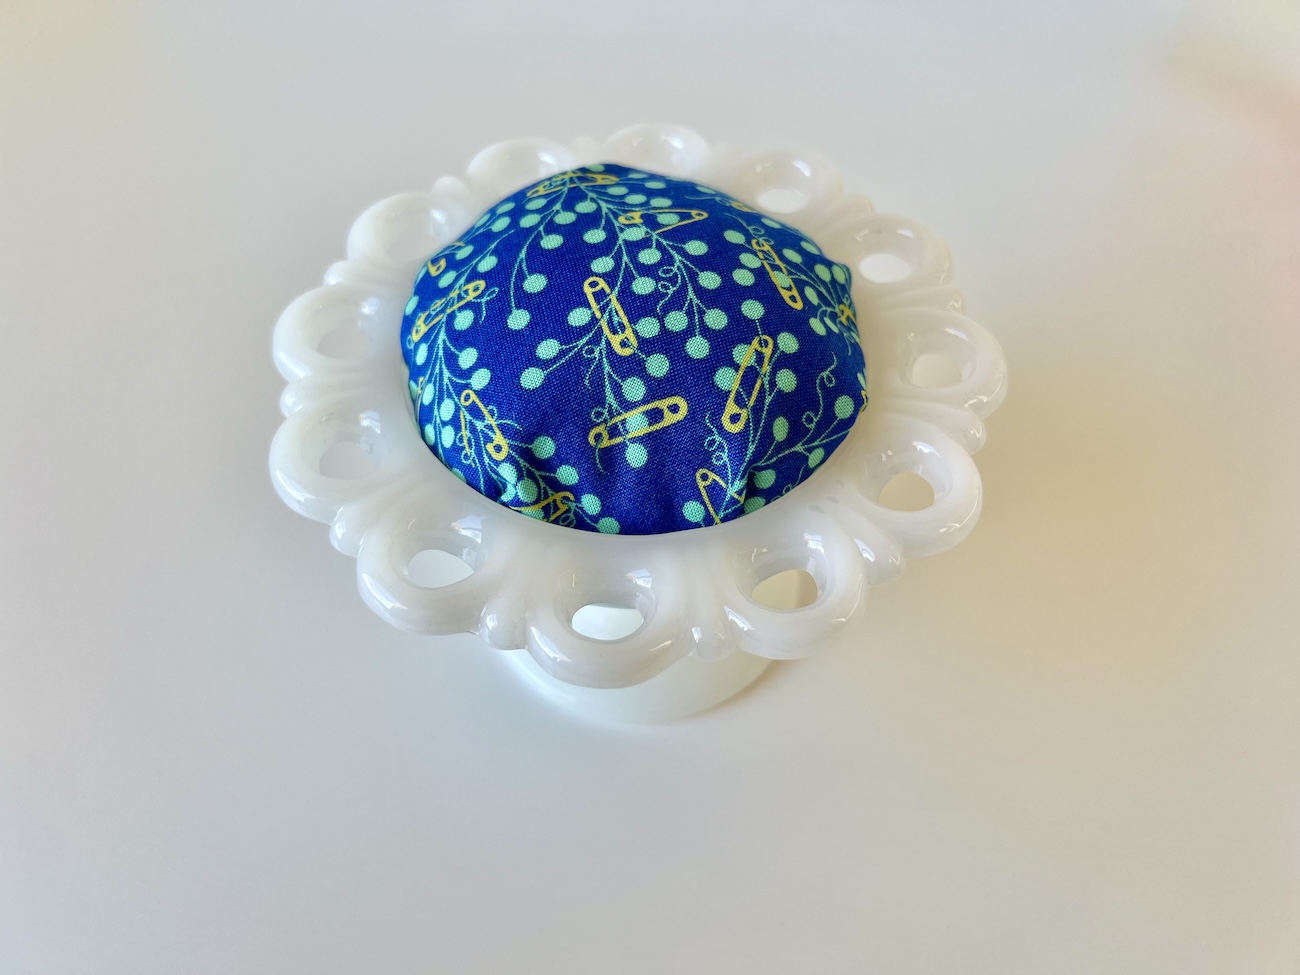
Take the Beacon 3-in-1 Advance Craft glue (or whatever glue you have) and put a LOT of it into the bowl portion of the candy dish. Place the pincushion into the freshly gluey bowl, and press down for a few seconds.
I flipped the candy dish upside down and used its weight to help the pincushion adhere well to the glue. I left it for an hour or so to let the glue dry.
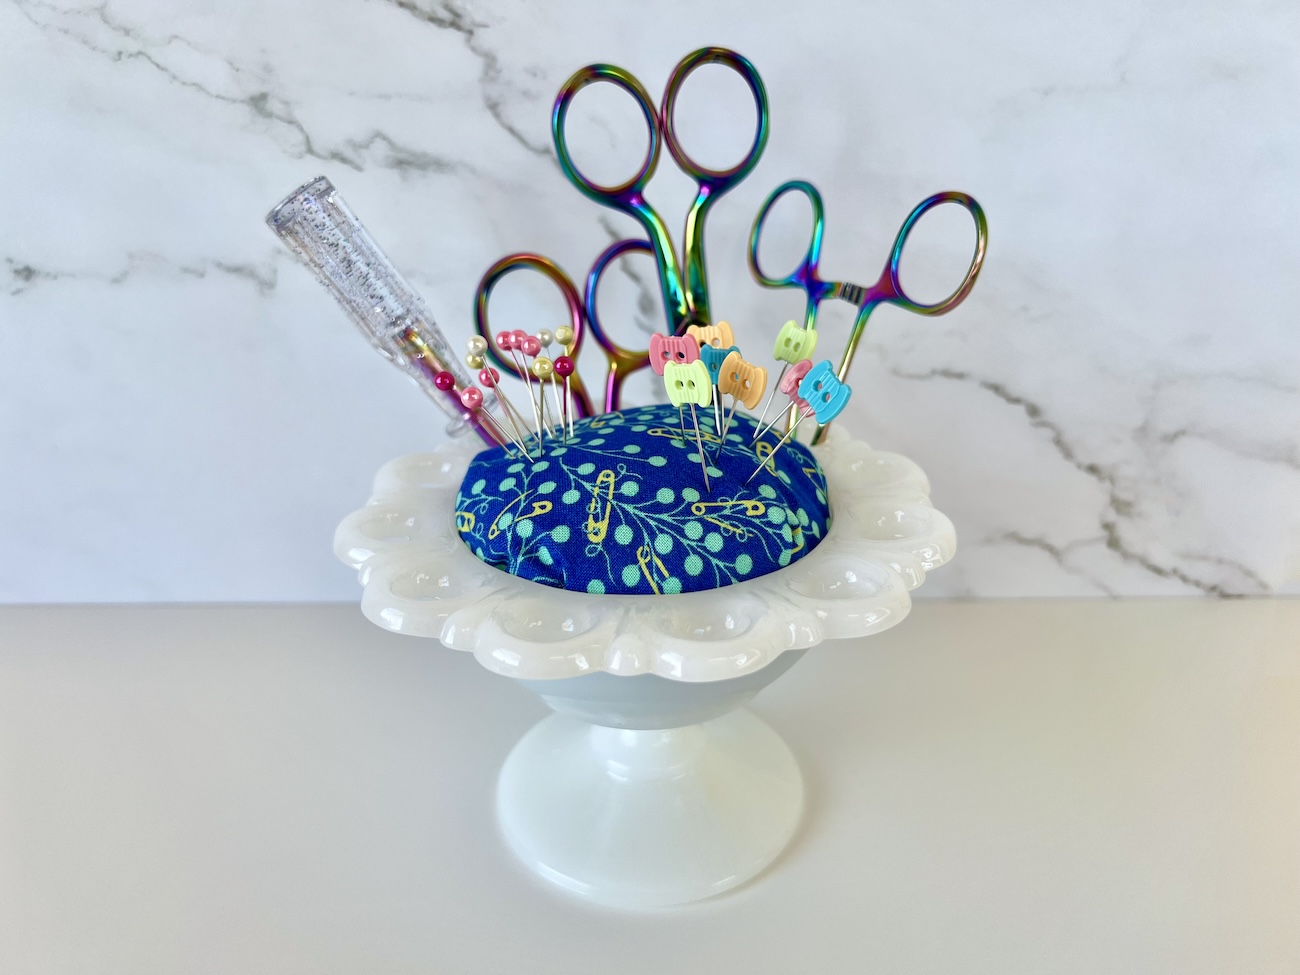
Step 7: Enjoy Your New Pincushion!
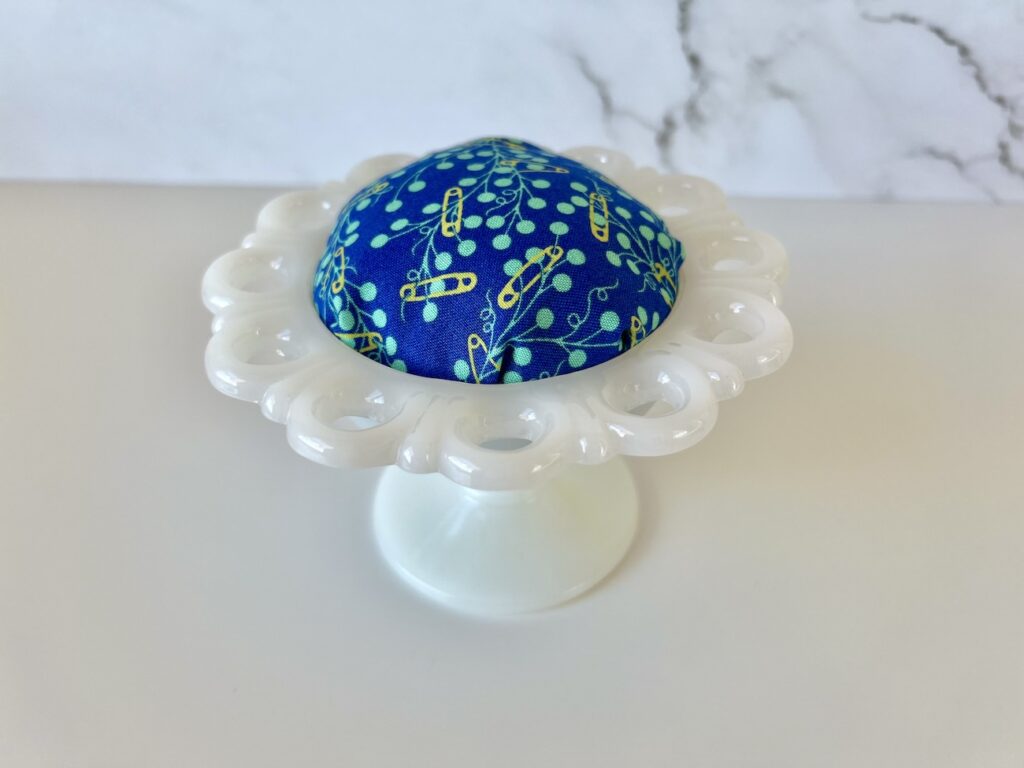
Once the glue is dry (or if you are like me… before it is *fully* dry but you are too impatient to wait for it to dry), fill up your new pincushion with your favorite pins! Some small scissors and other sewing tools sit nicely along the edge of this style of candy dish, which is a bonus fun feature for this pincushion!

I hope this candy dish pincushion tutorial was helpful; if you make one, I’d love to see it! Tag me on Instagram, Facebook, or TikTok at RebeccaLangDesign!